& Love

Image

My life here isn’t limited to our little farm, but it is centered there. I moved here permanently because I thought it was a place and a group of people that were a home for me. Even though that is not always easy, it is always true.

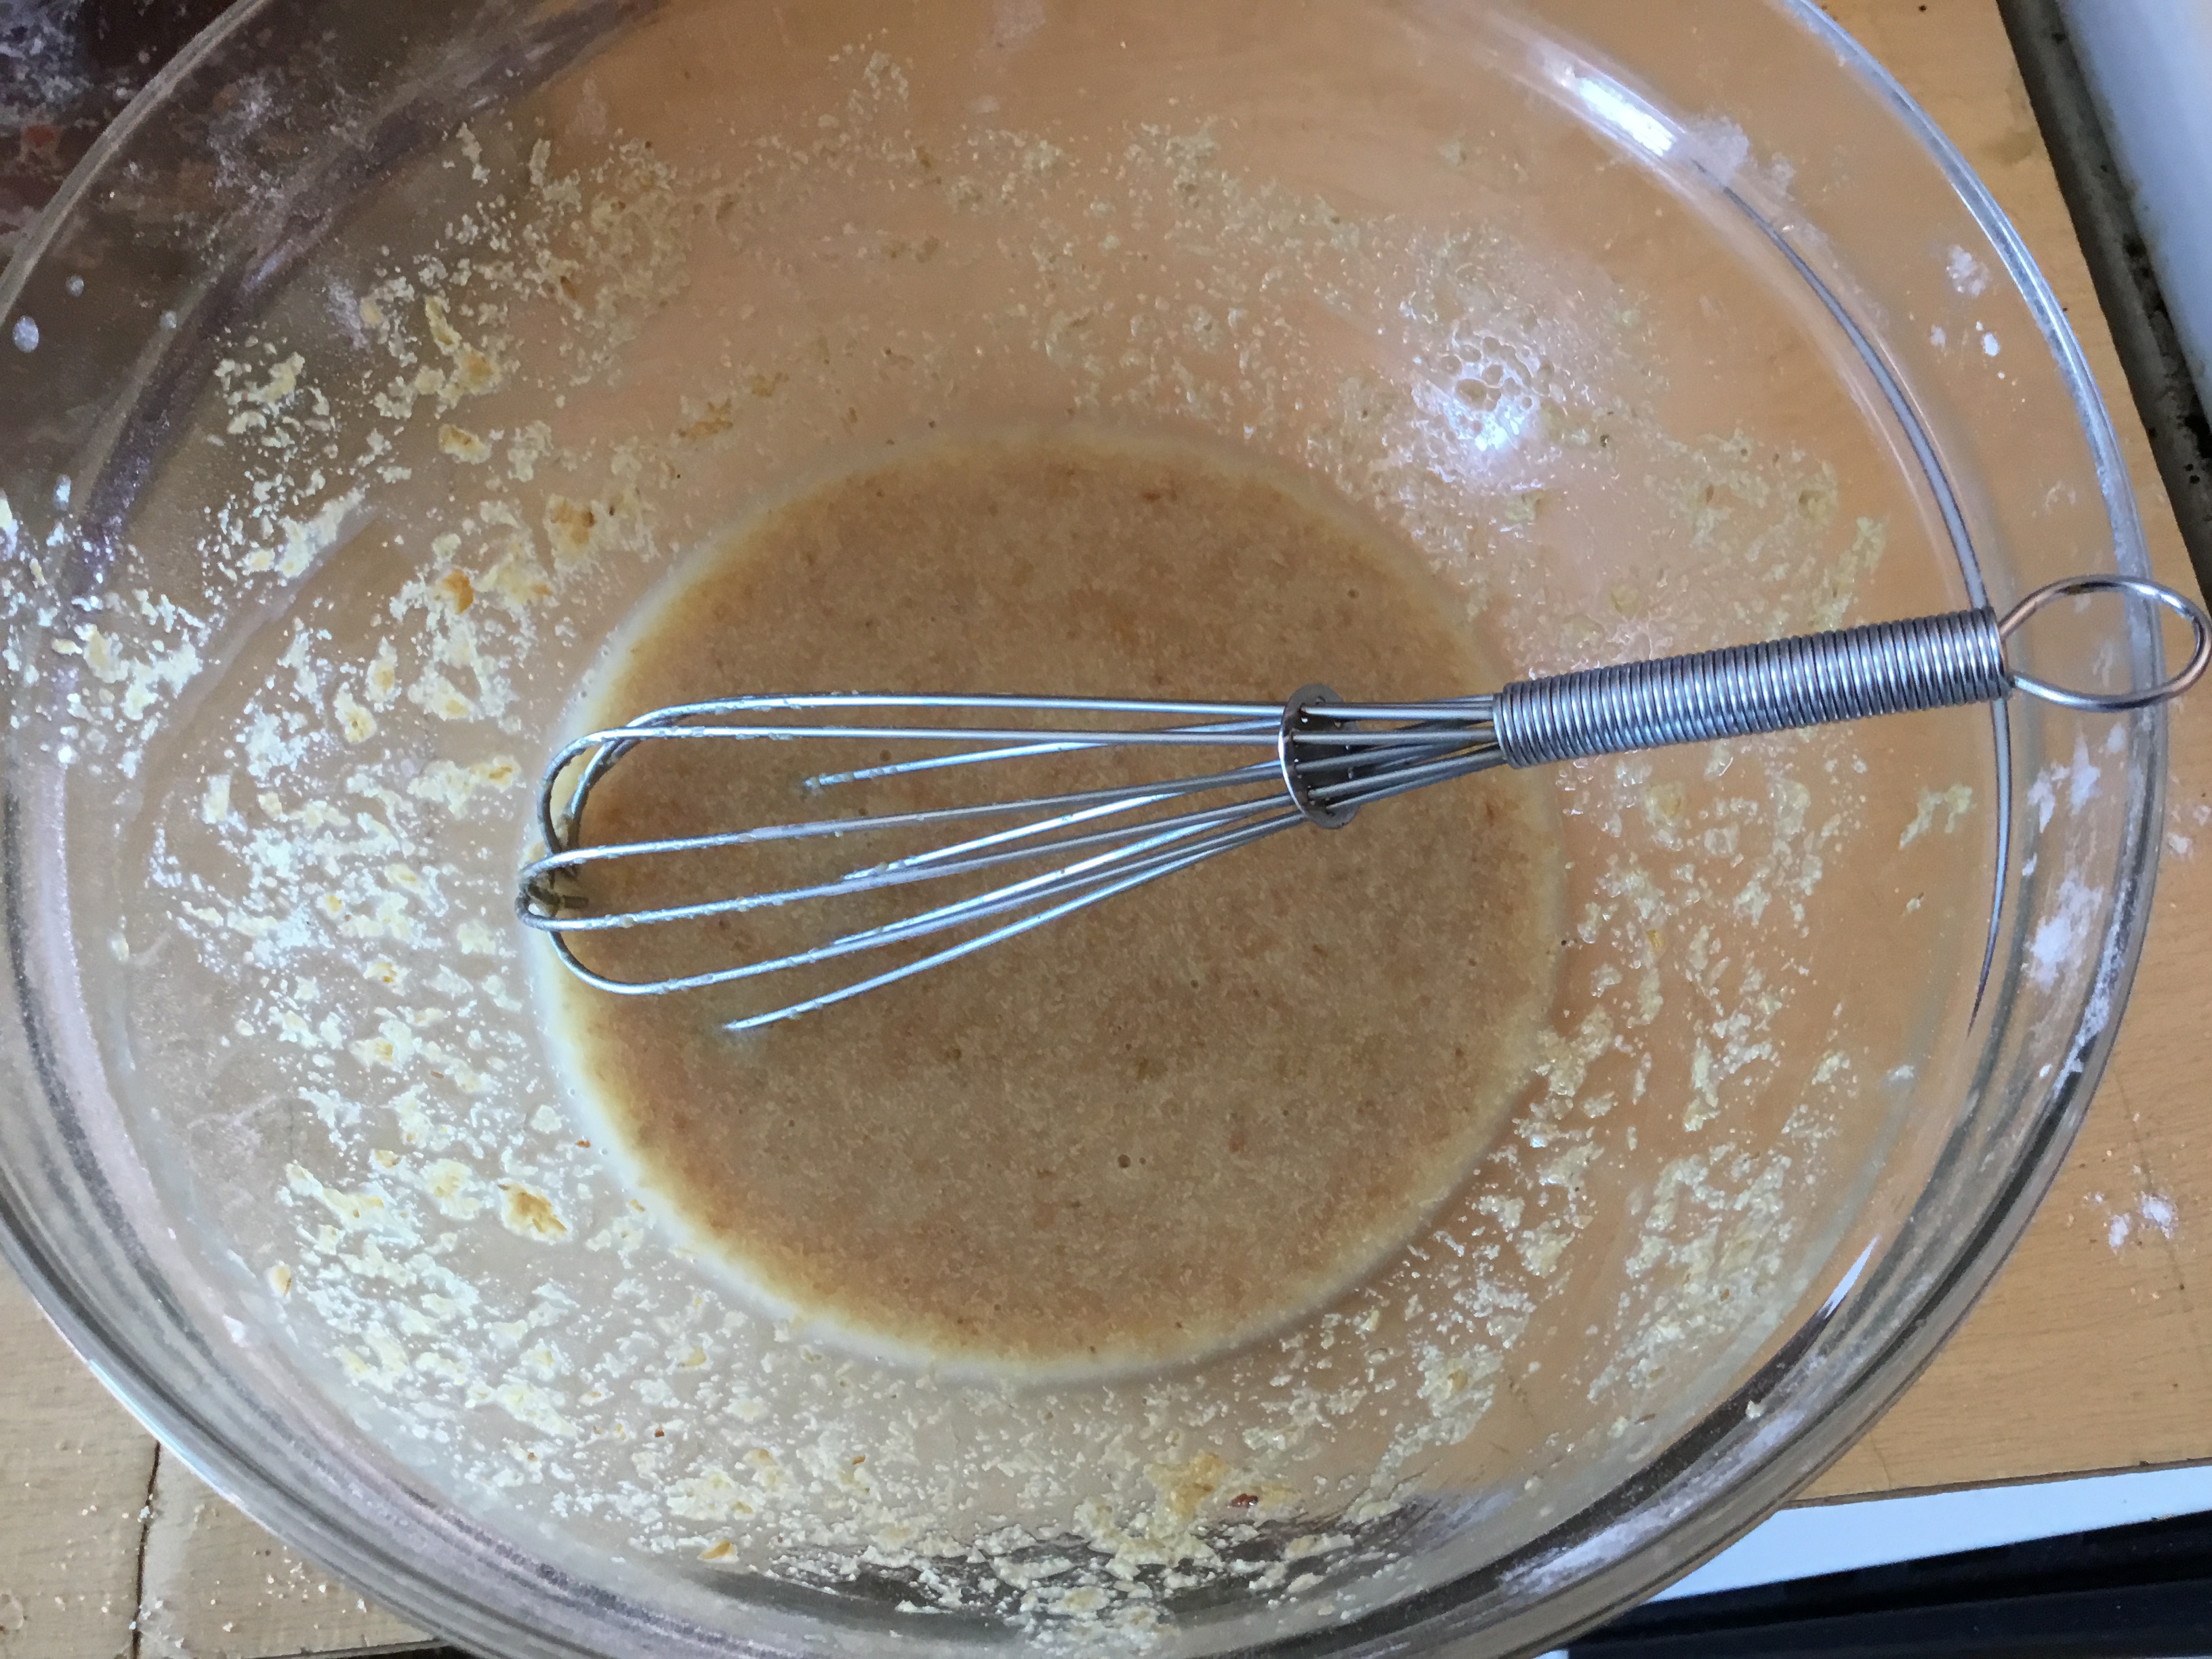
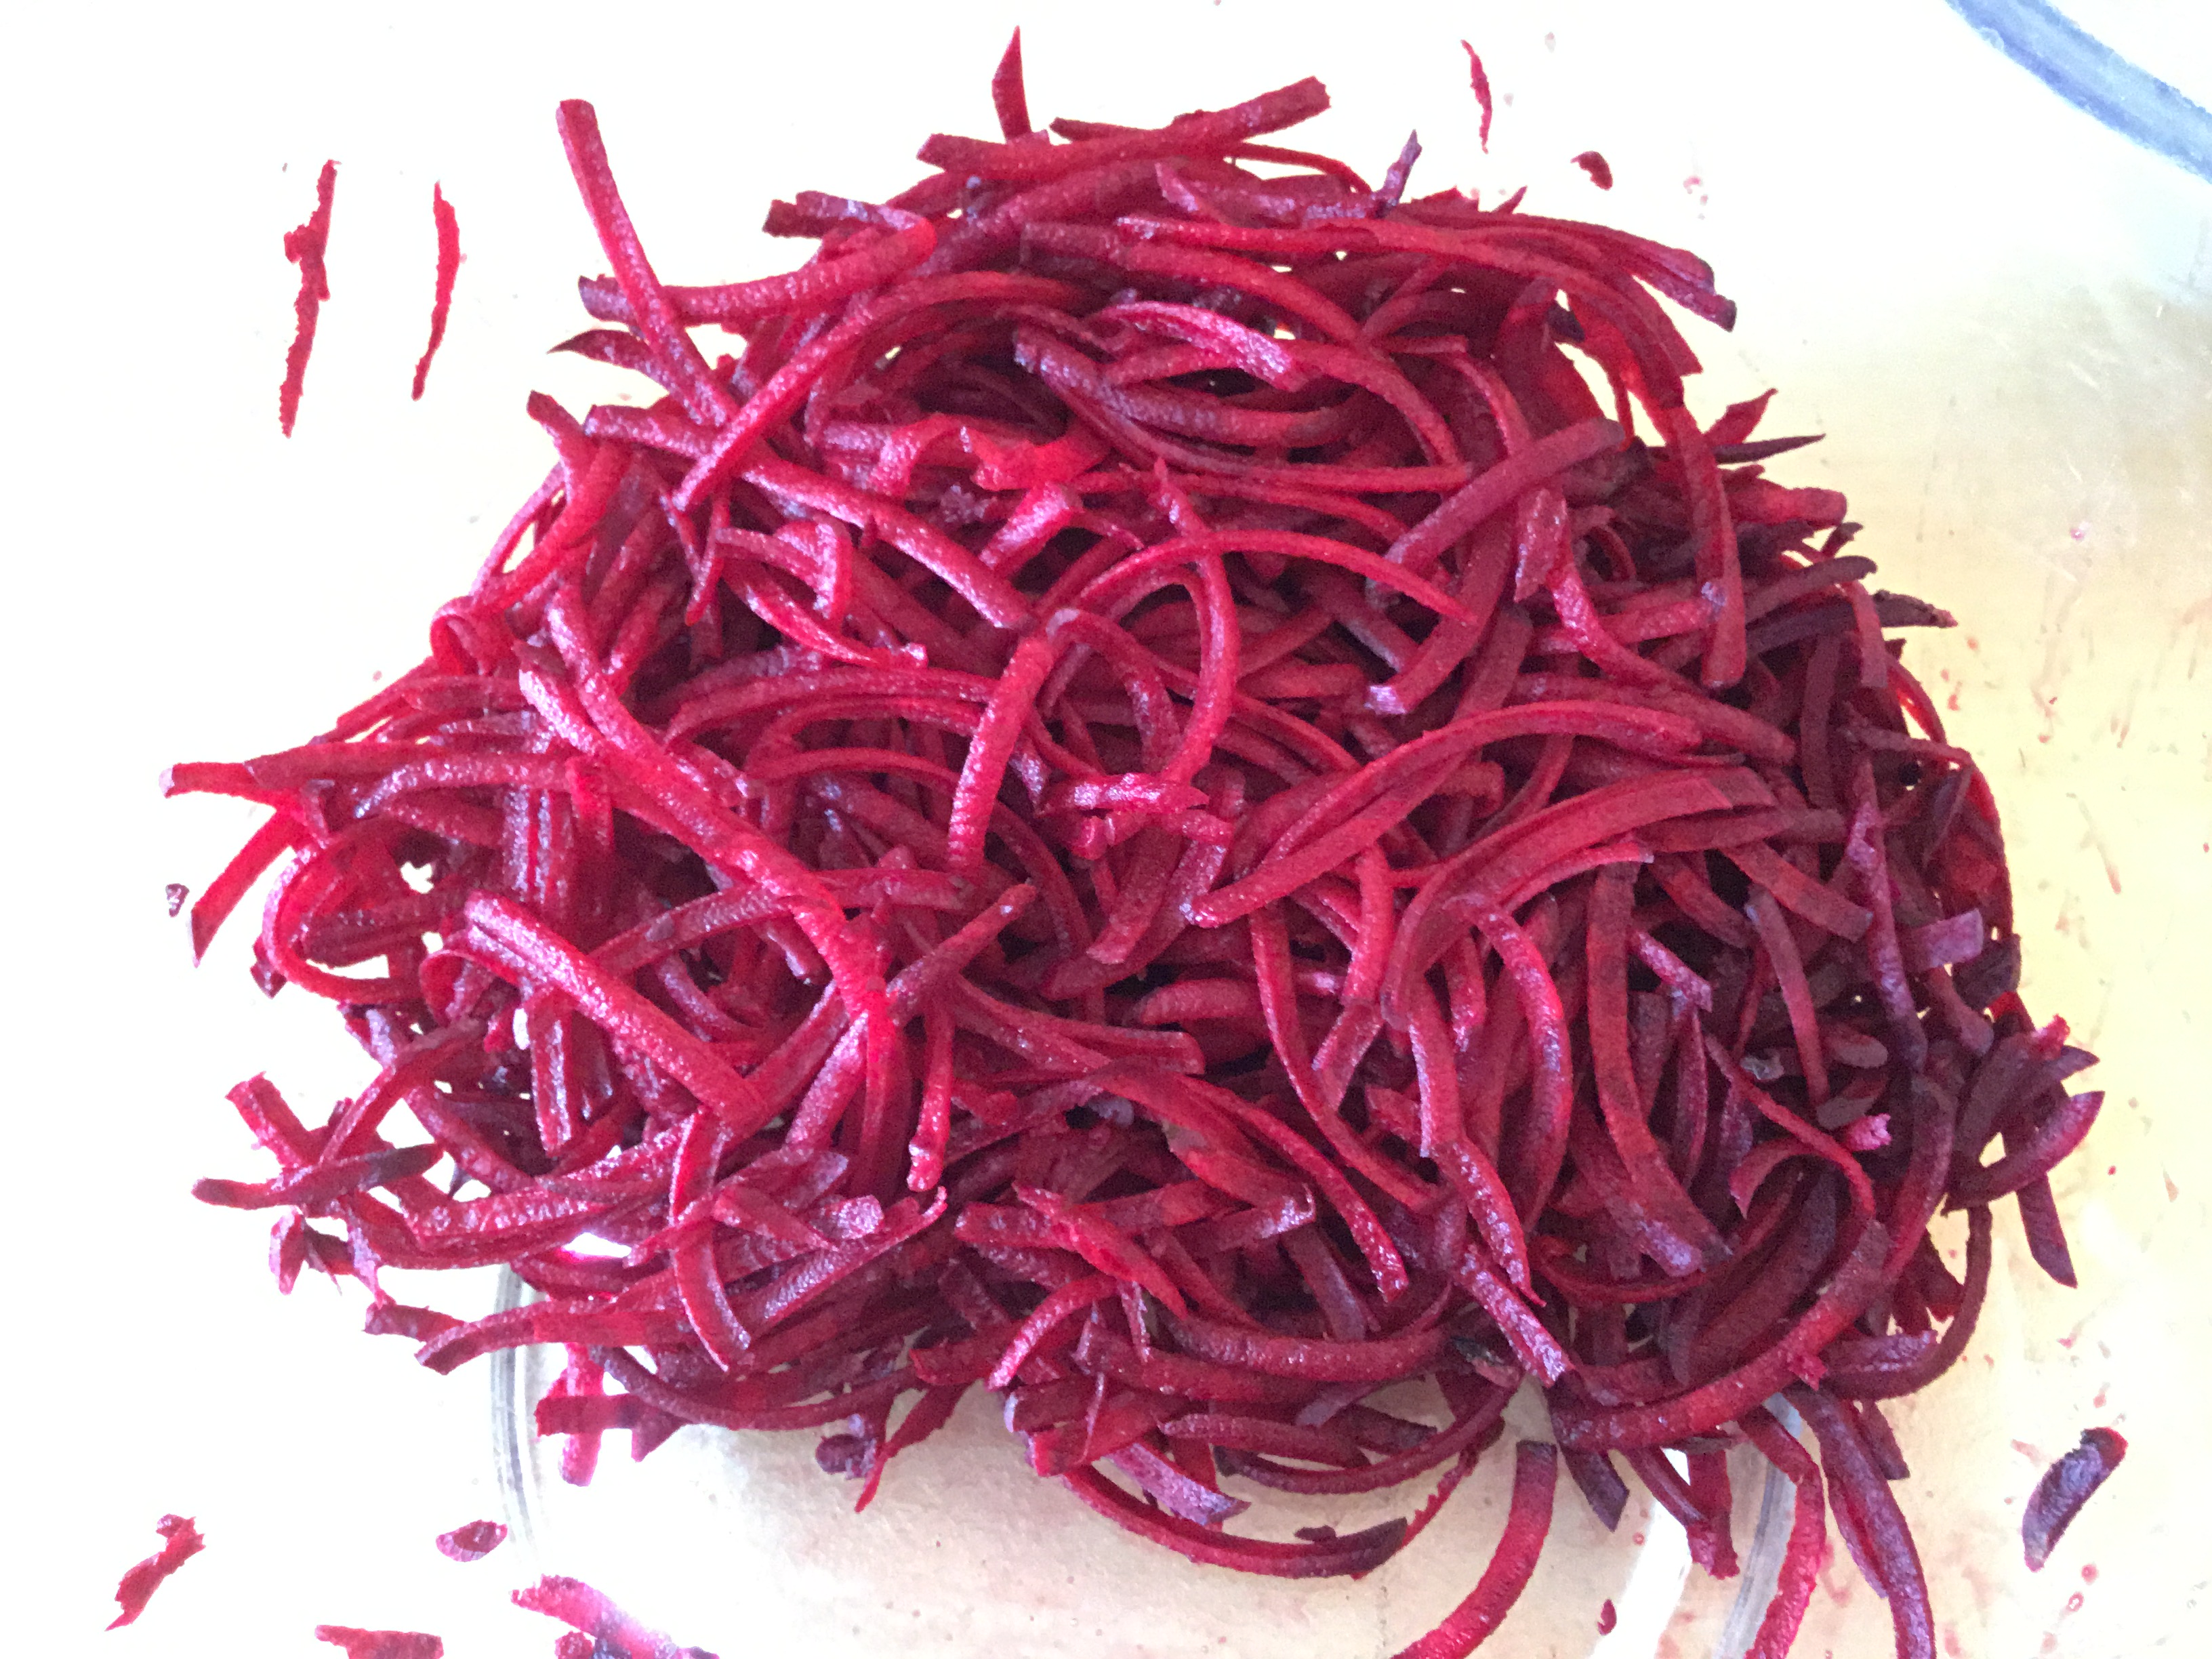
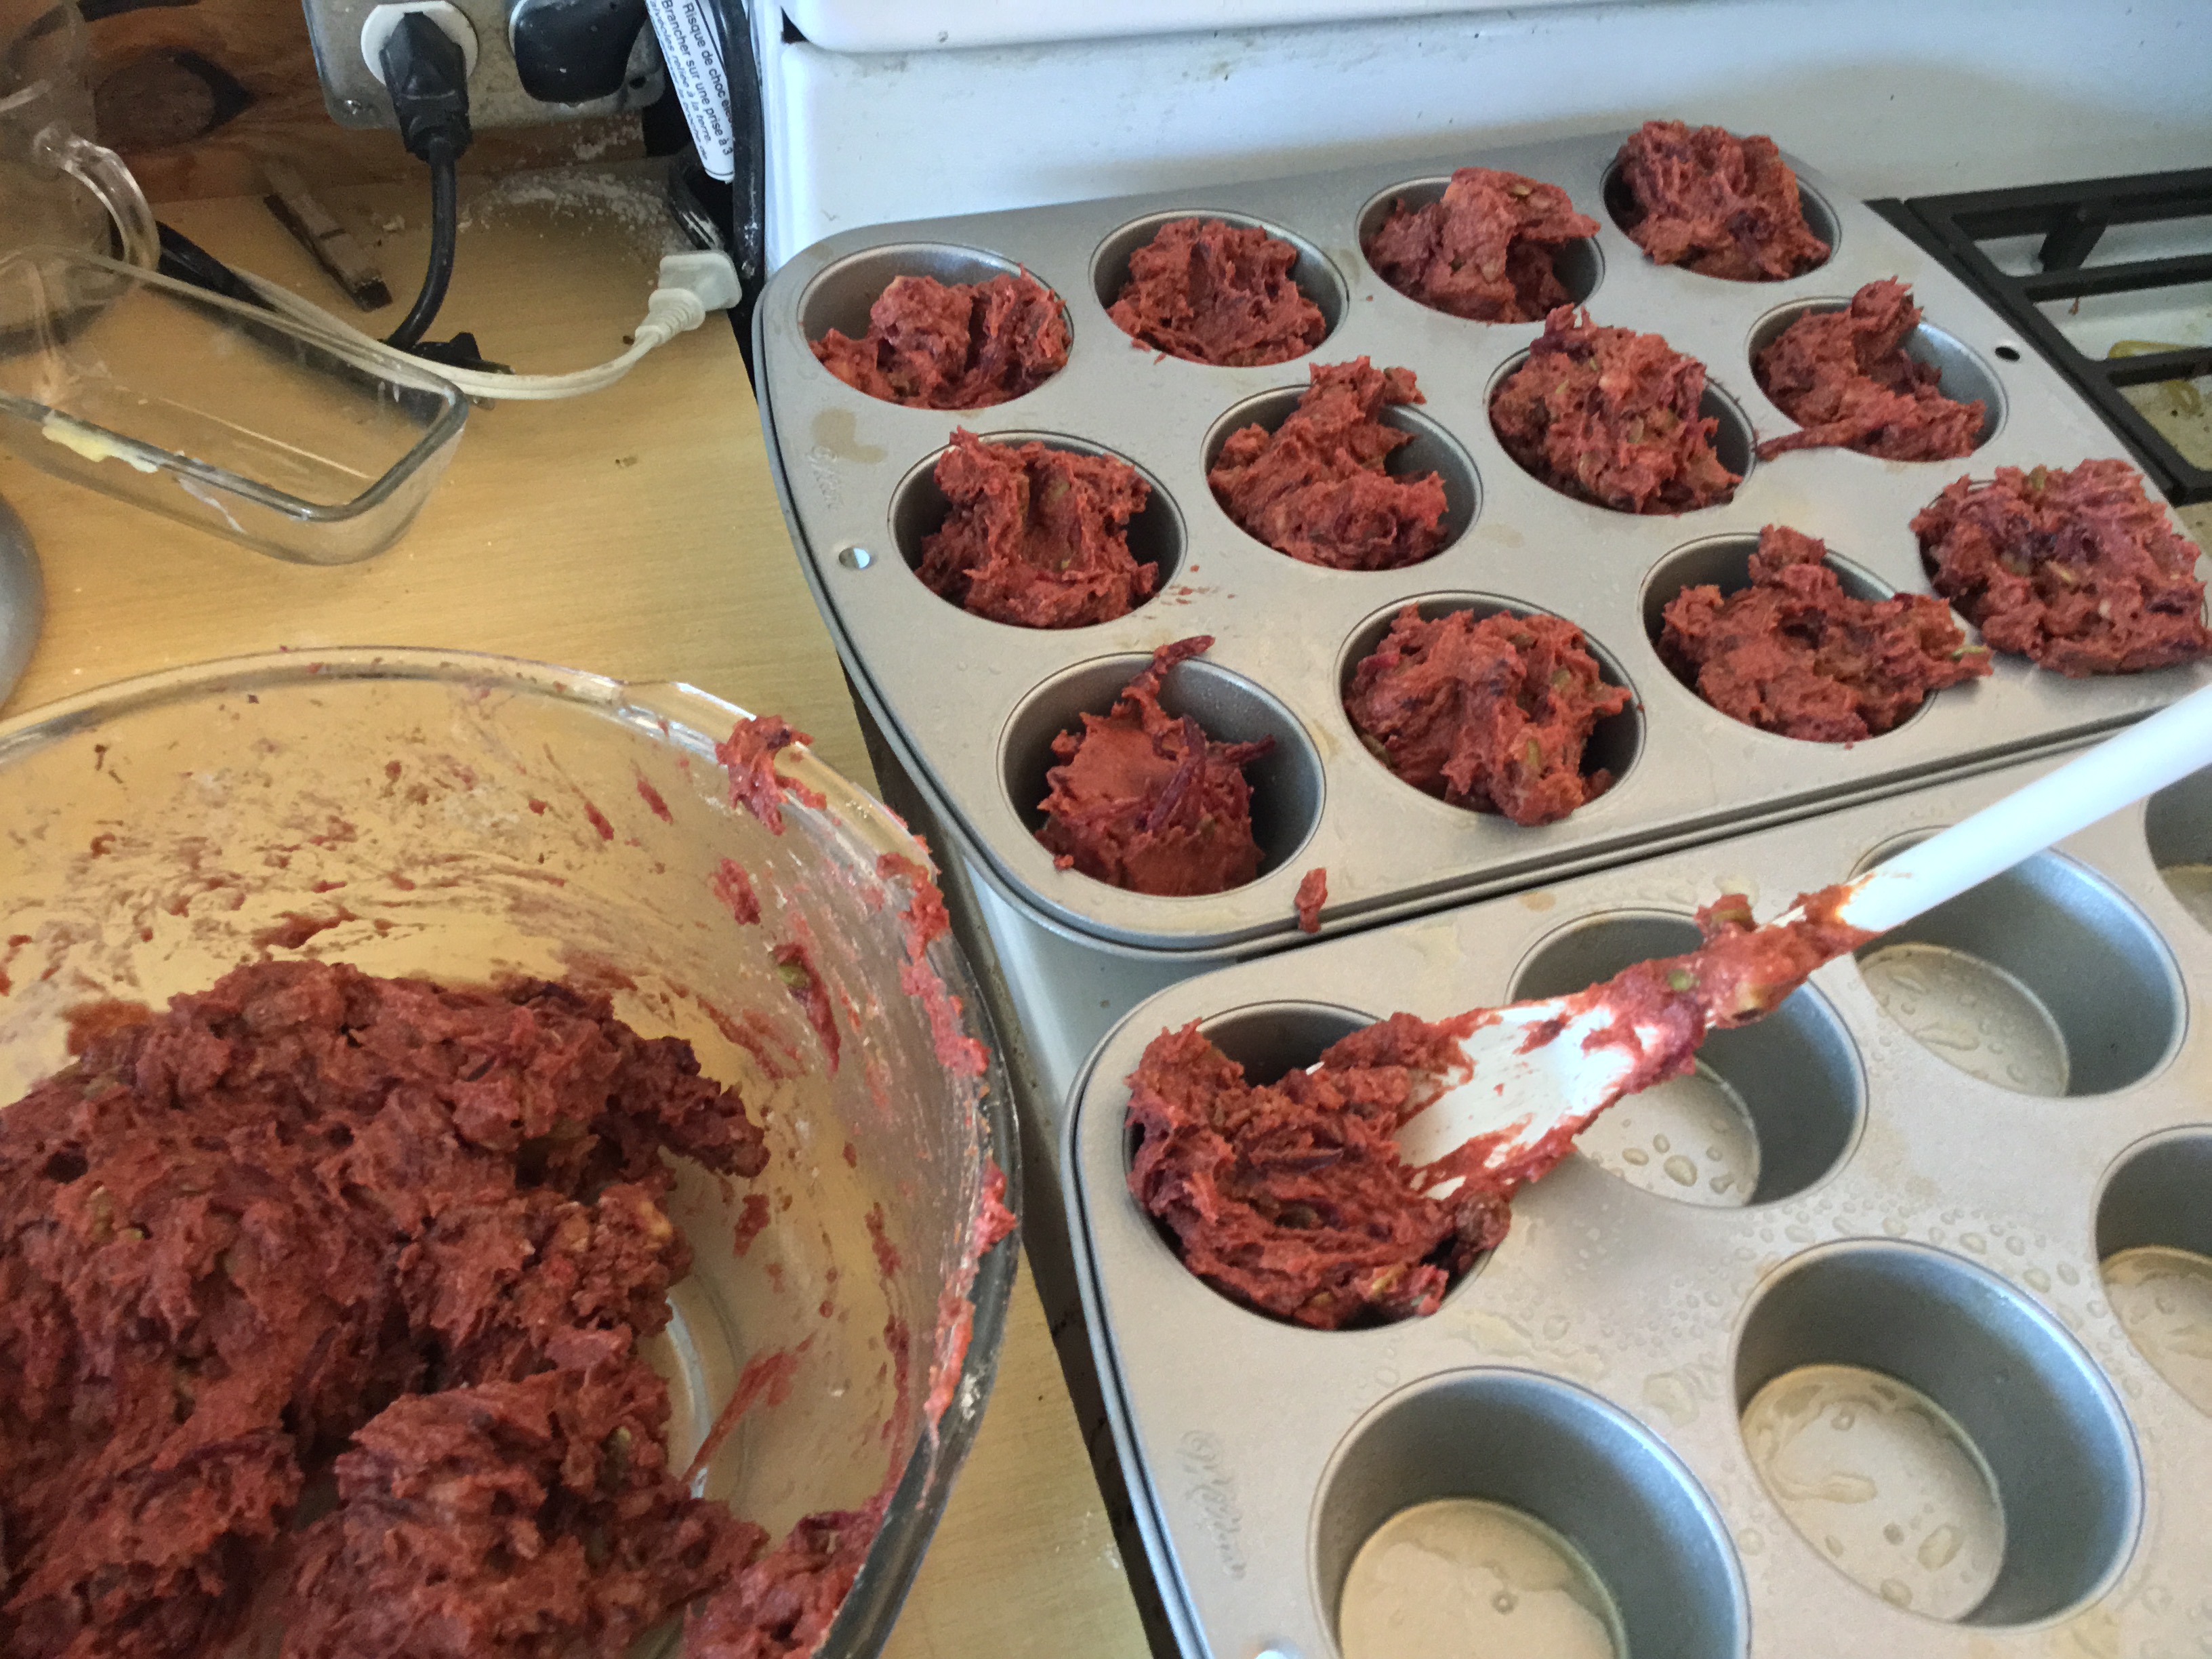
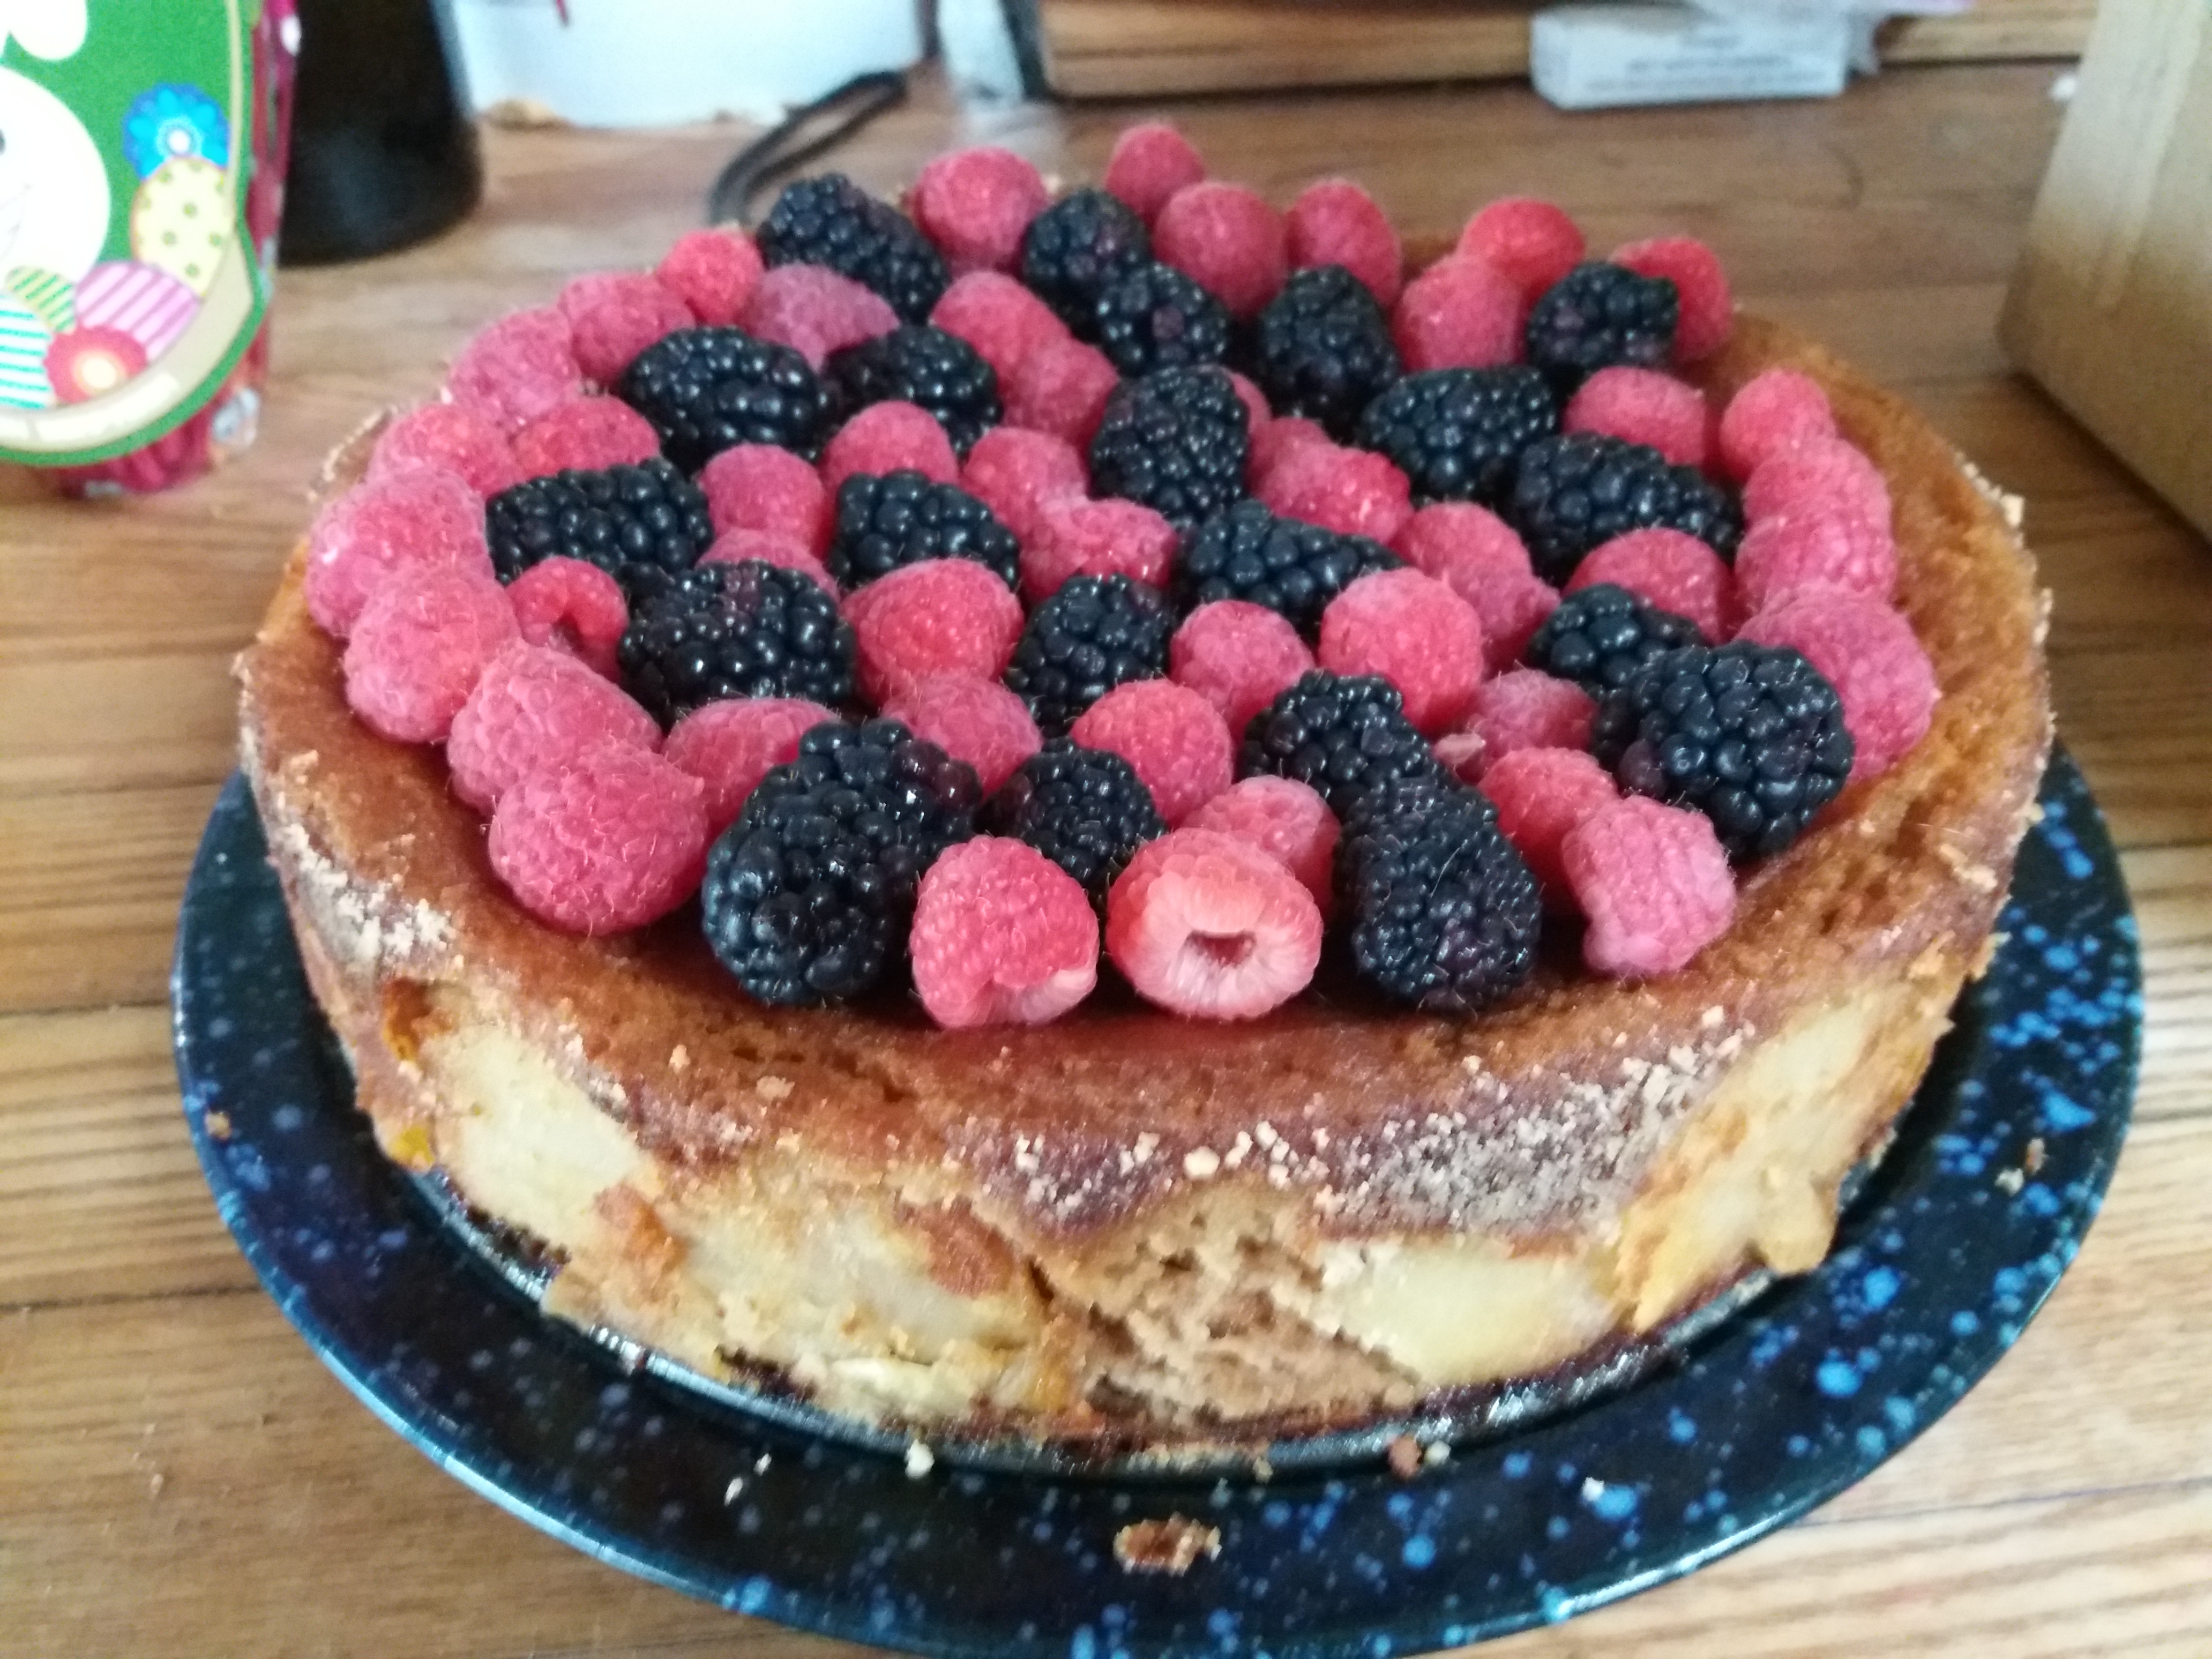
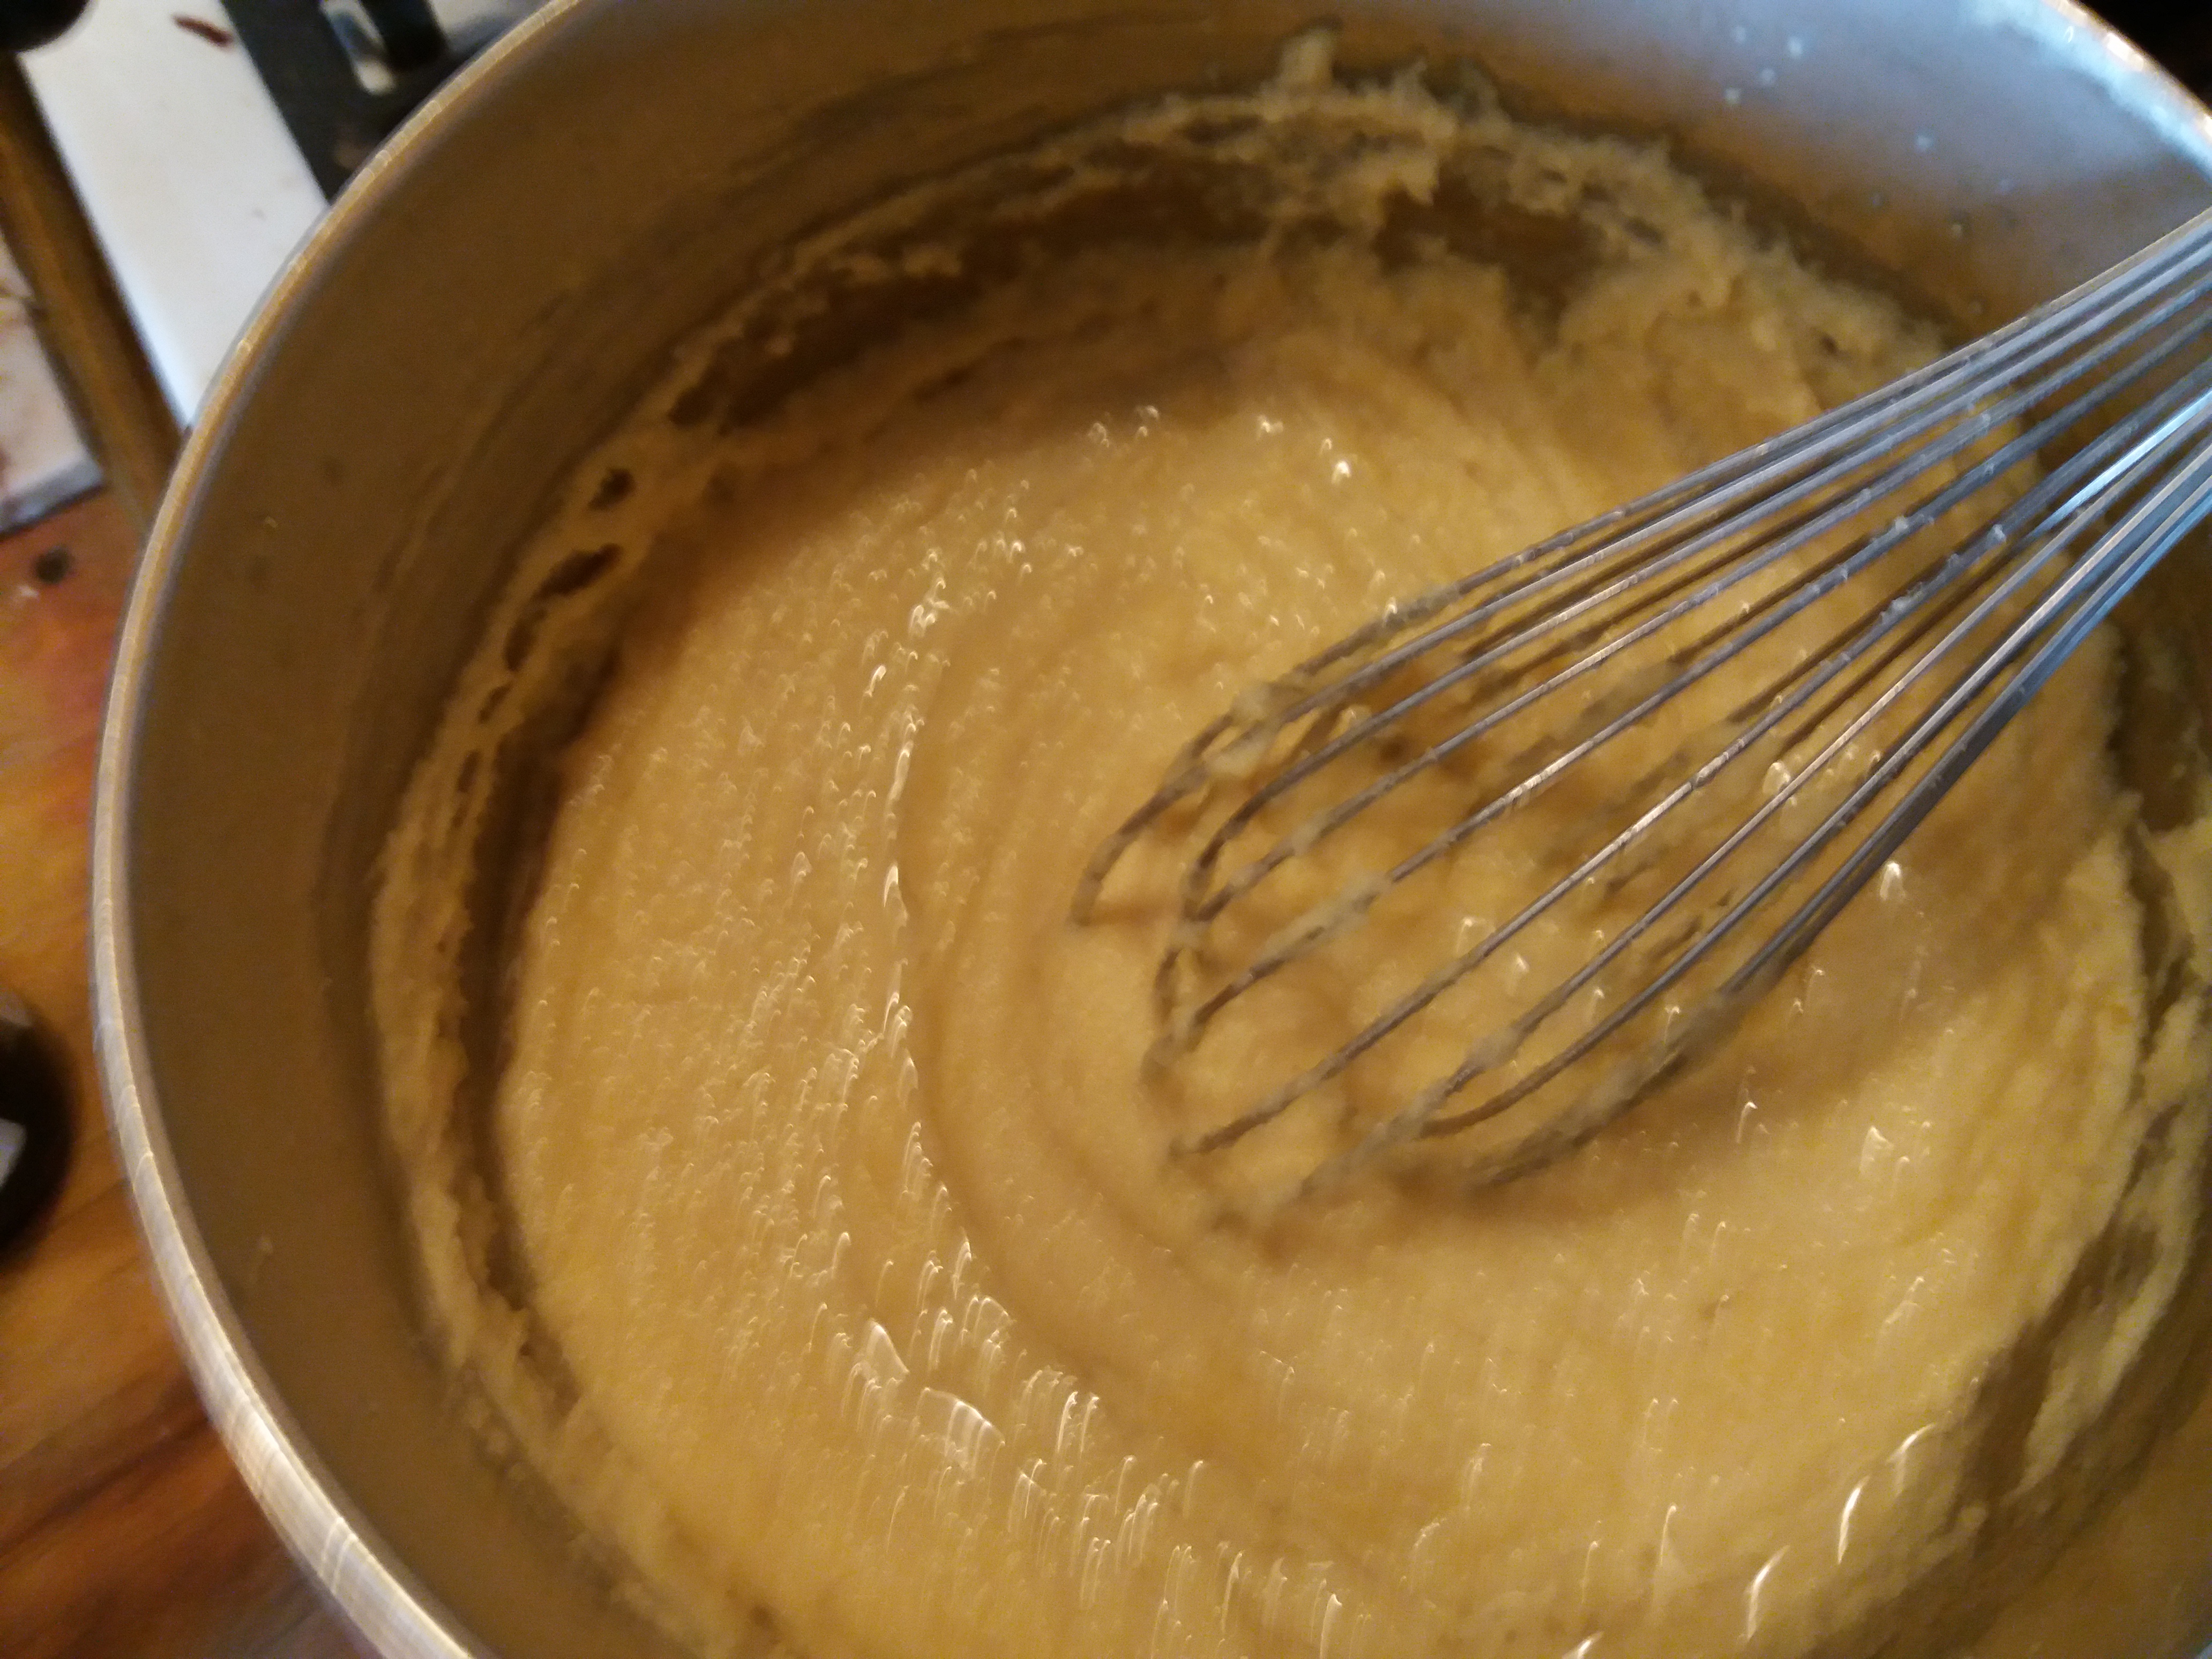
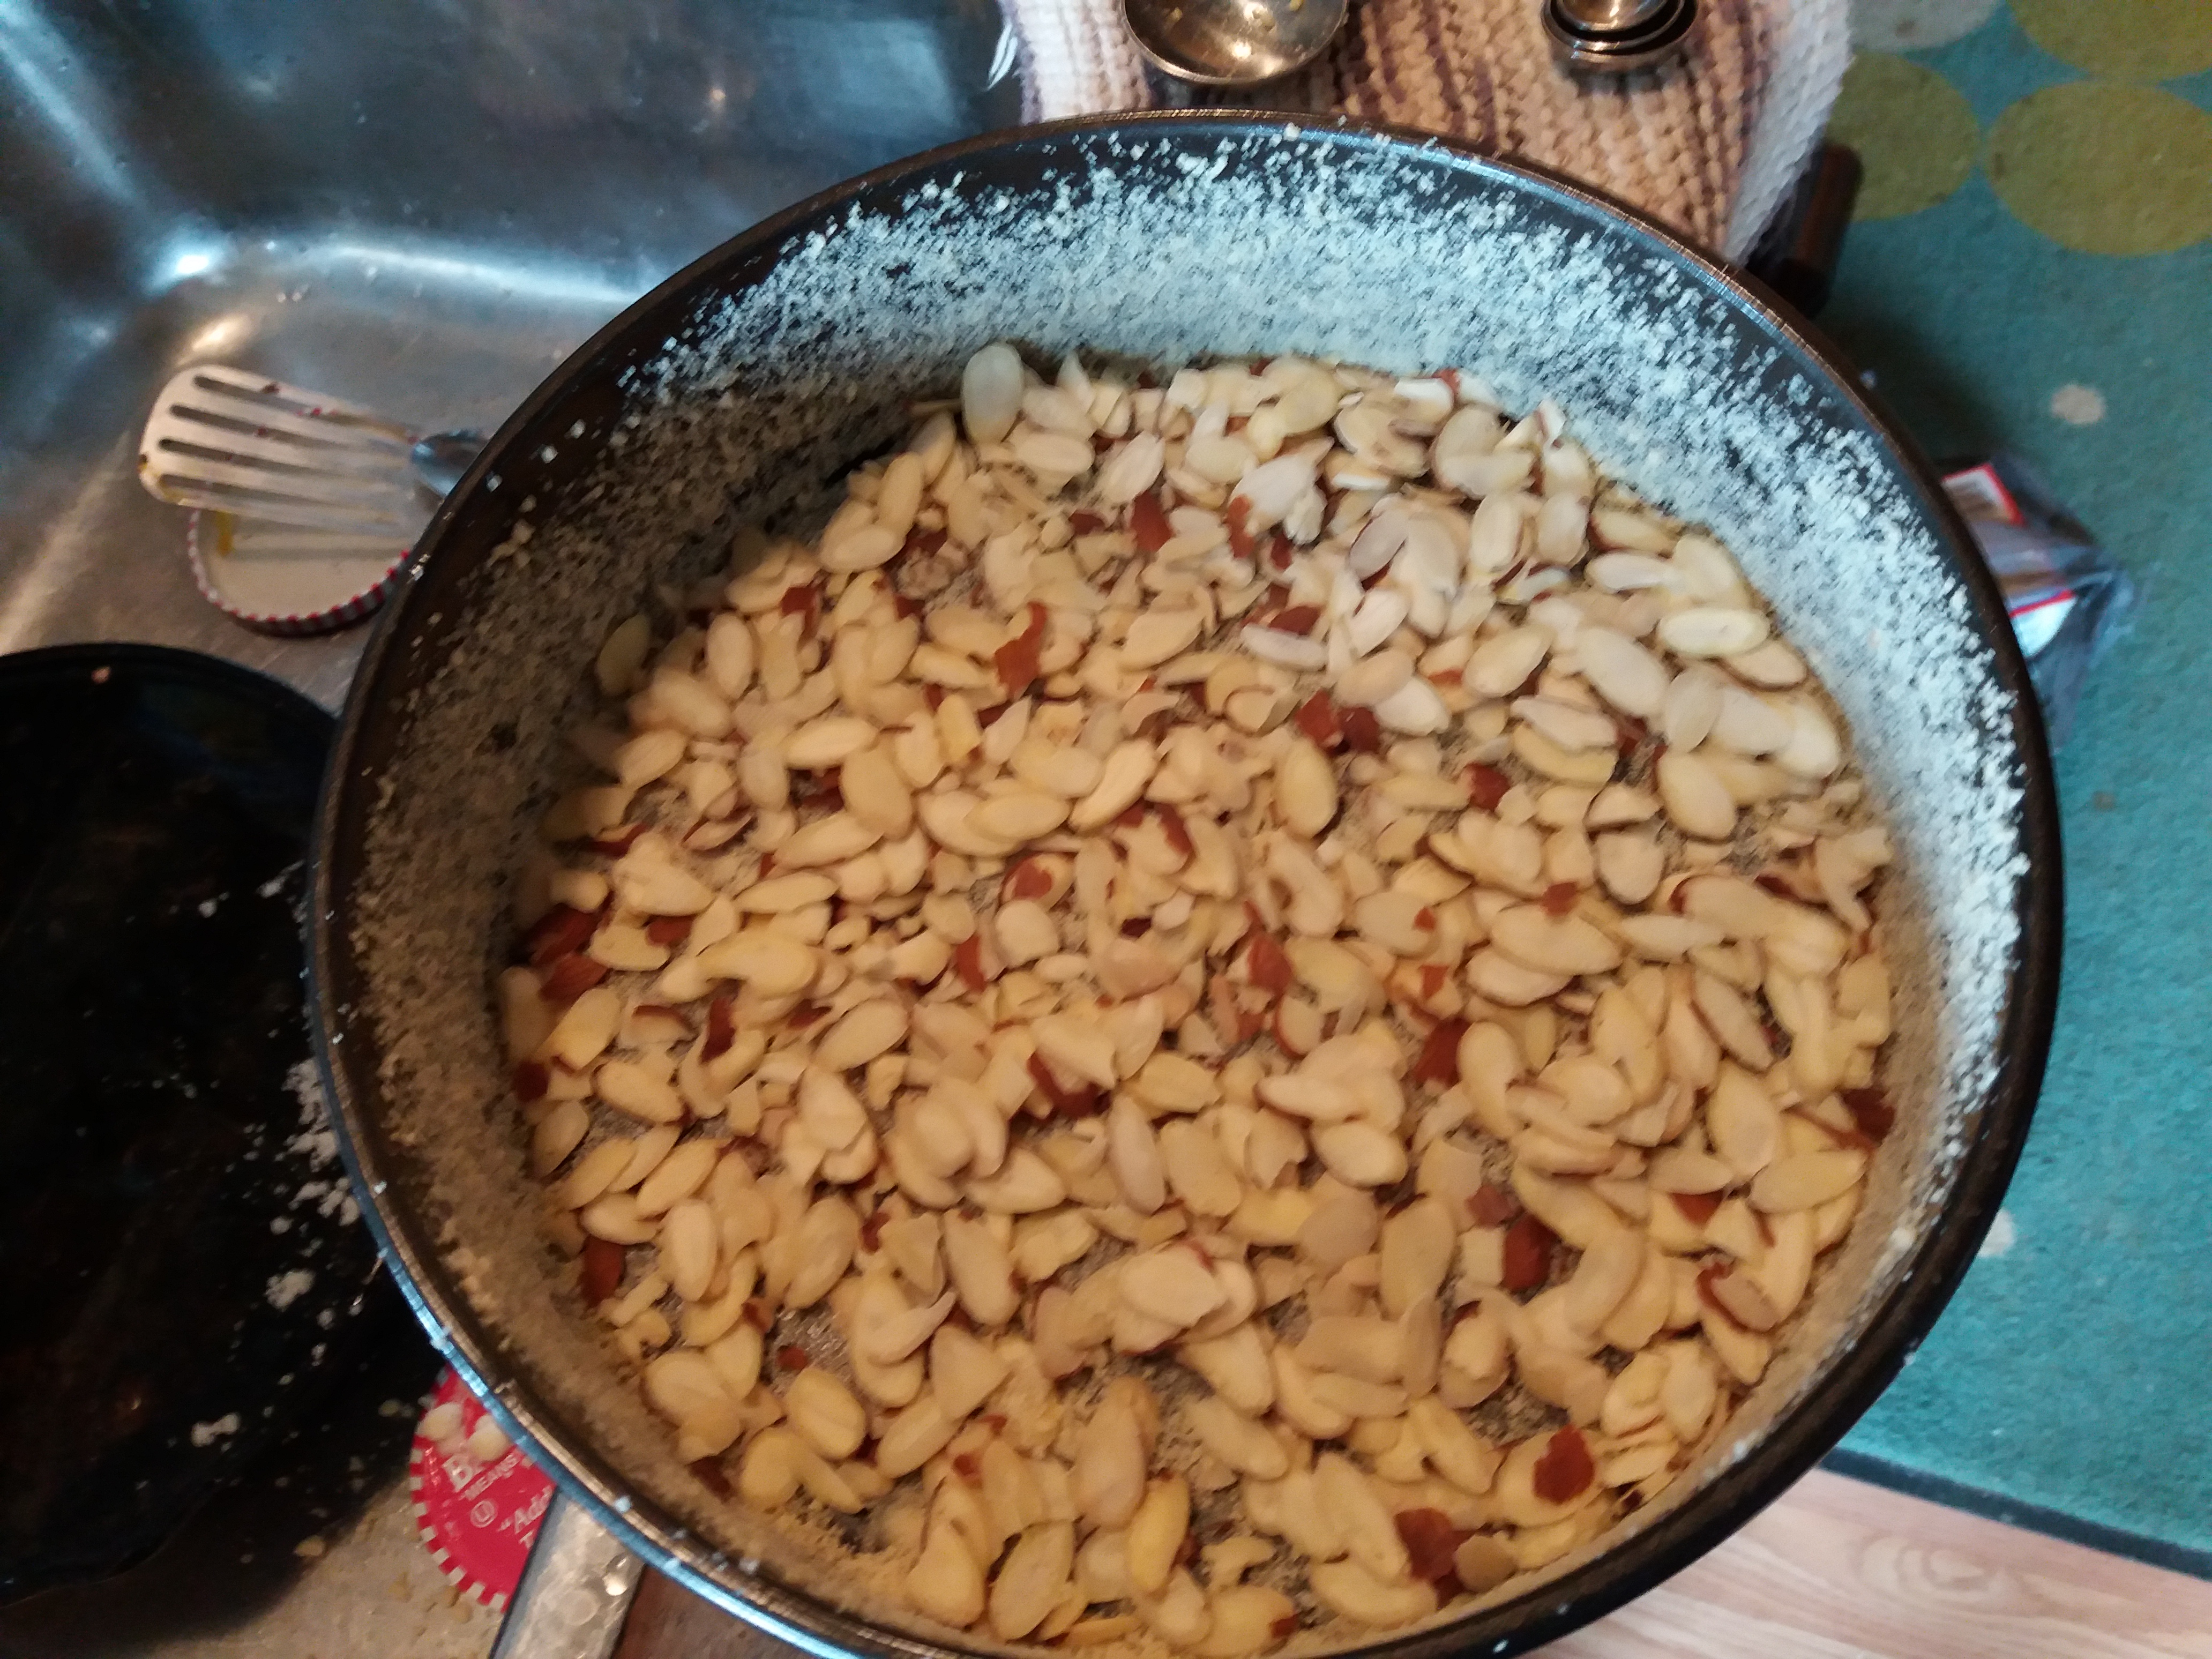
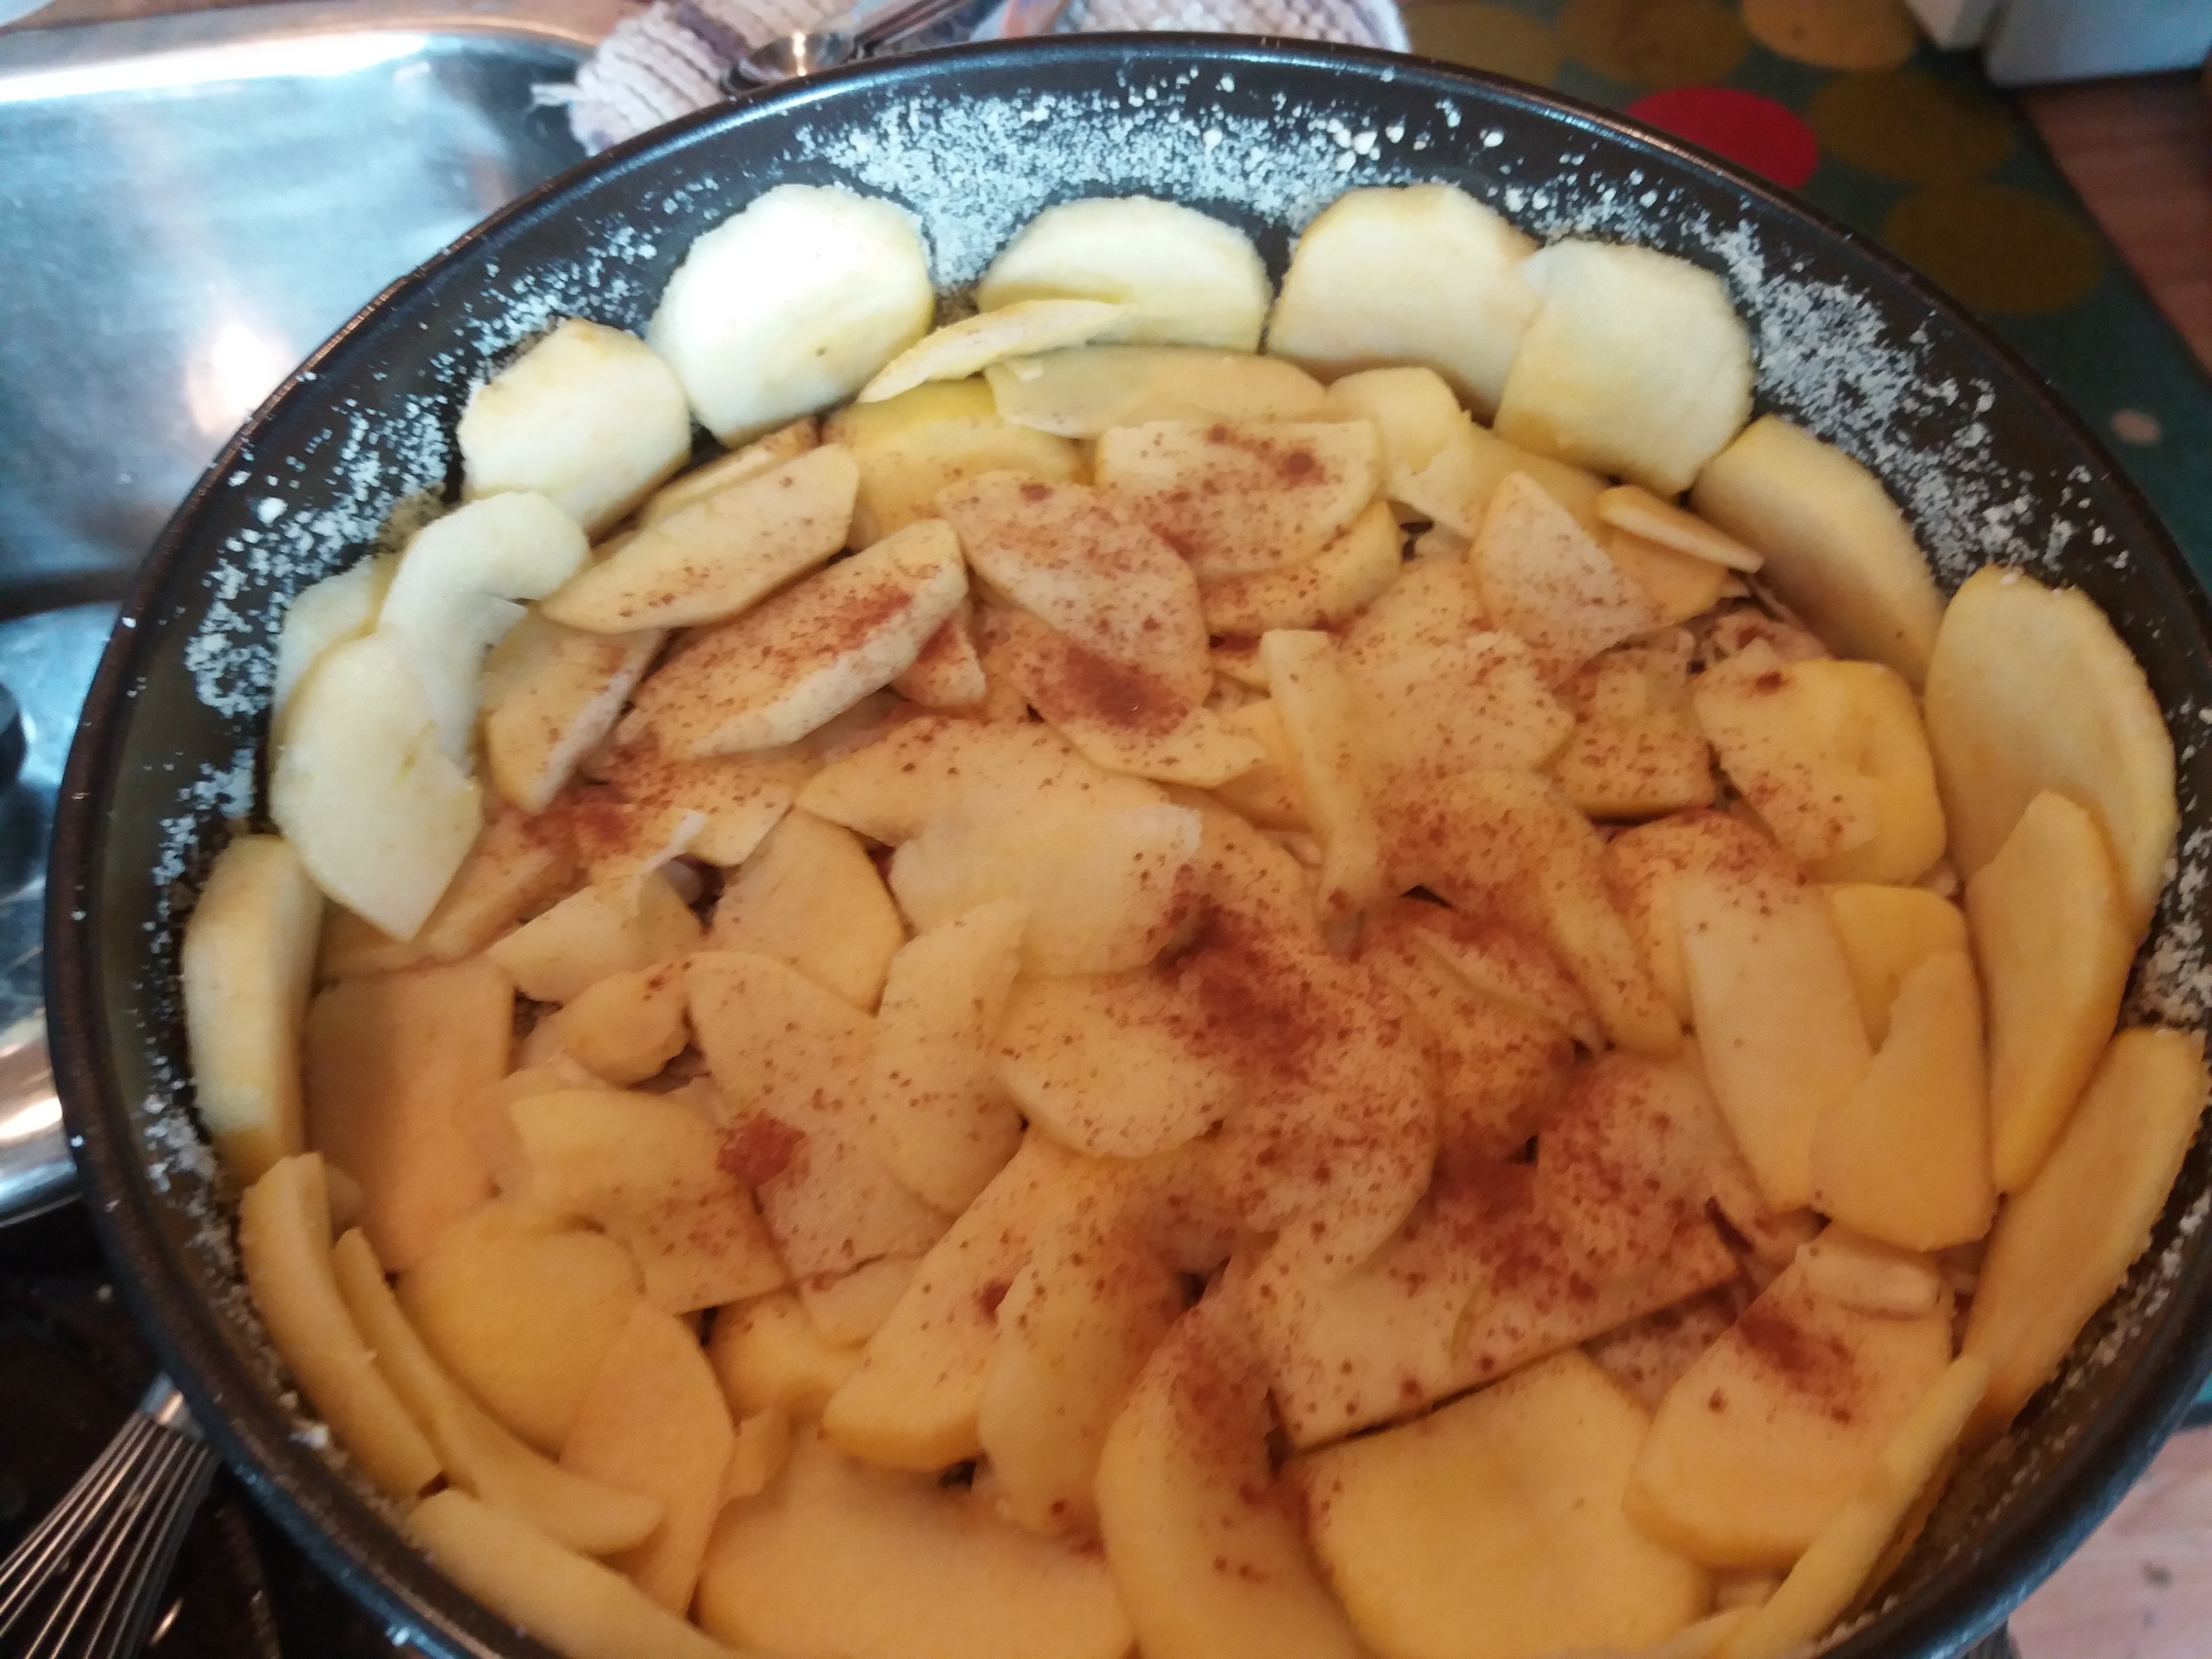
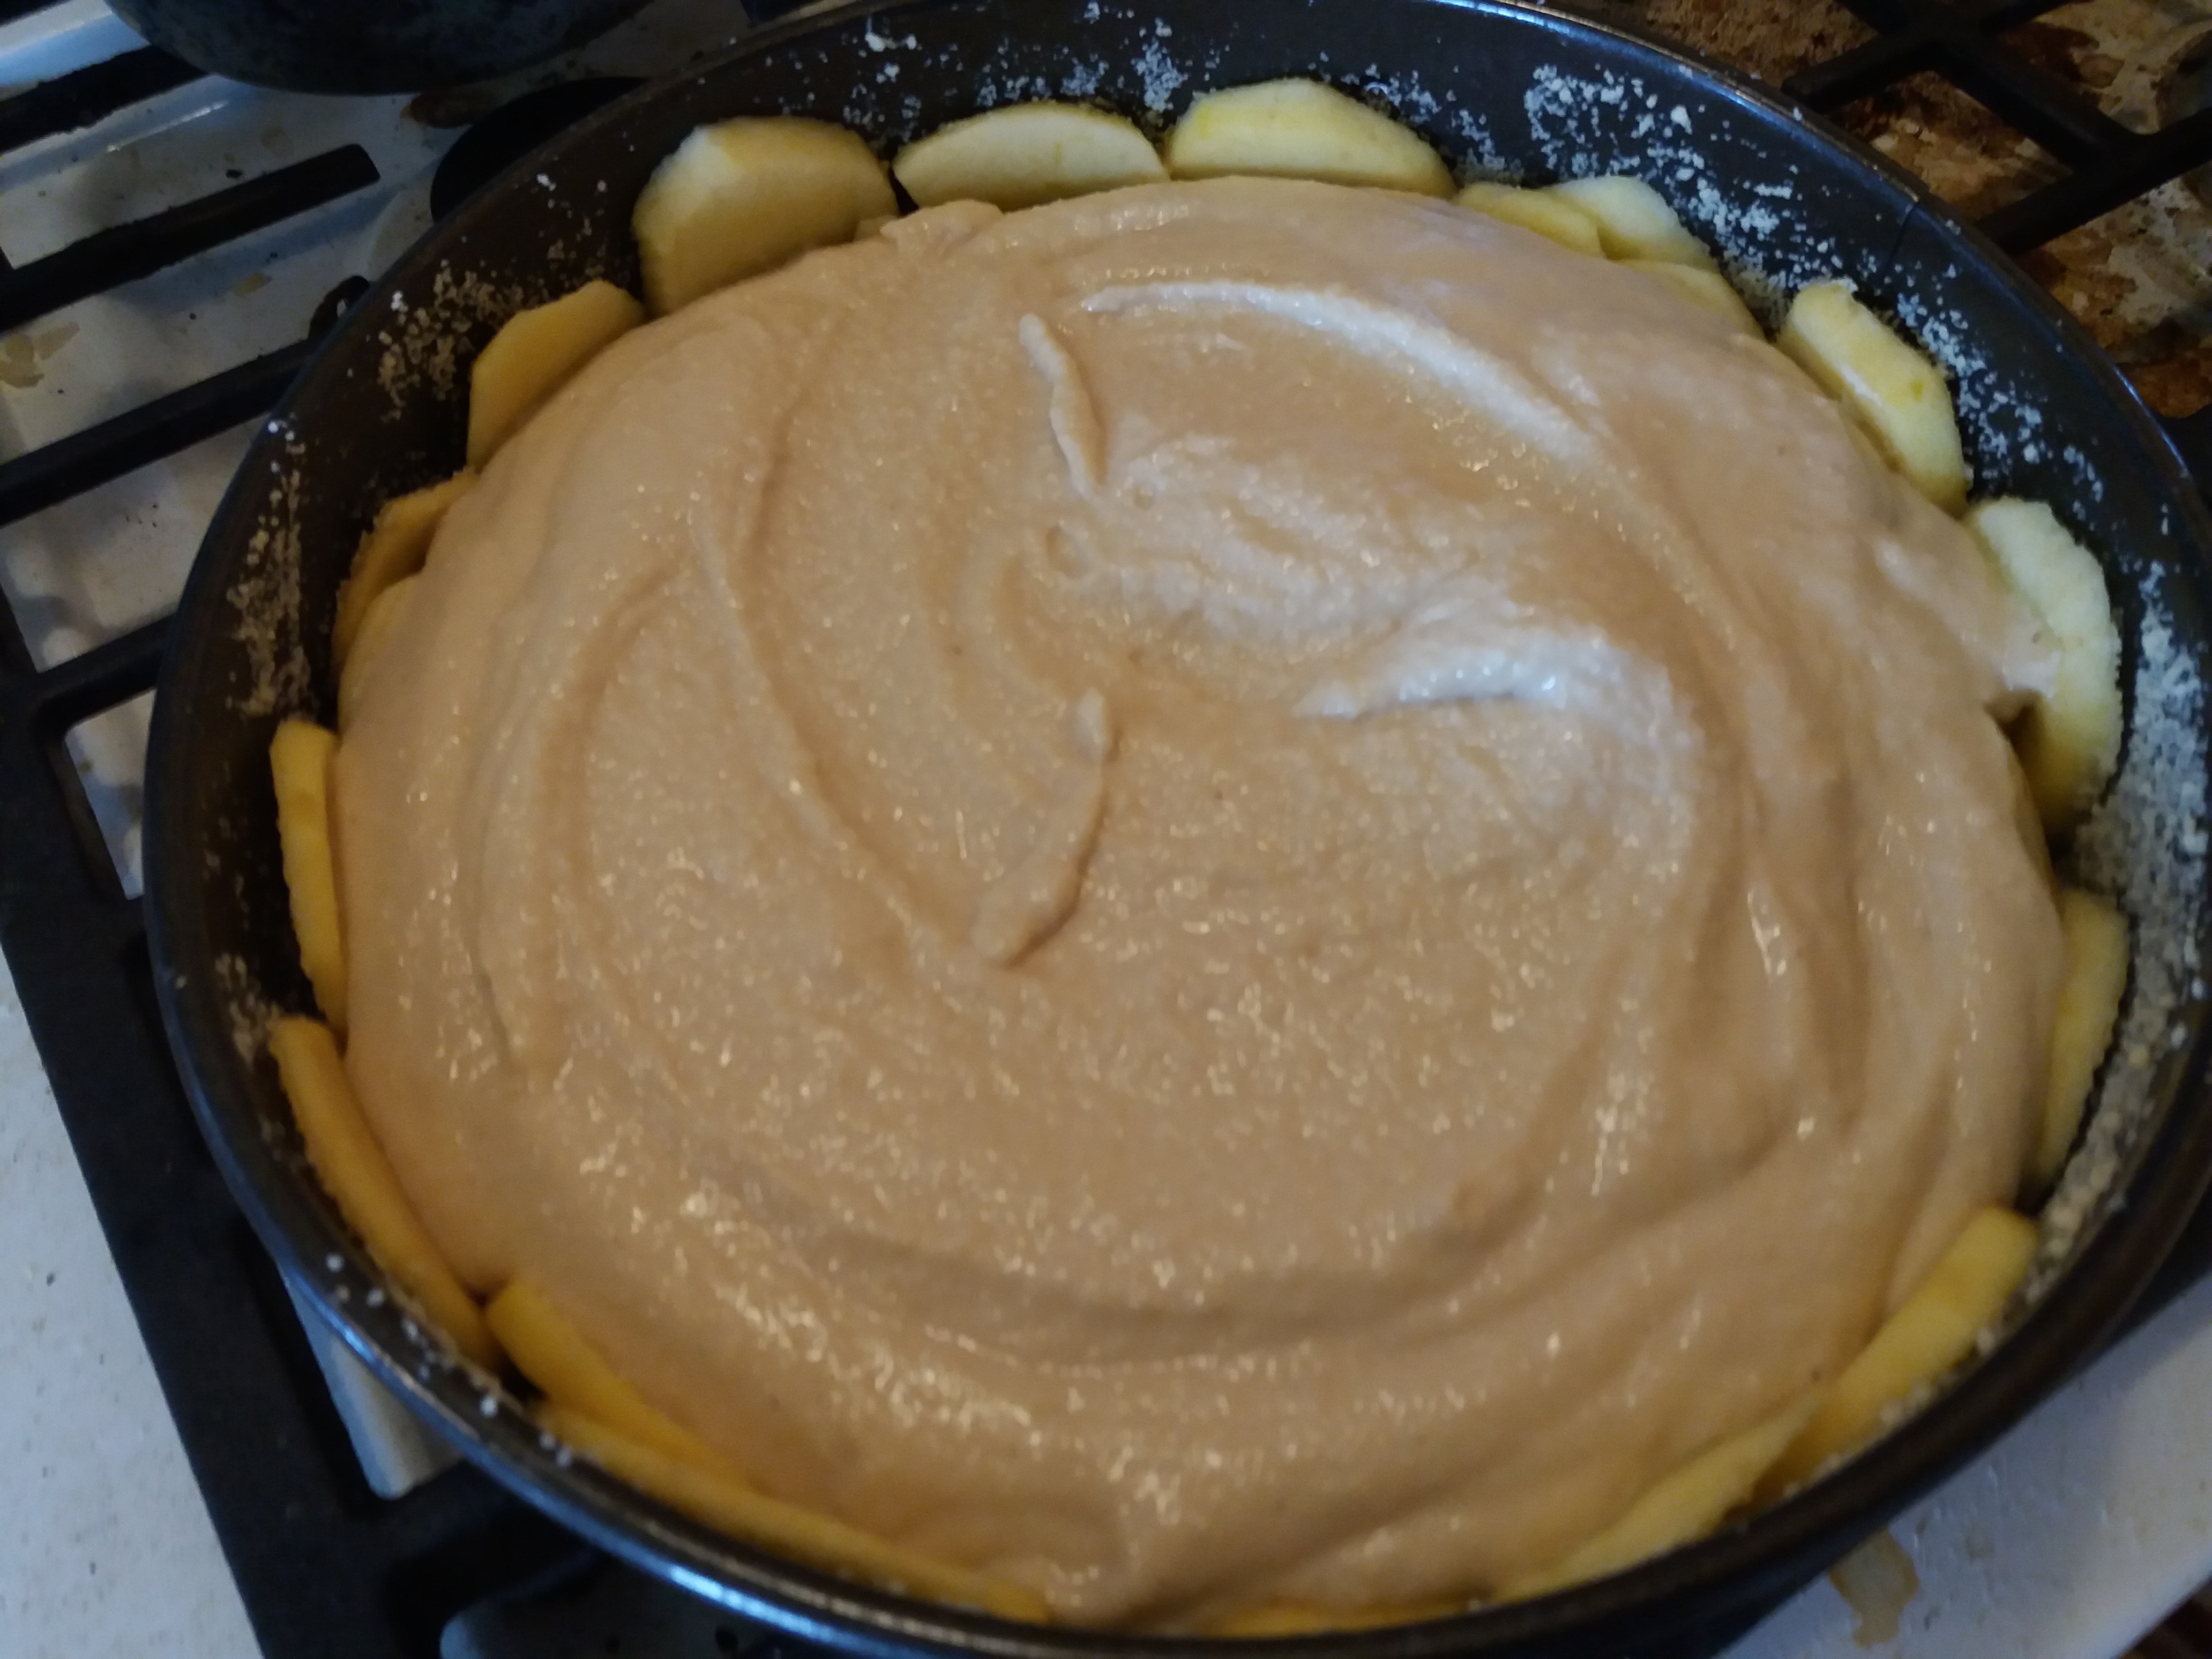
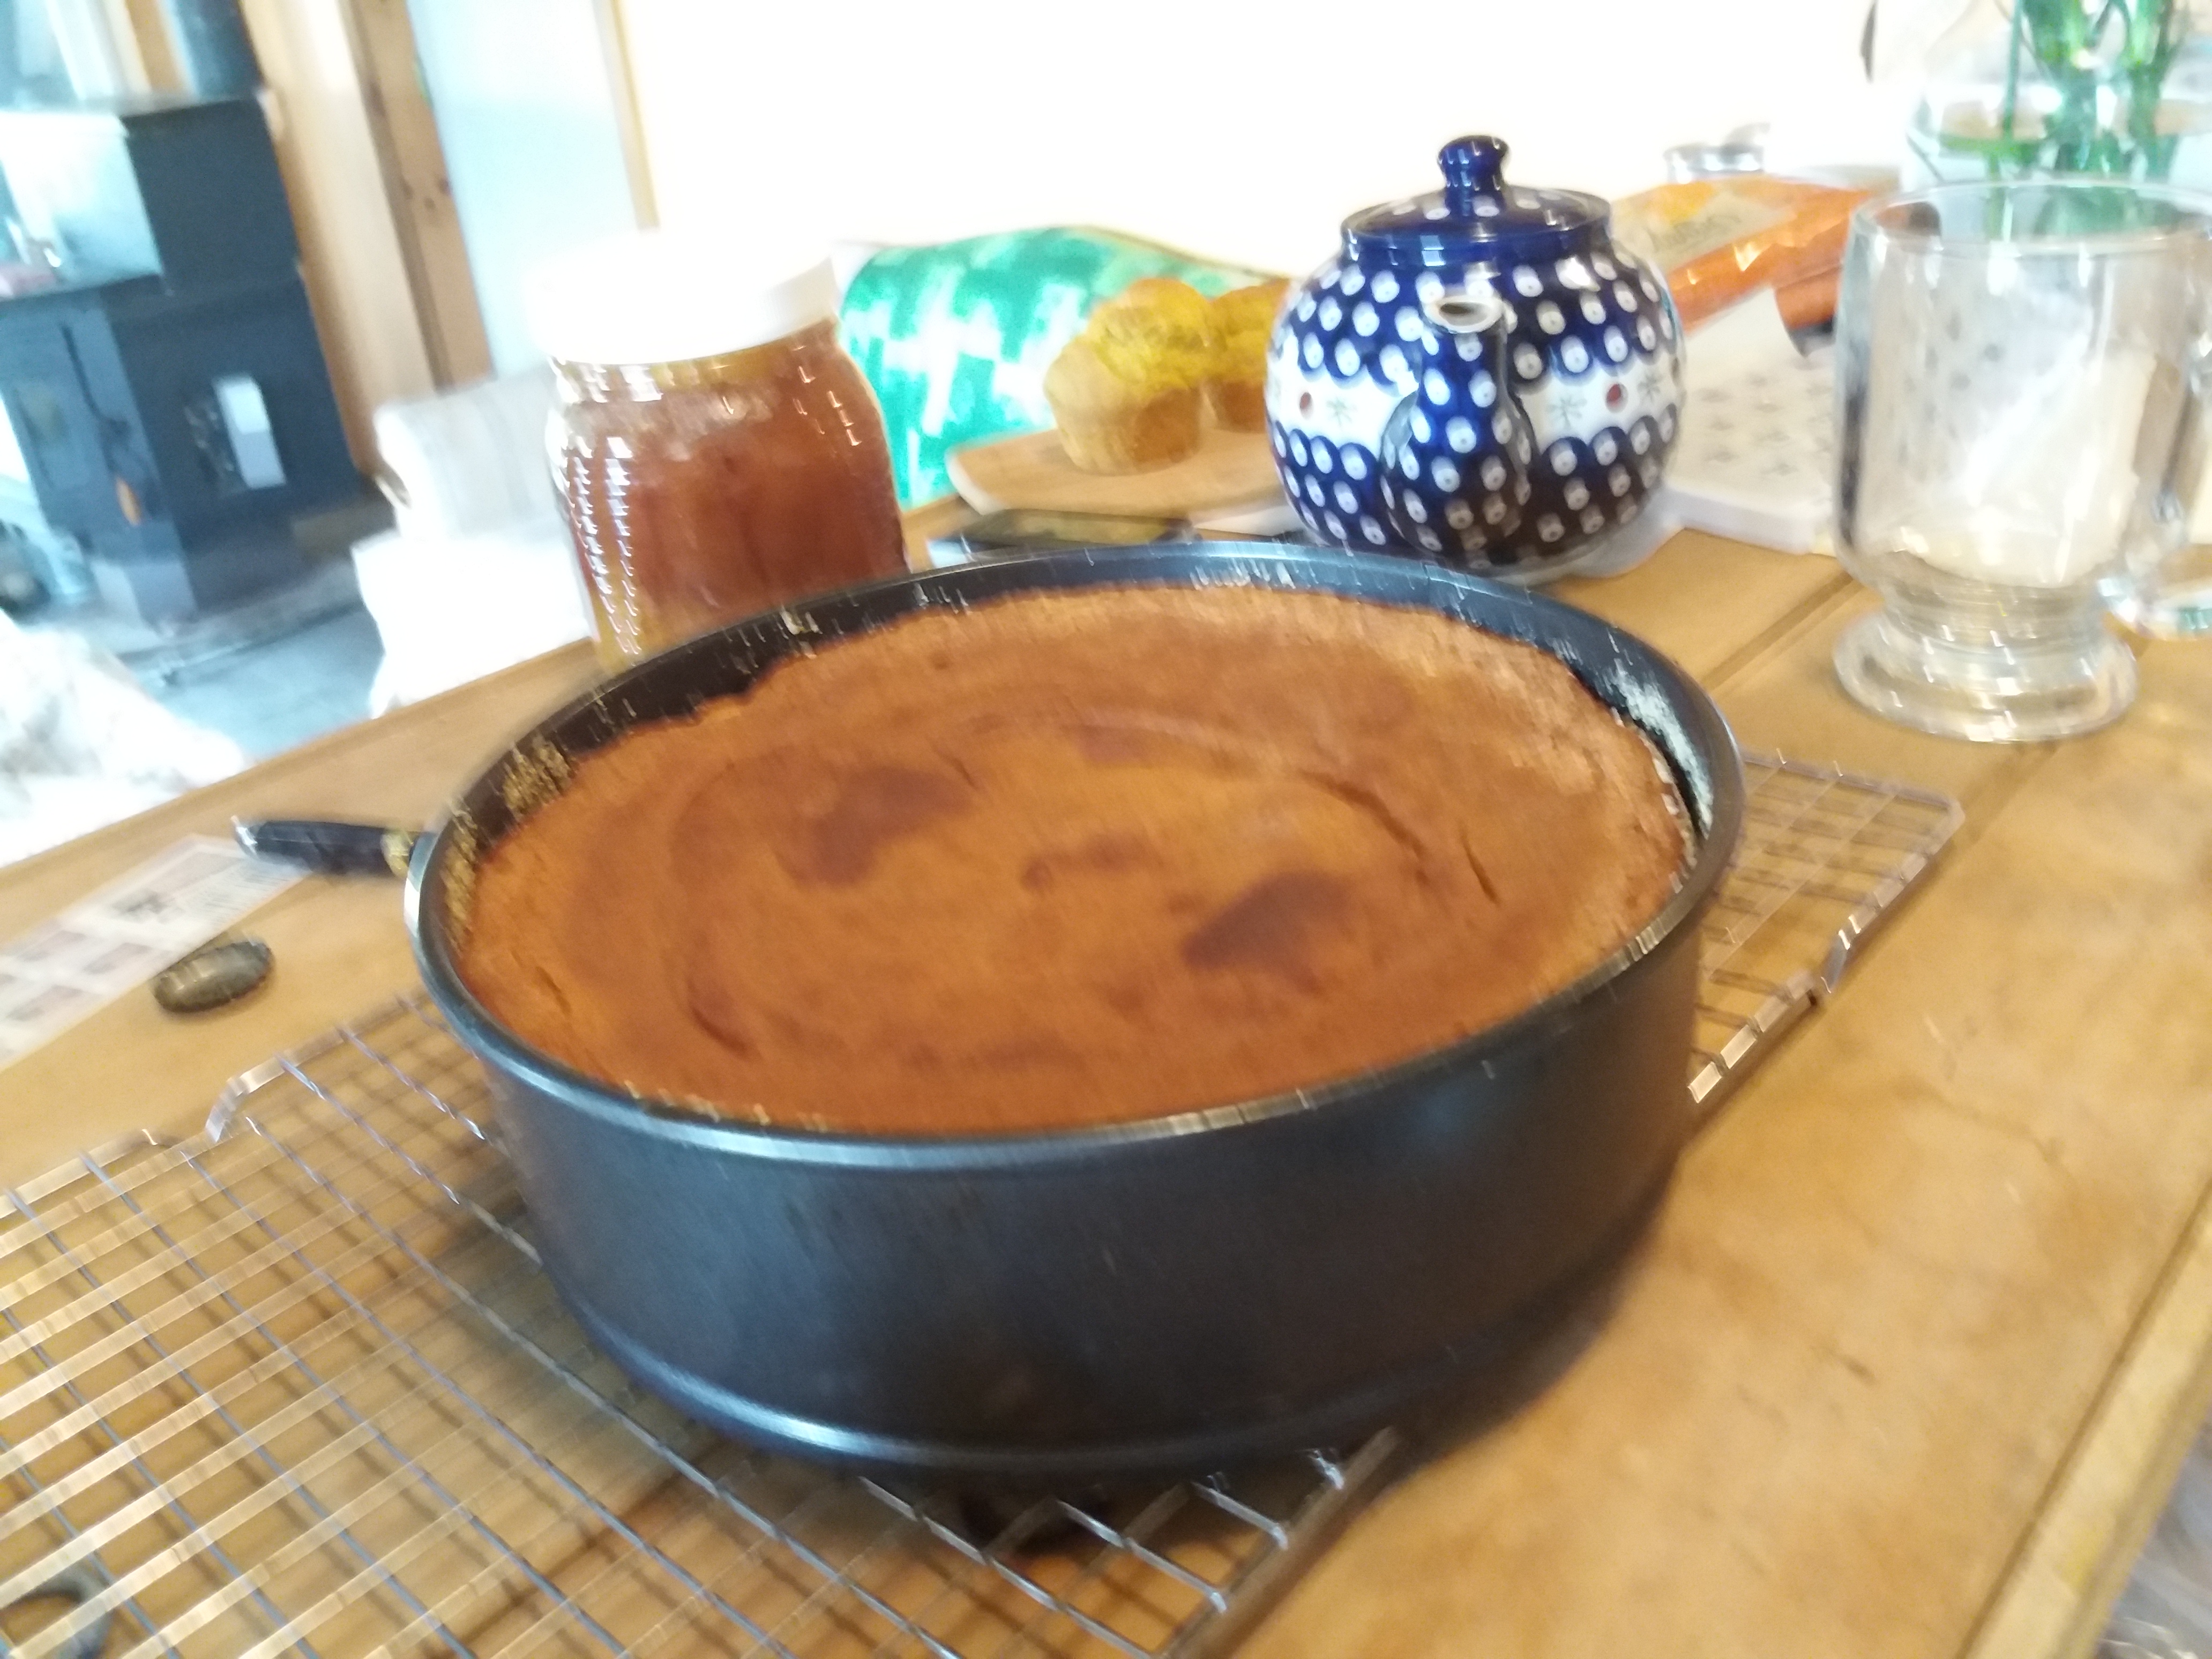
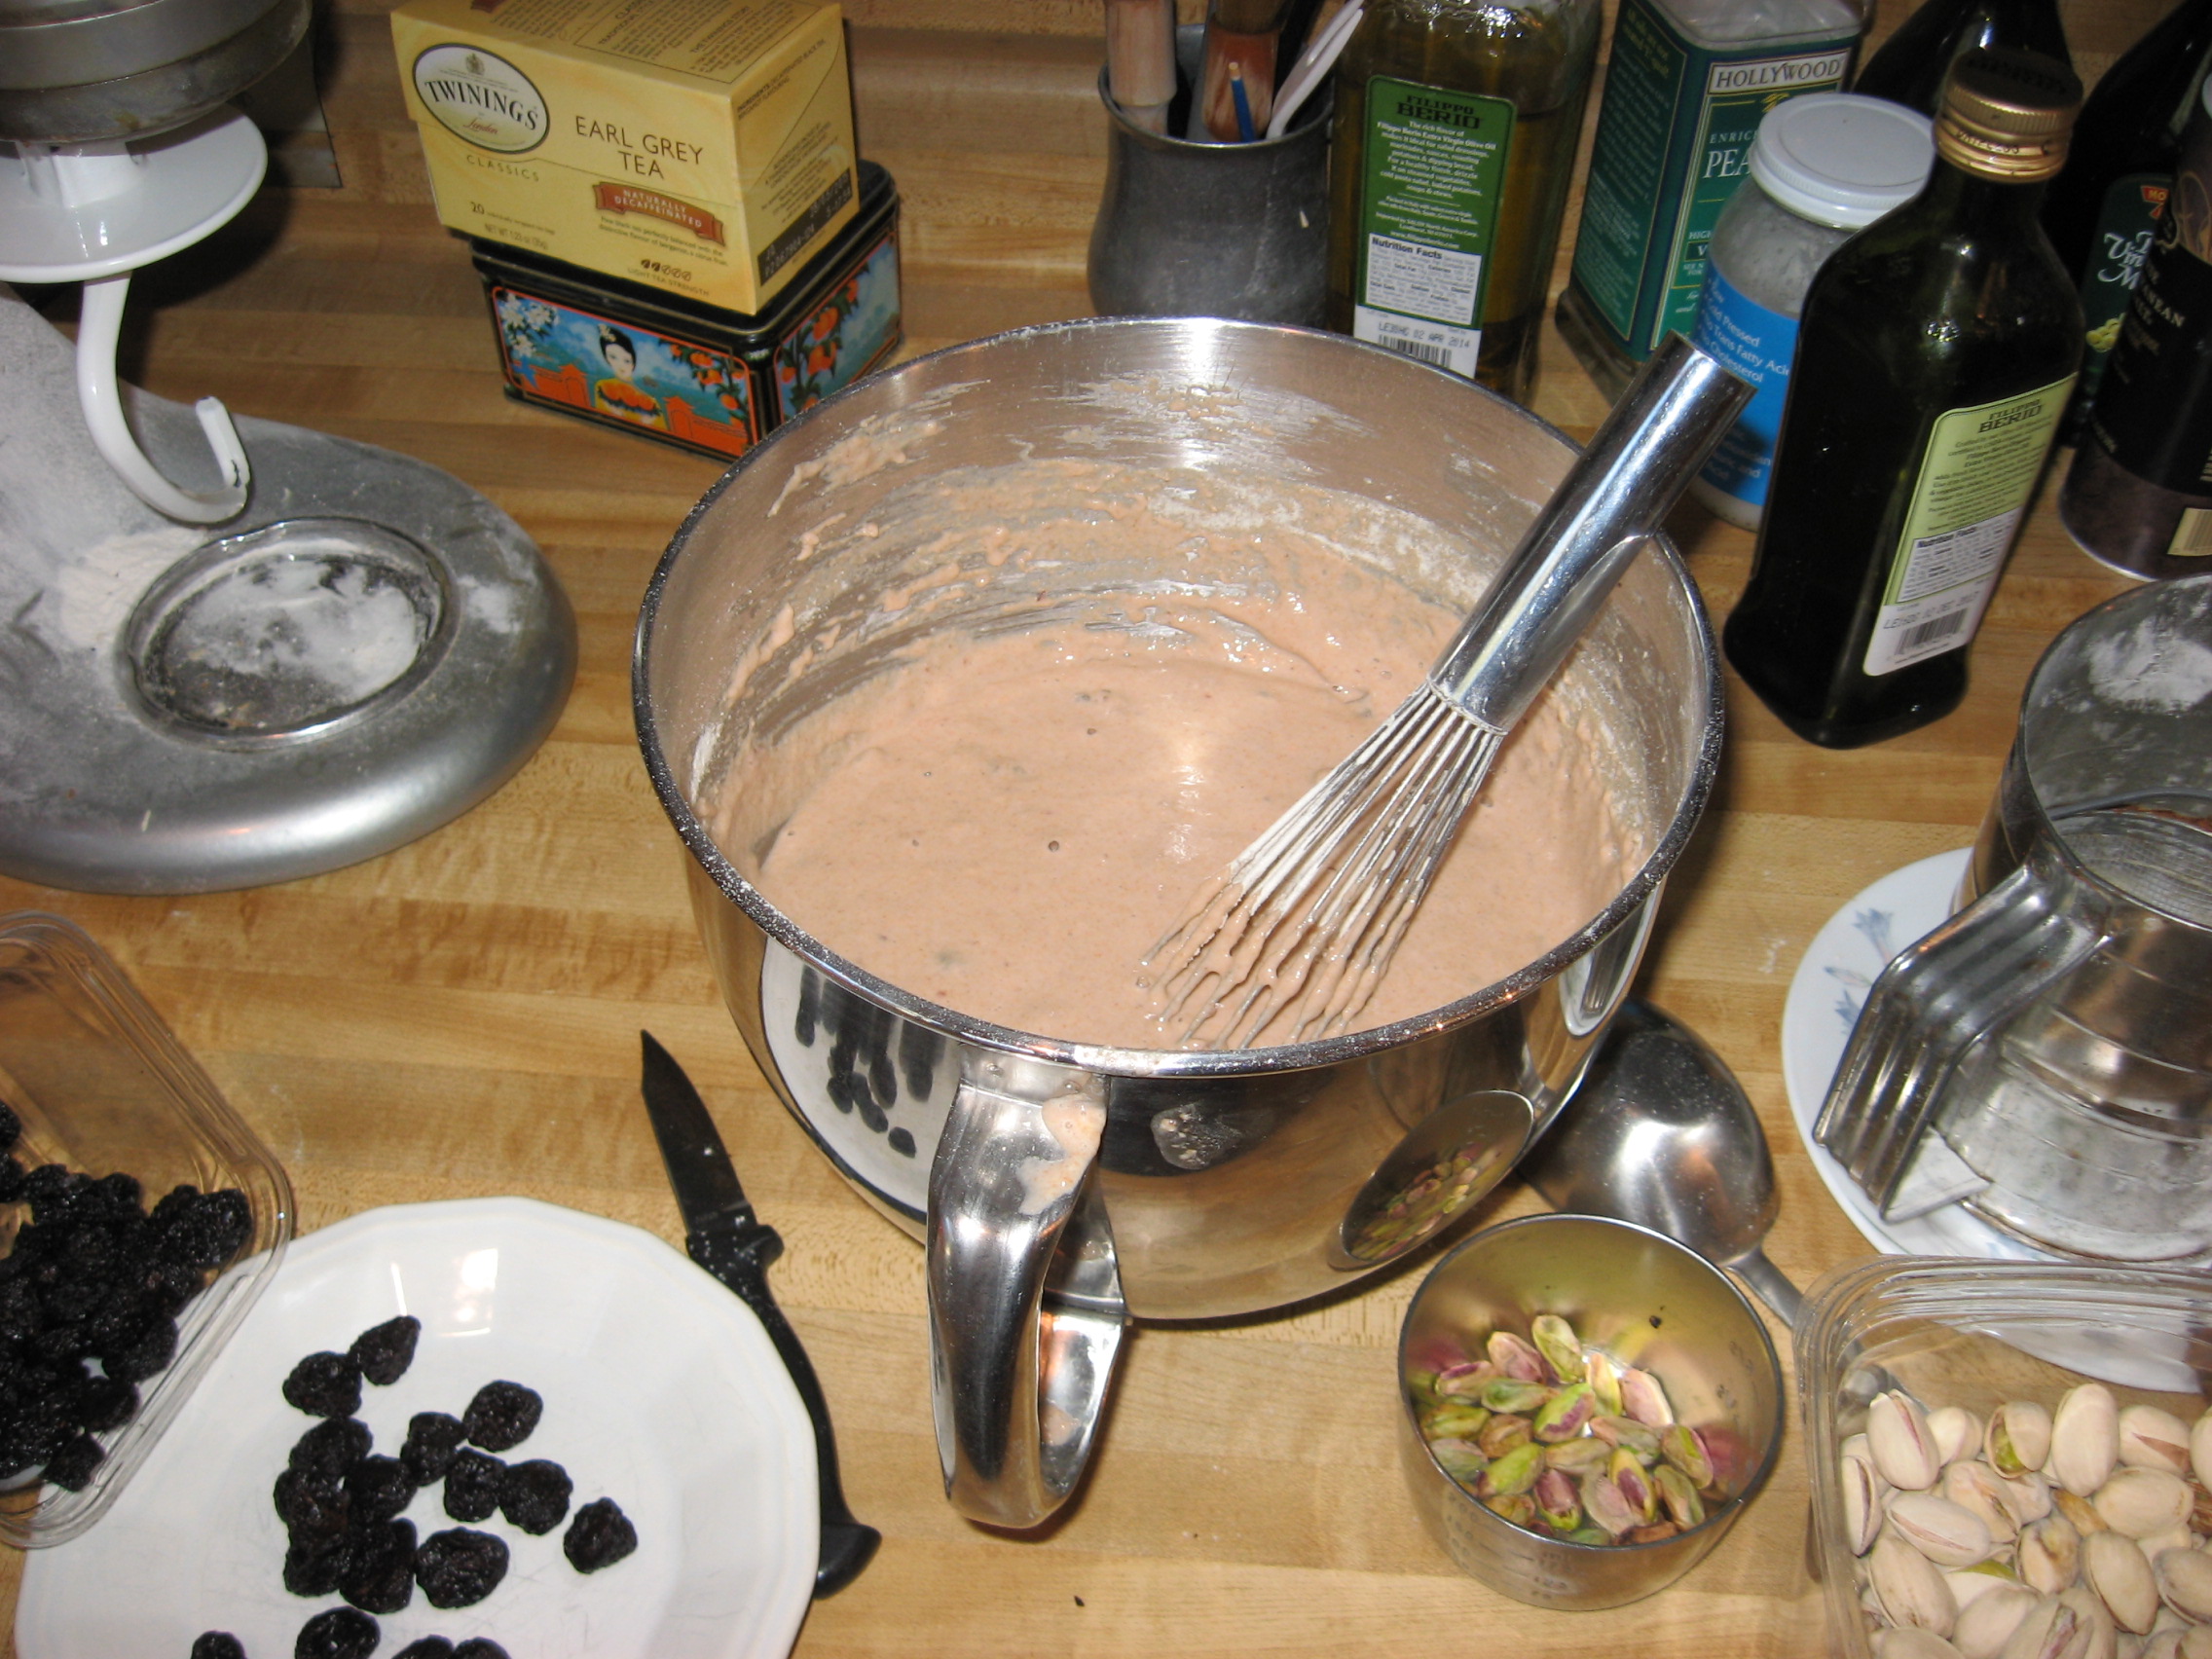
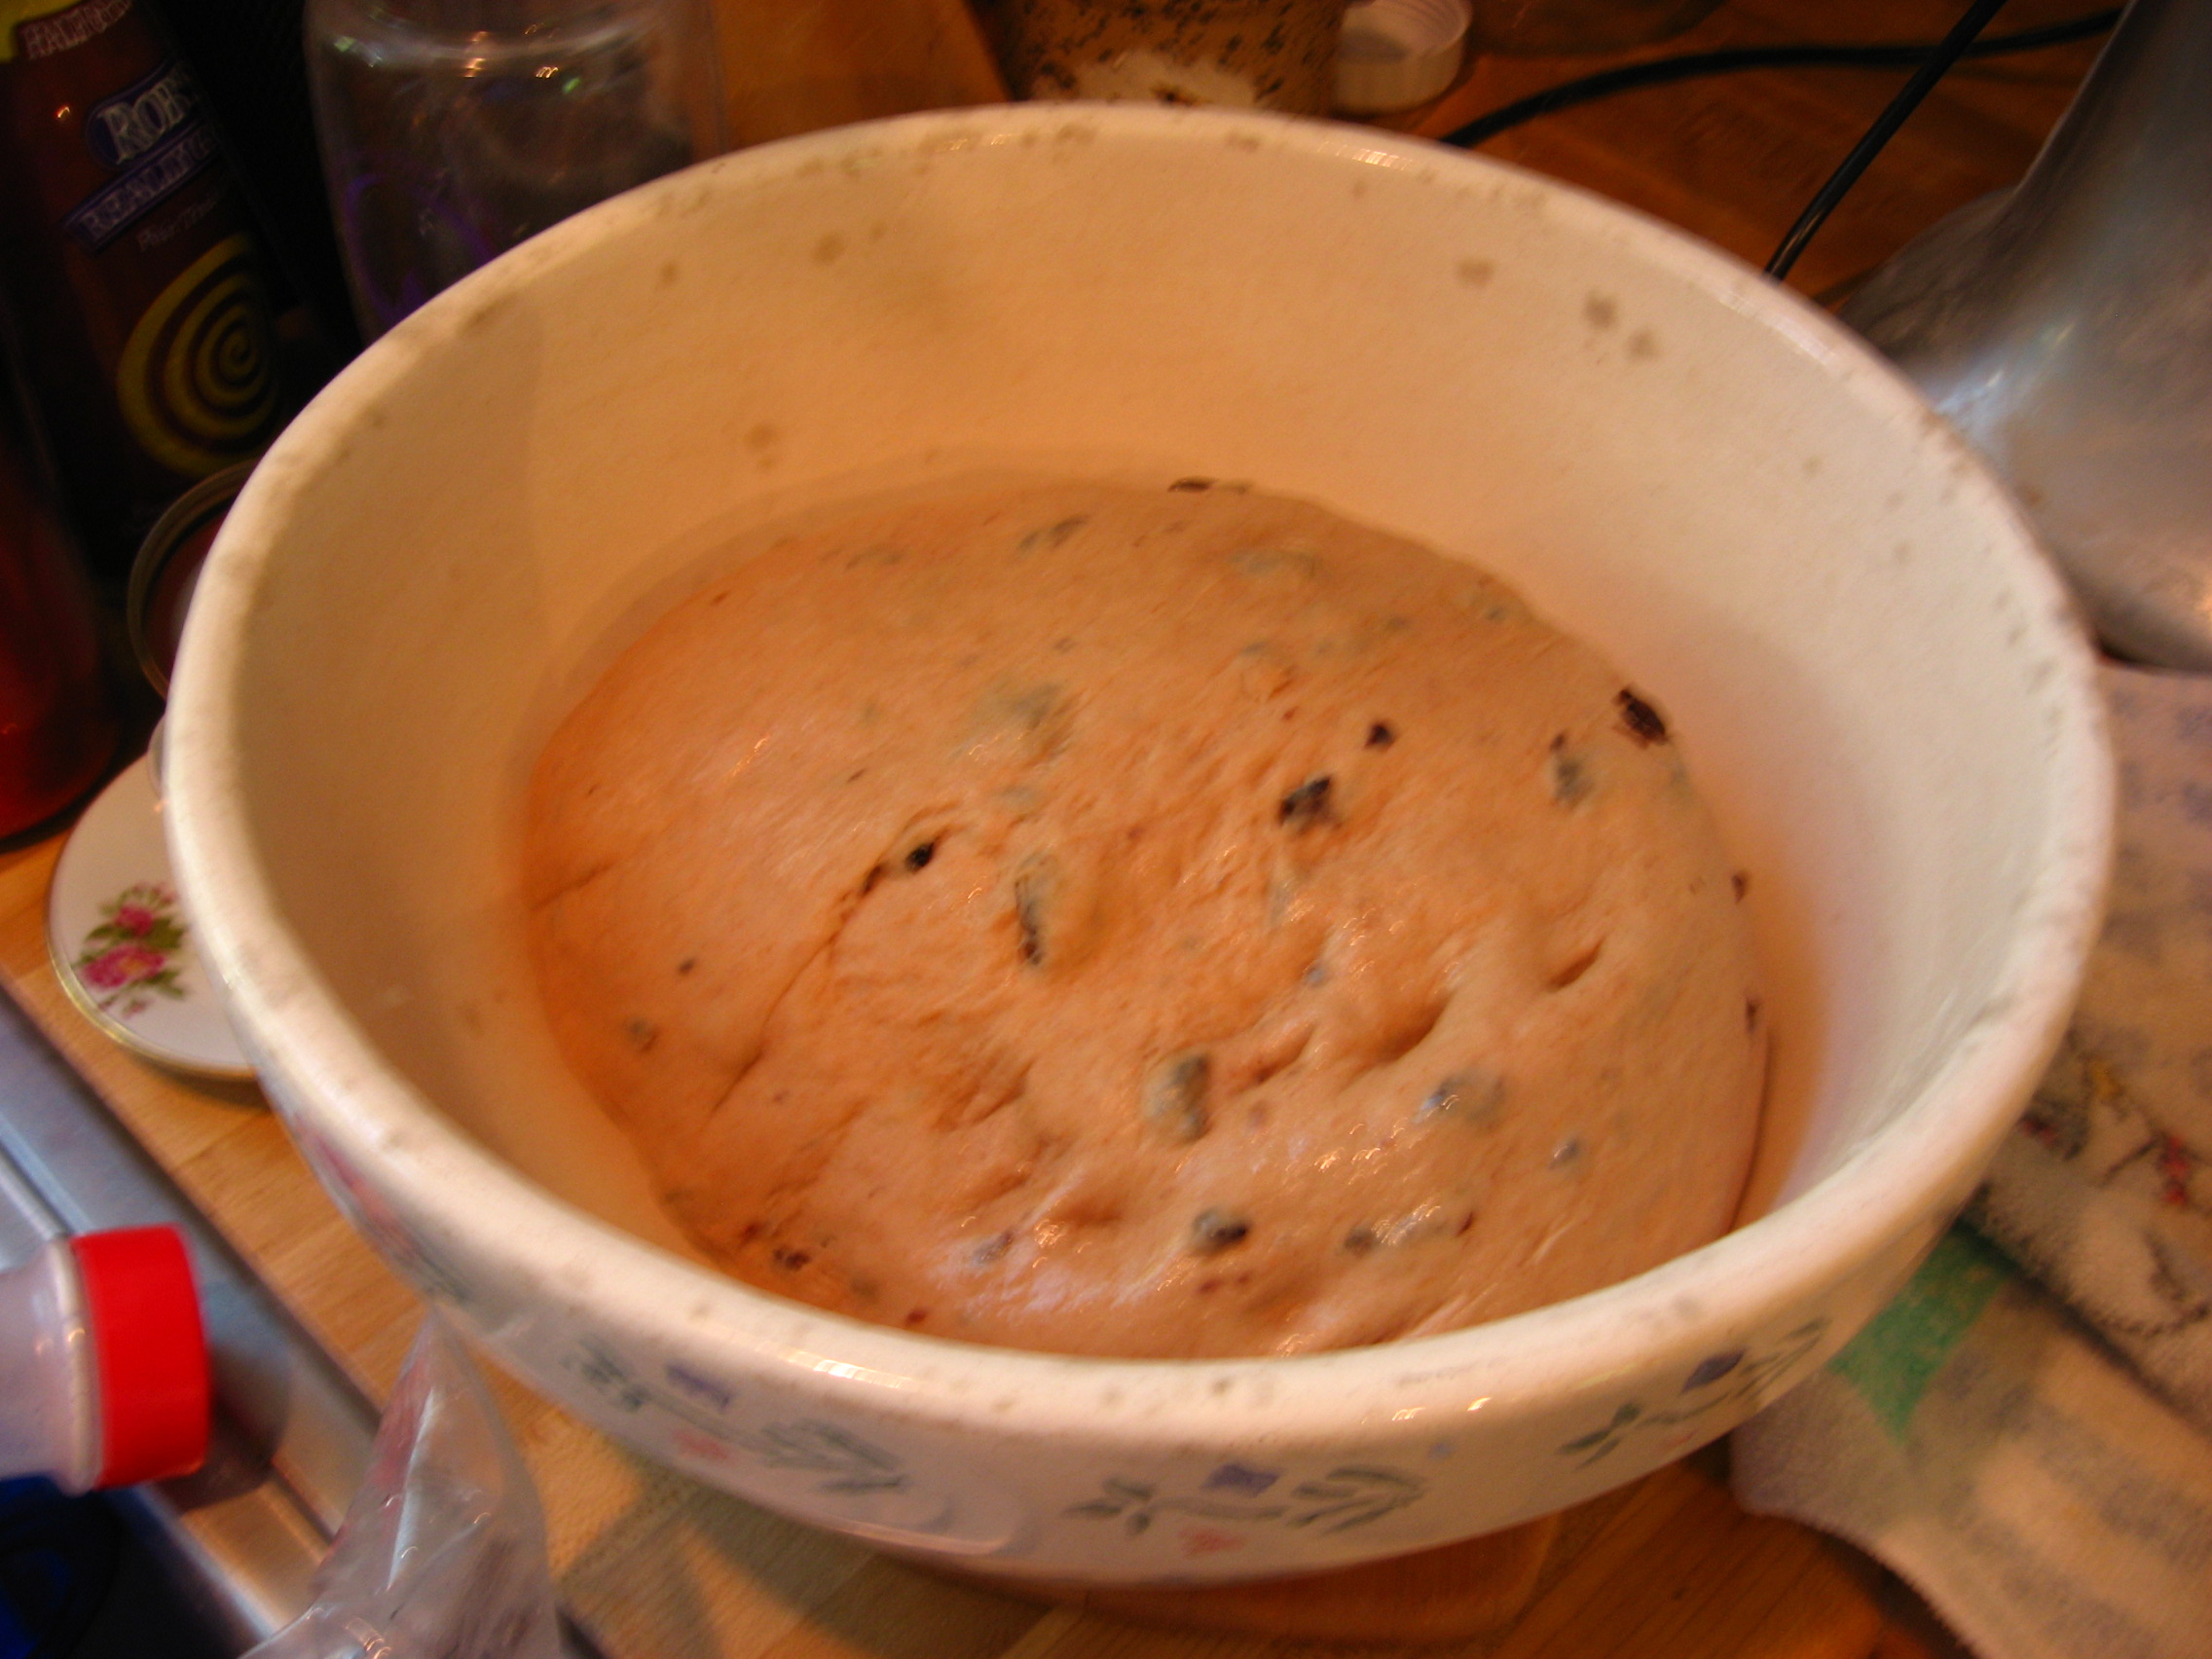
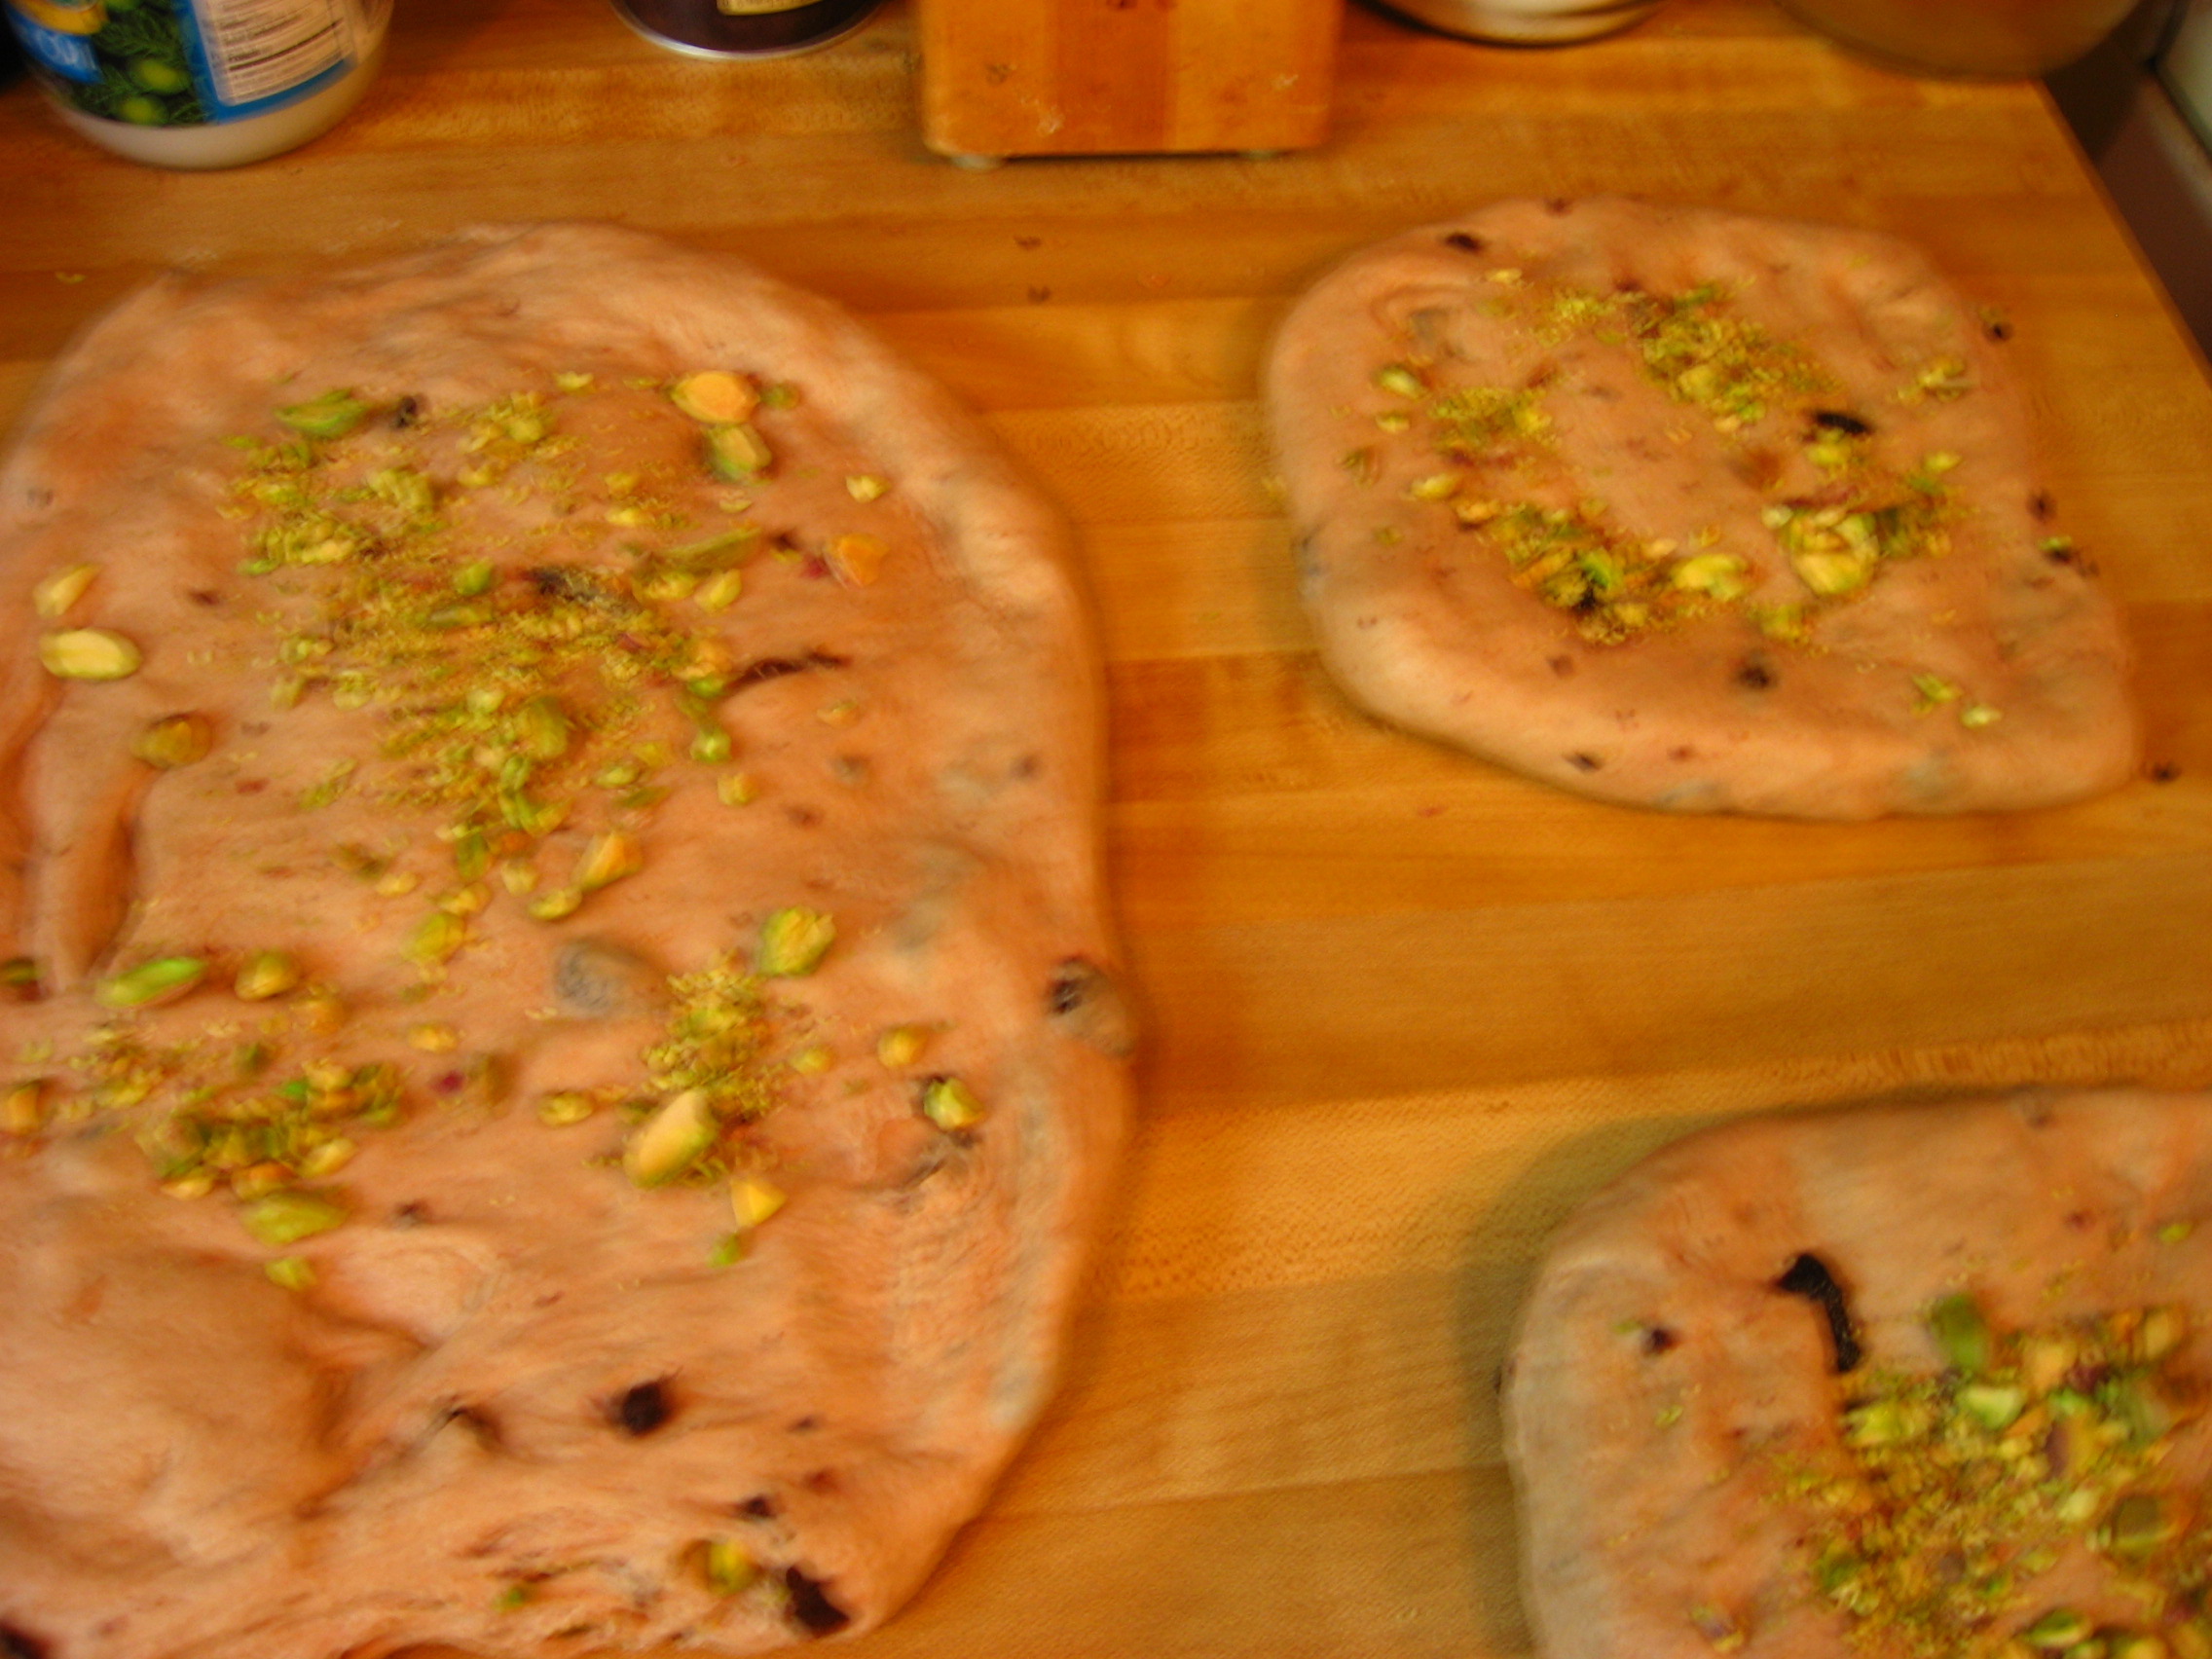
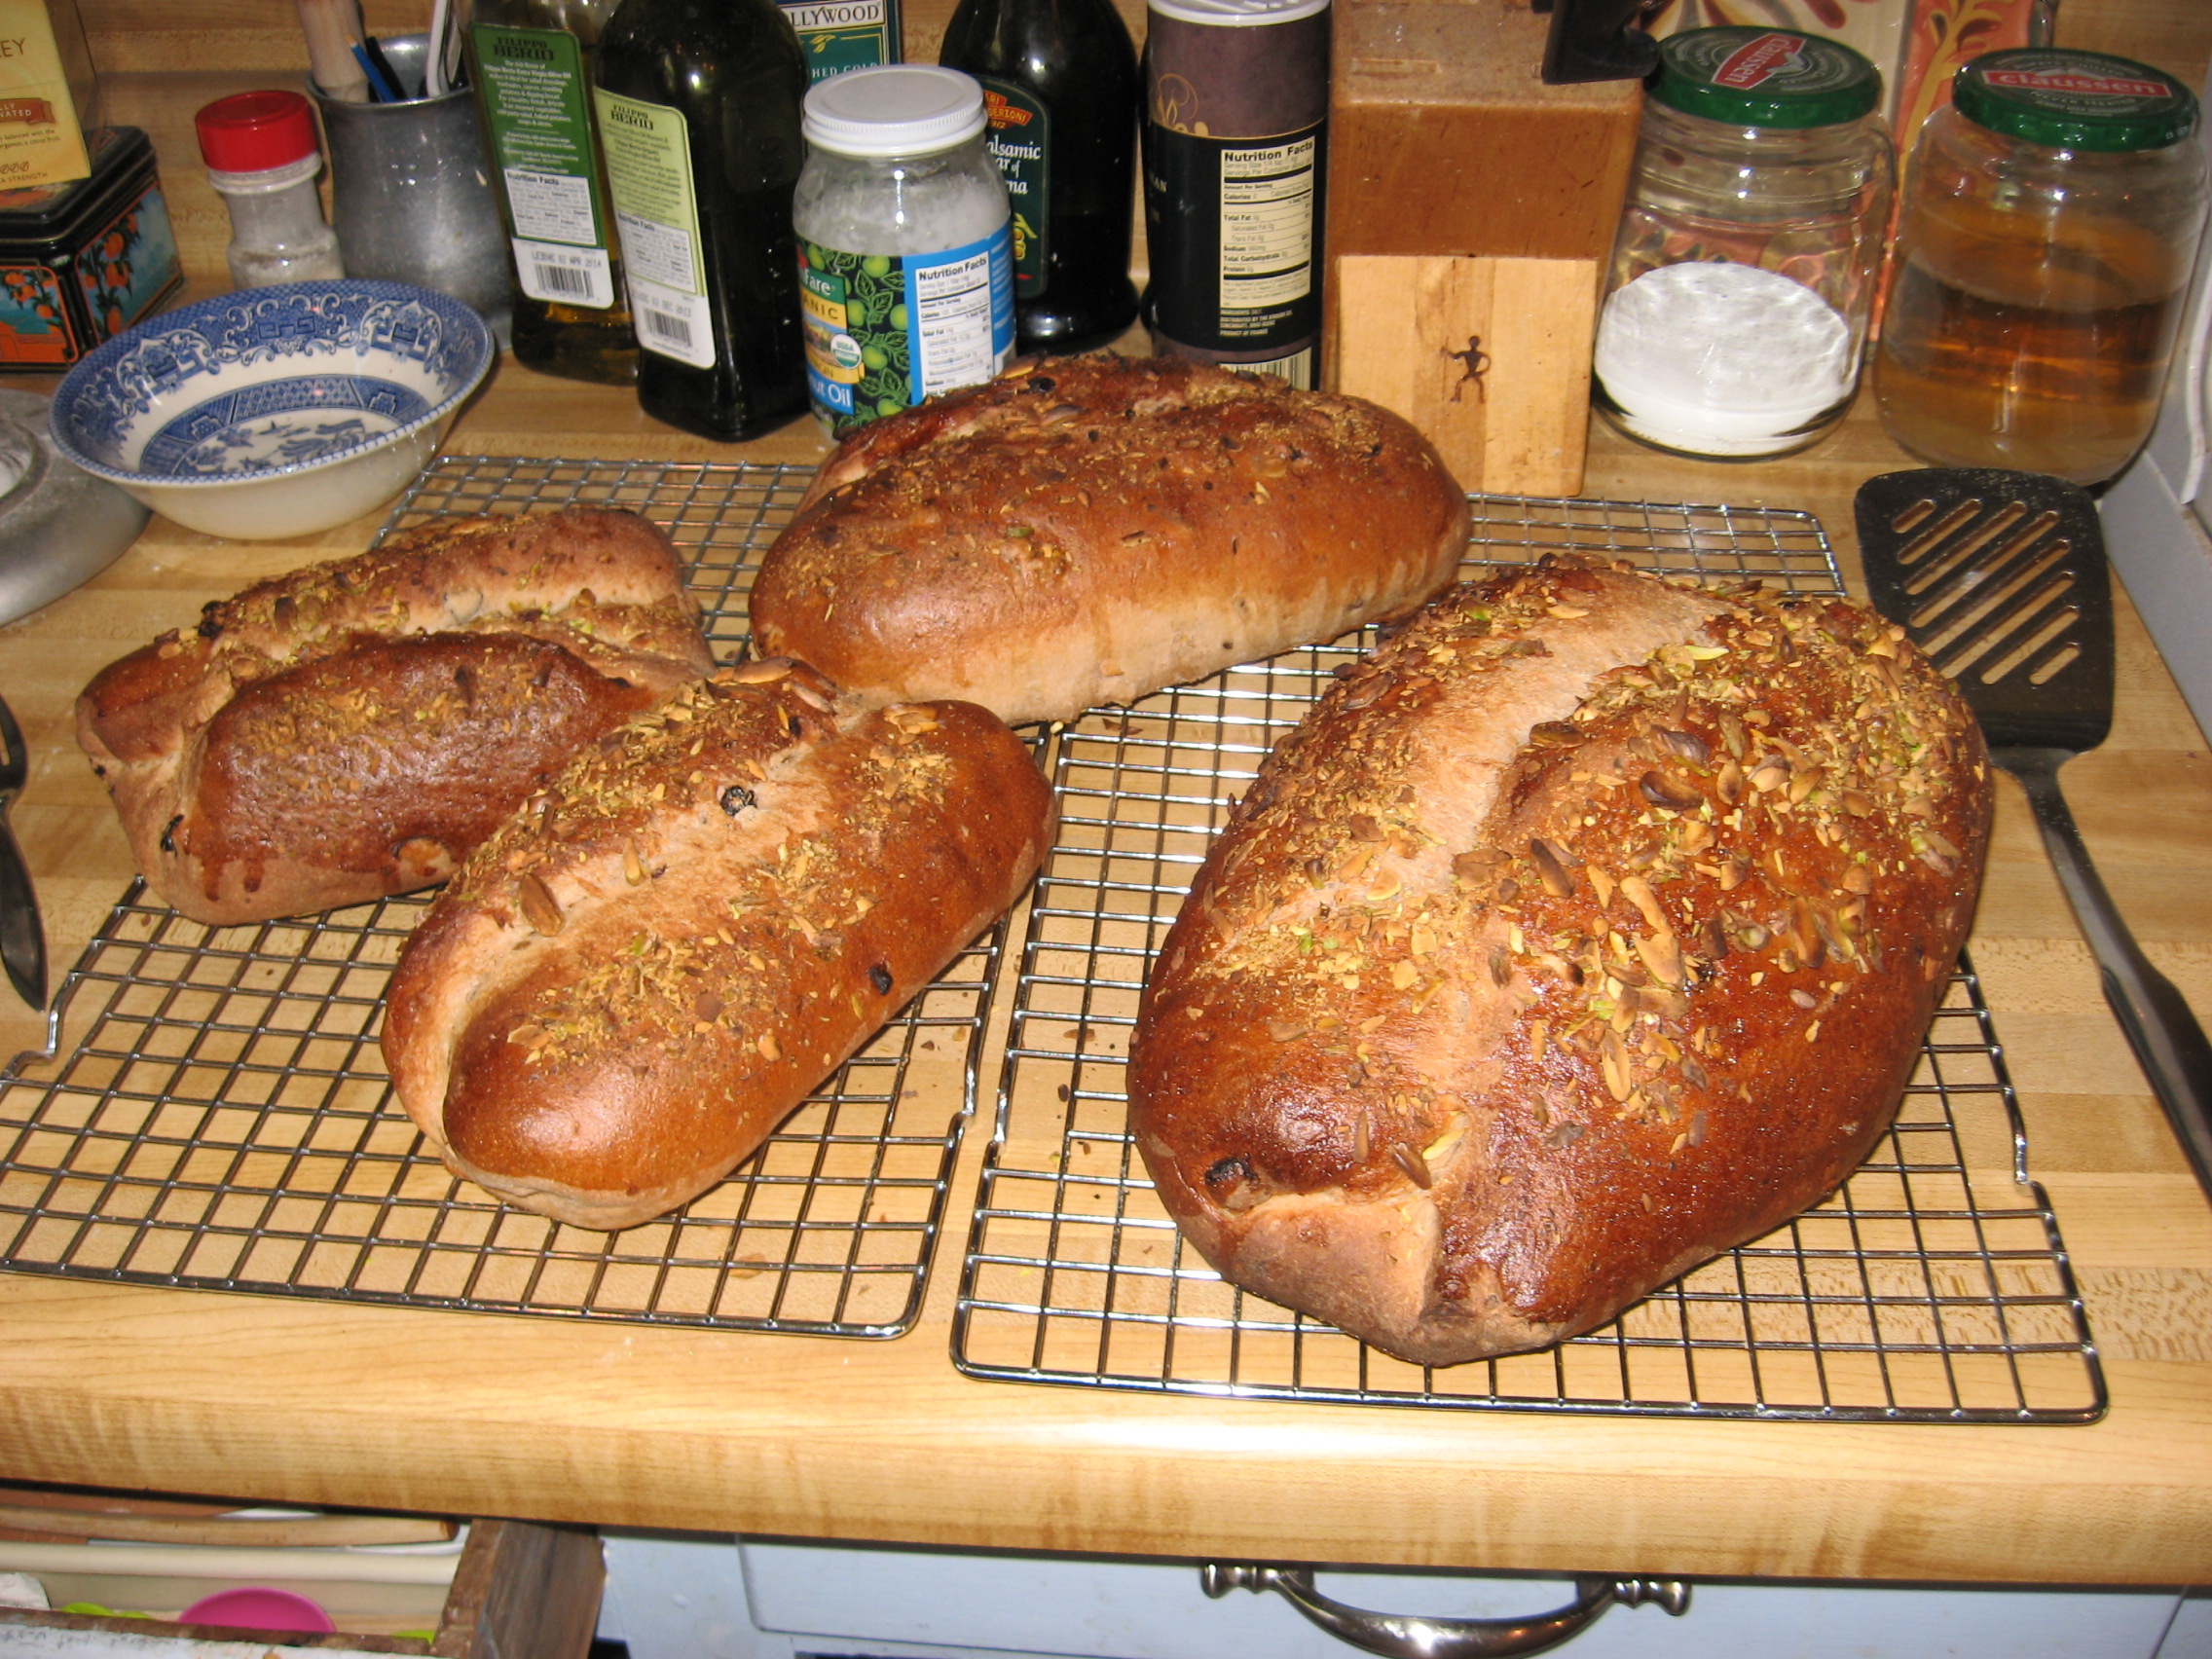
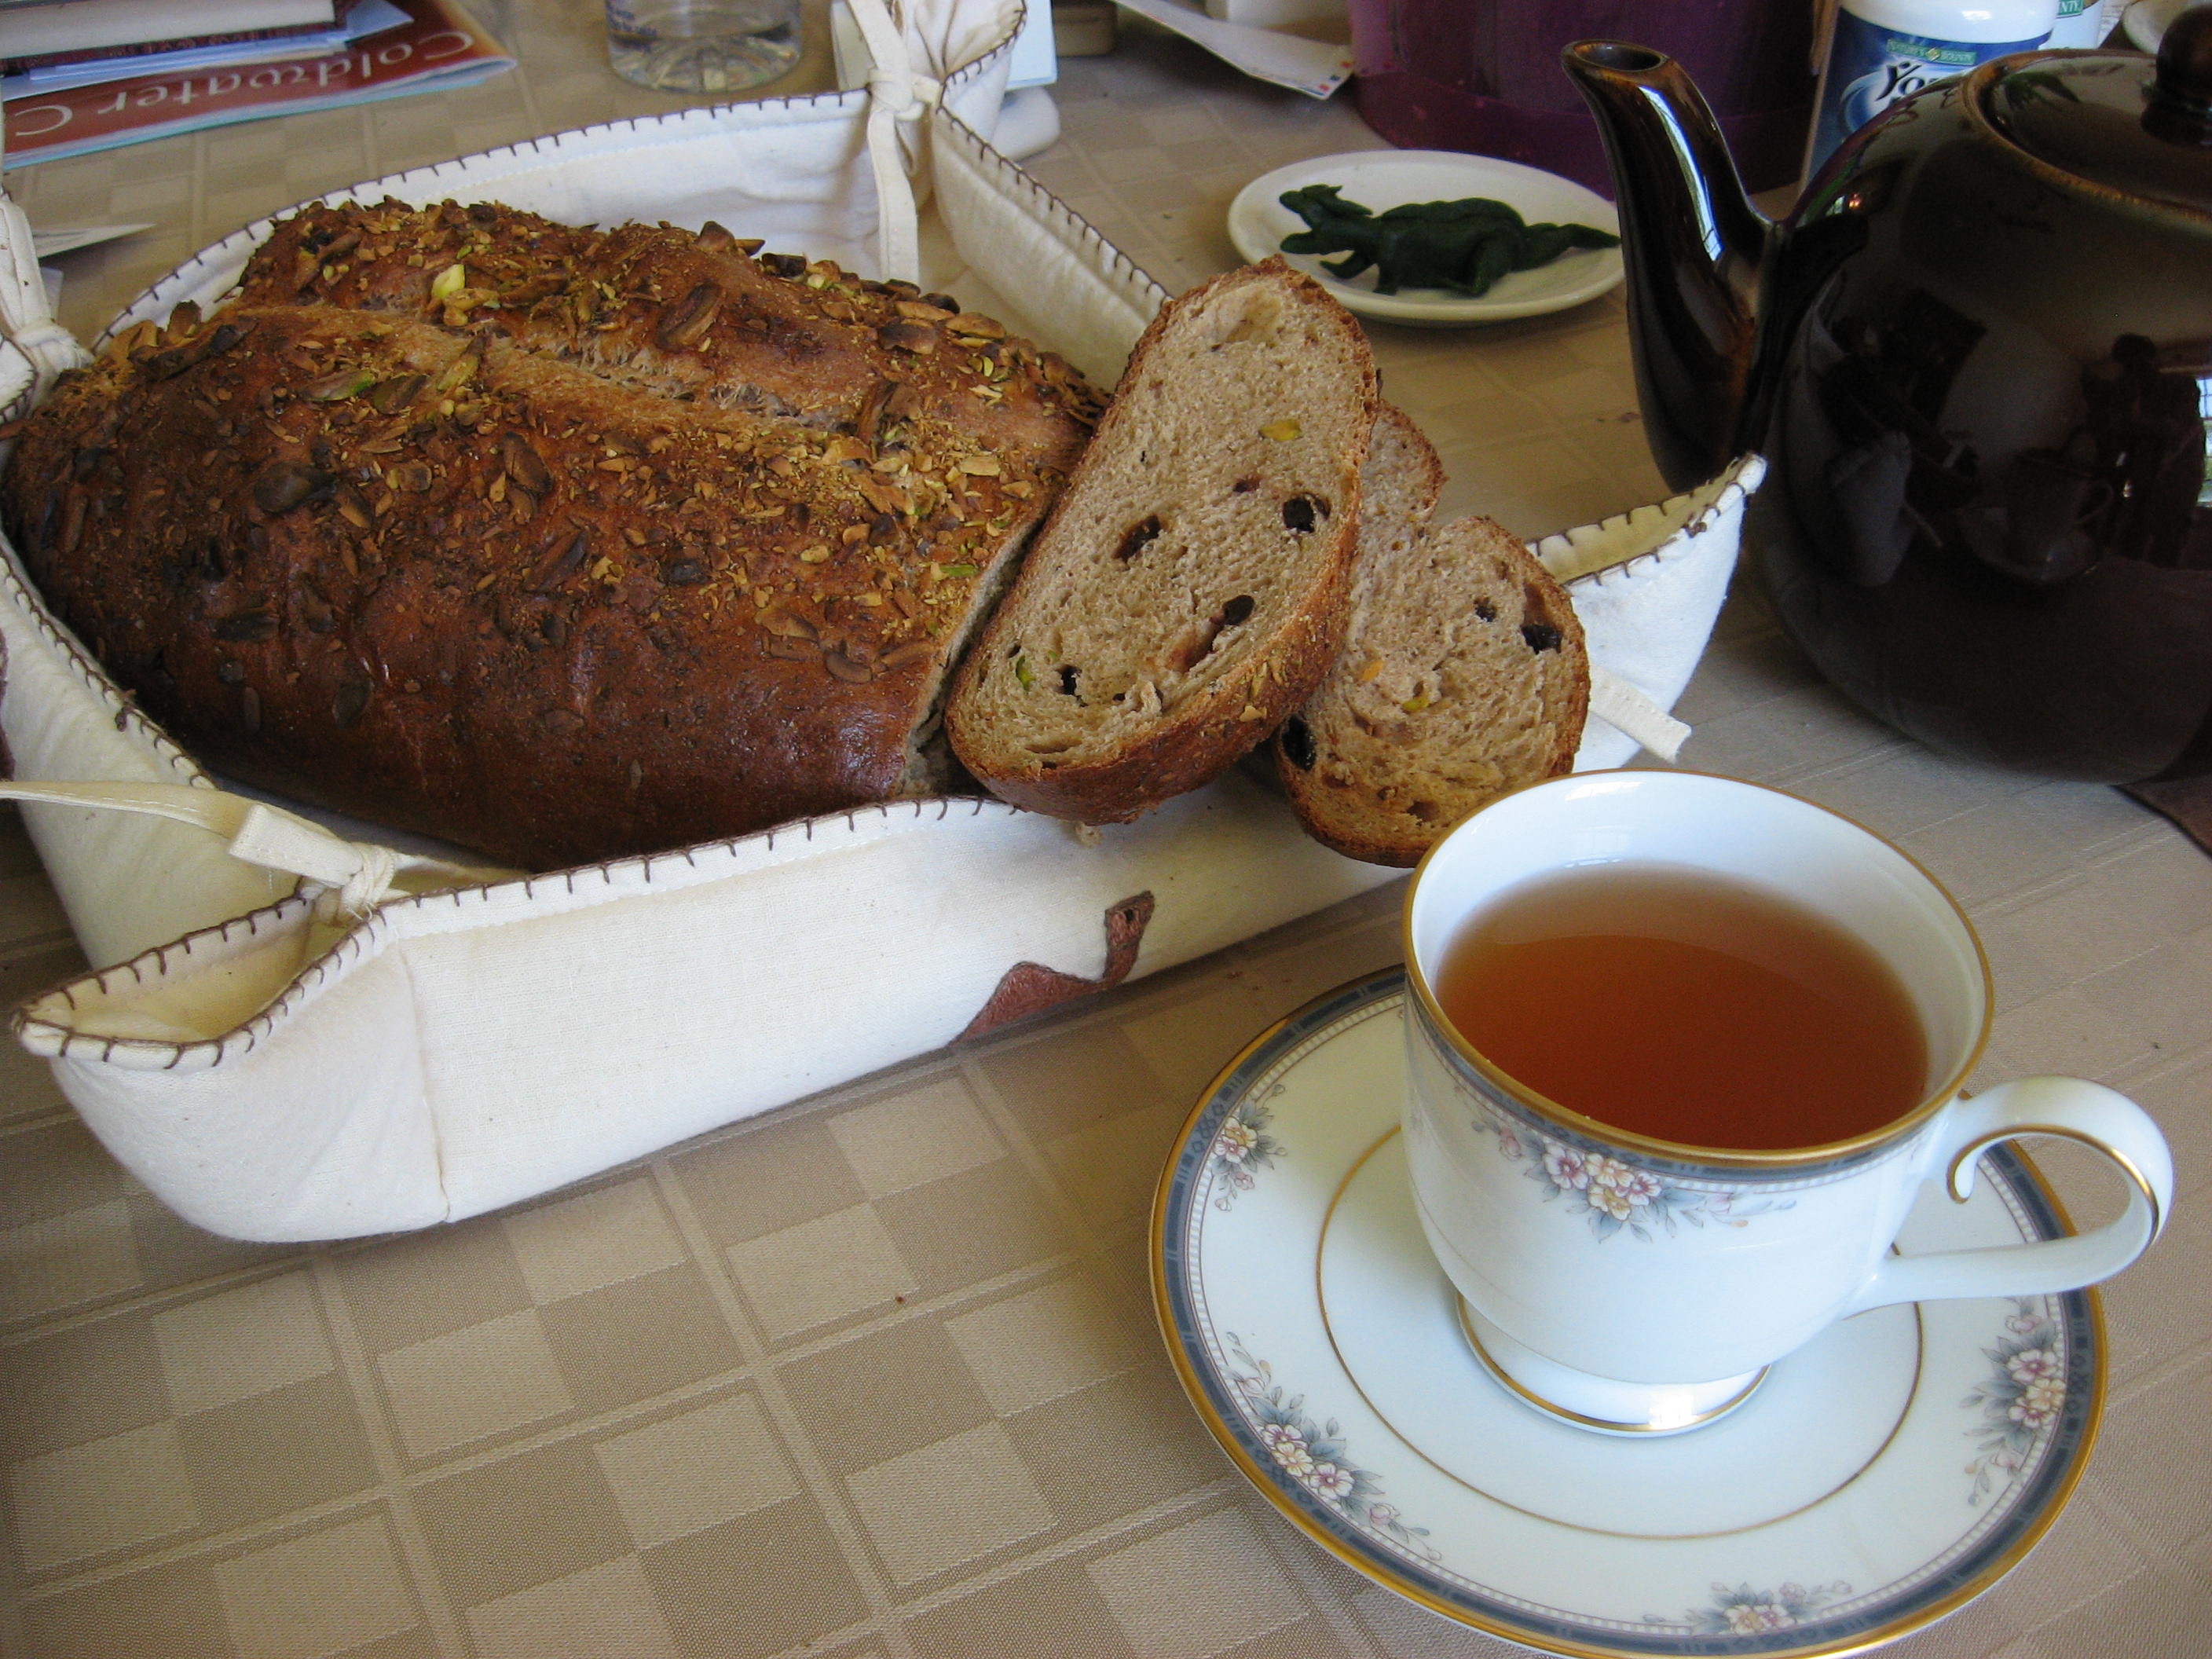
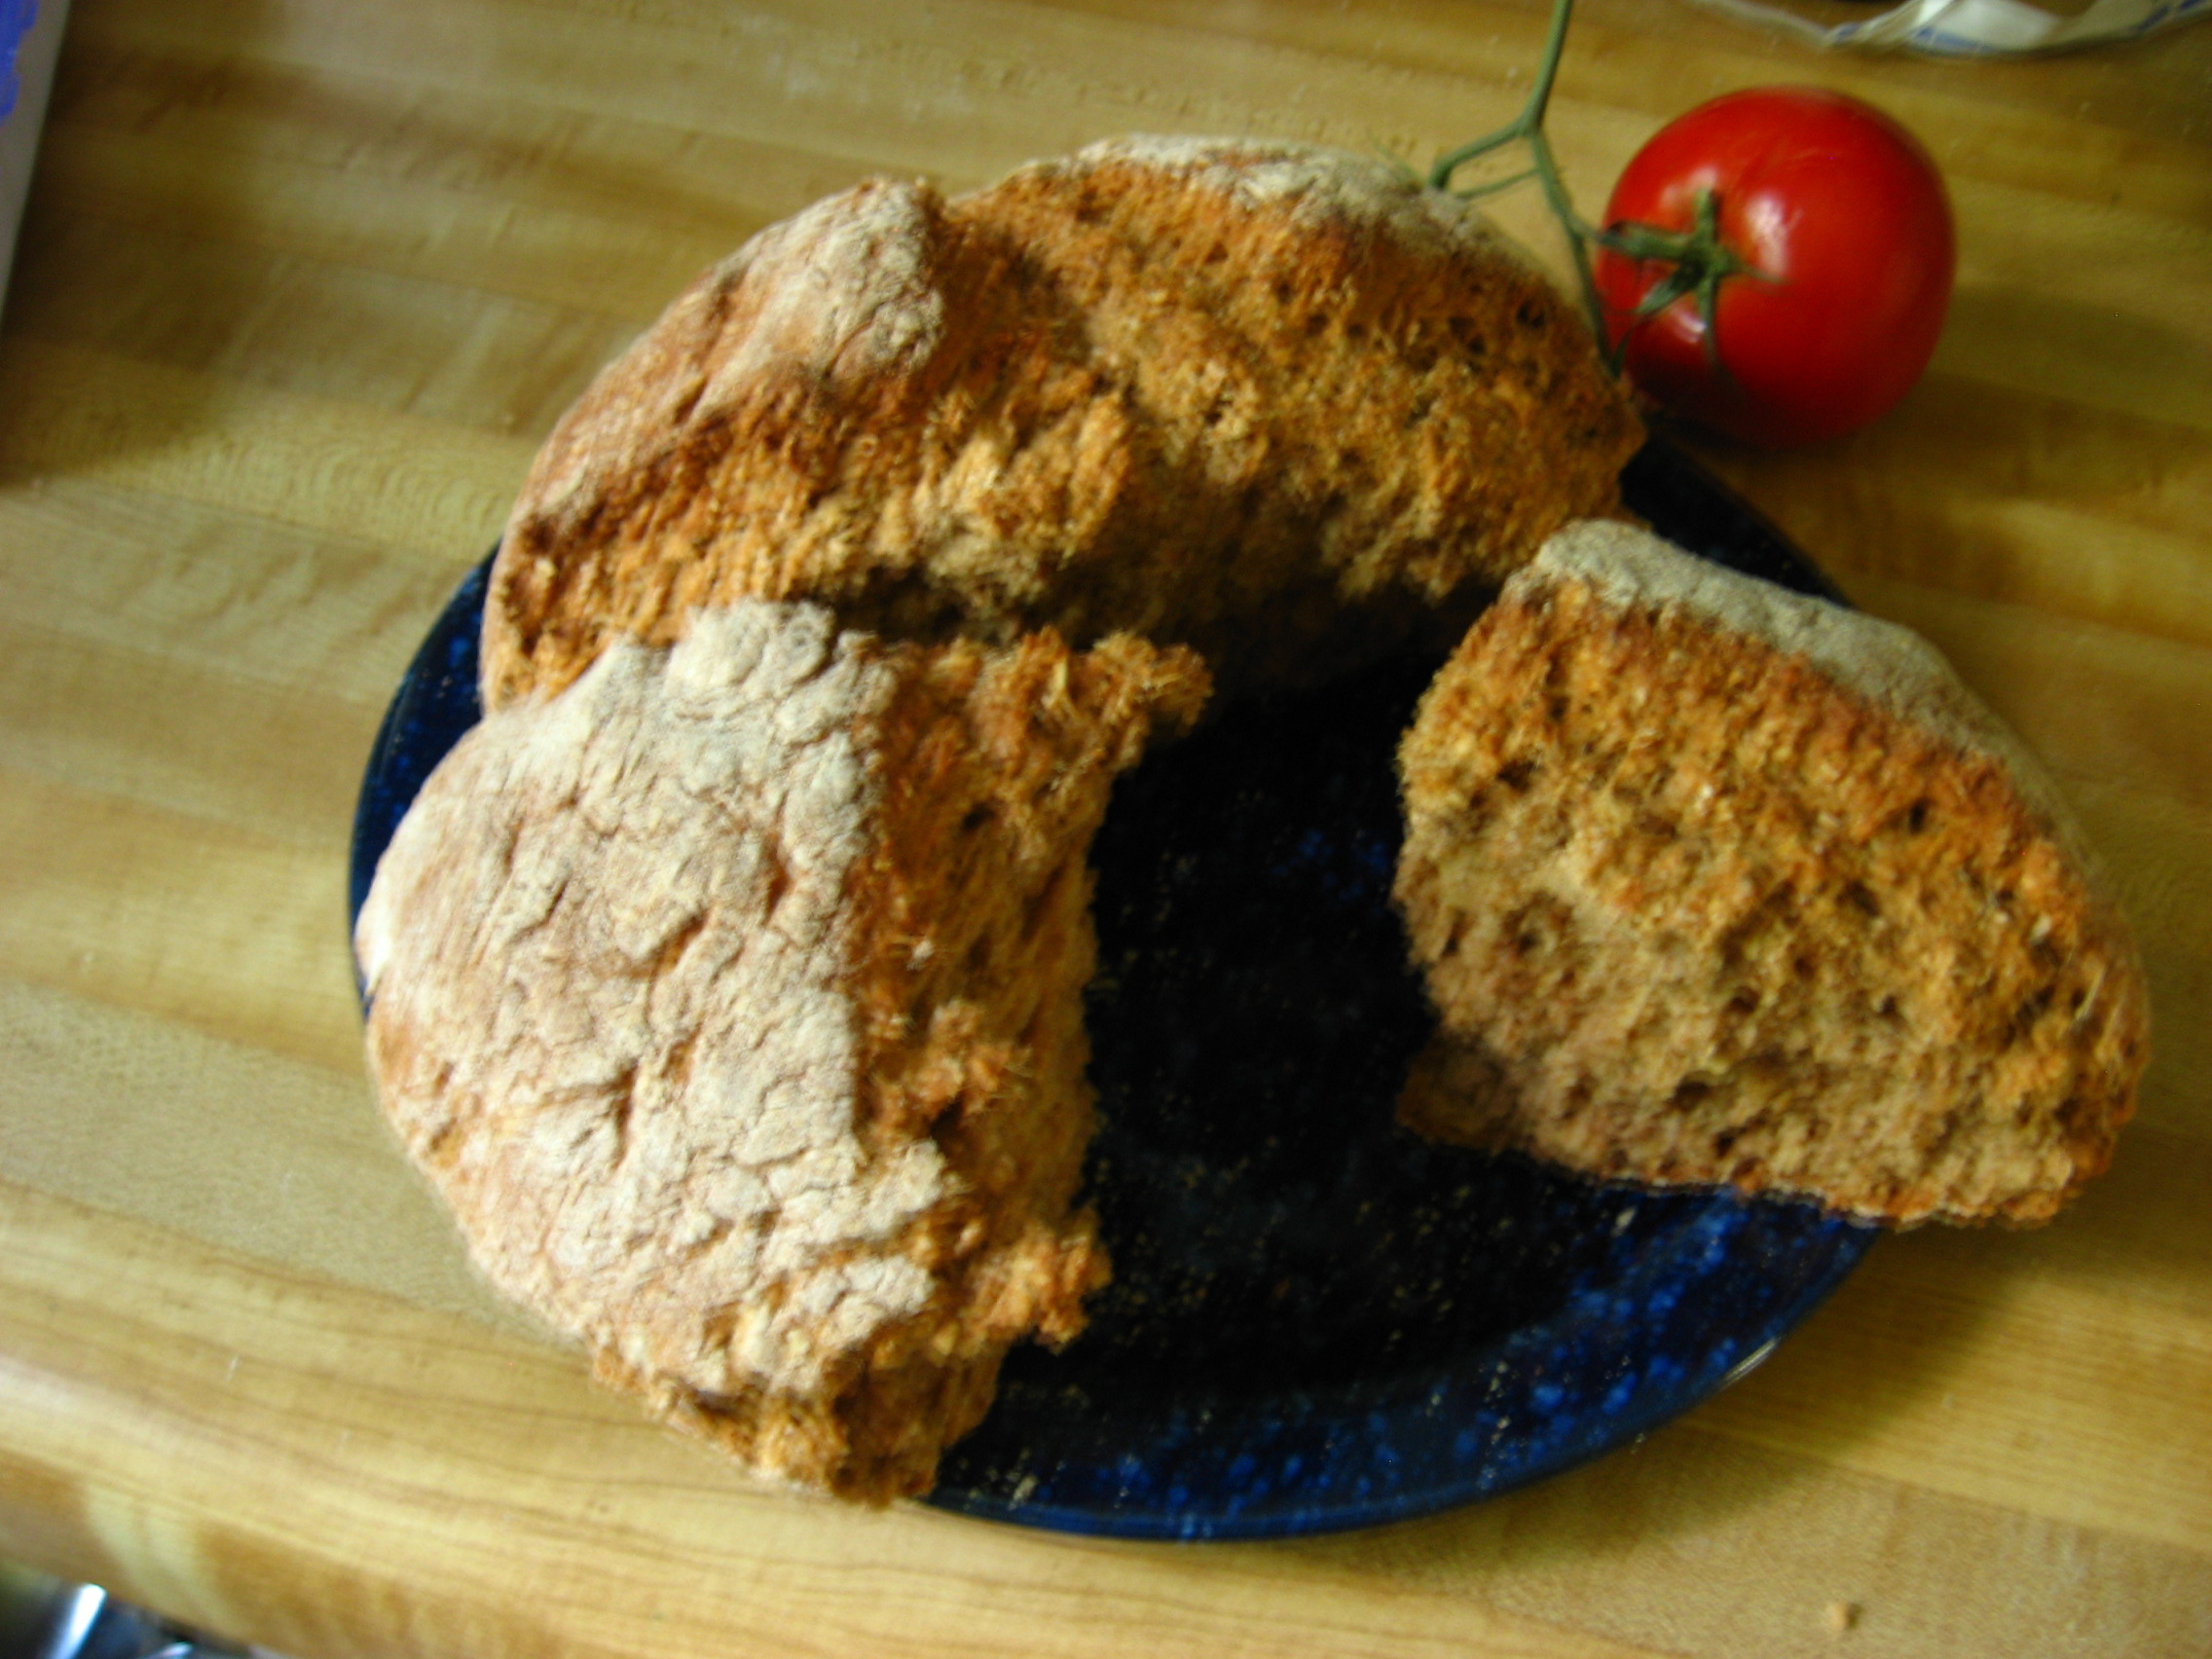
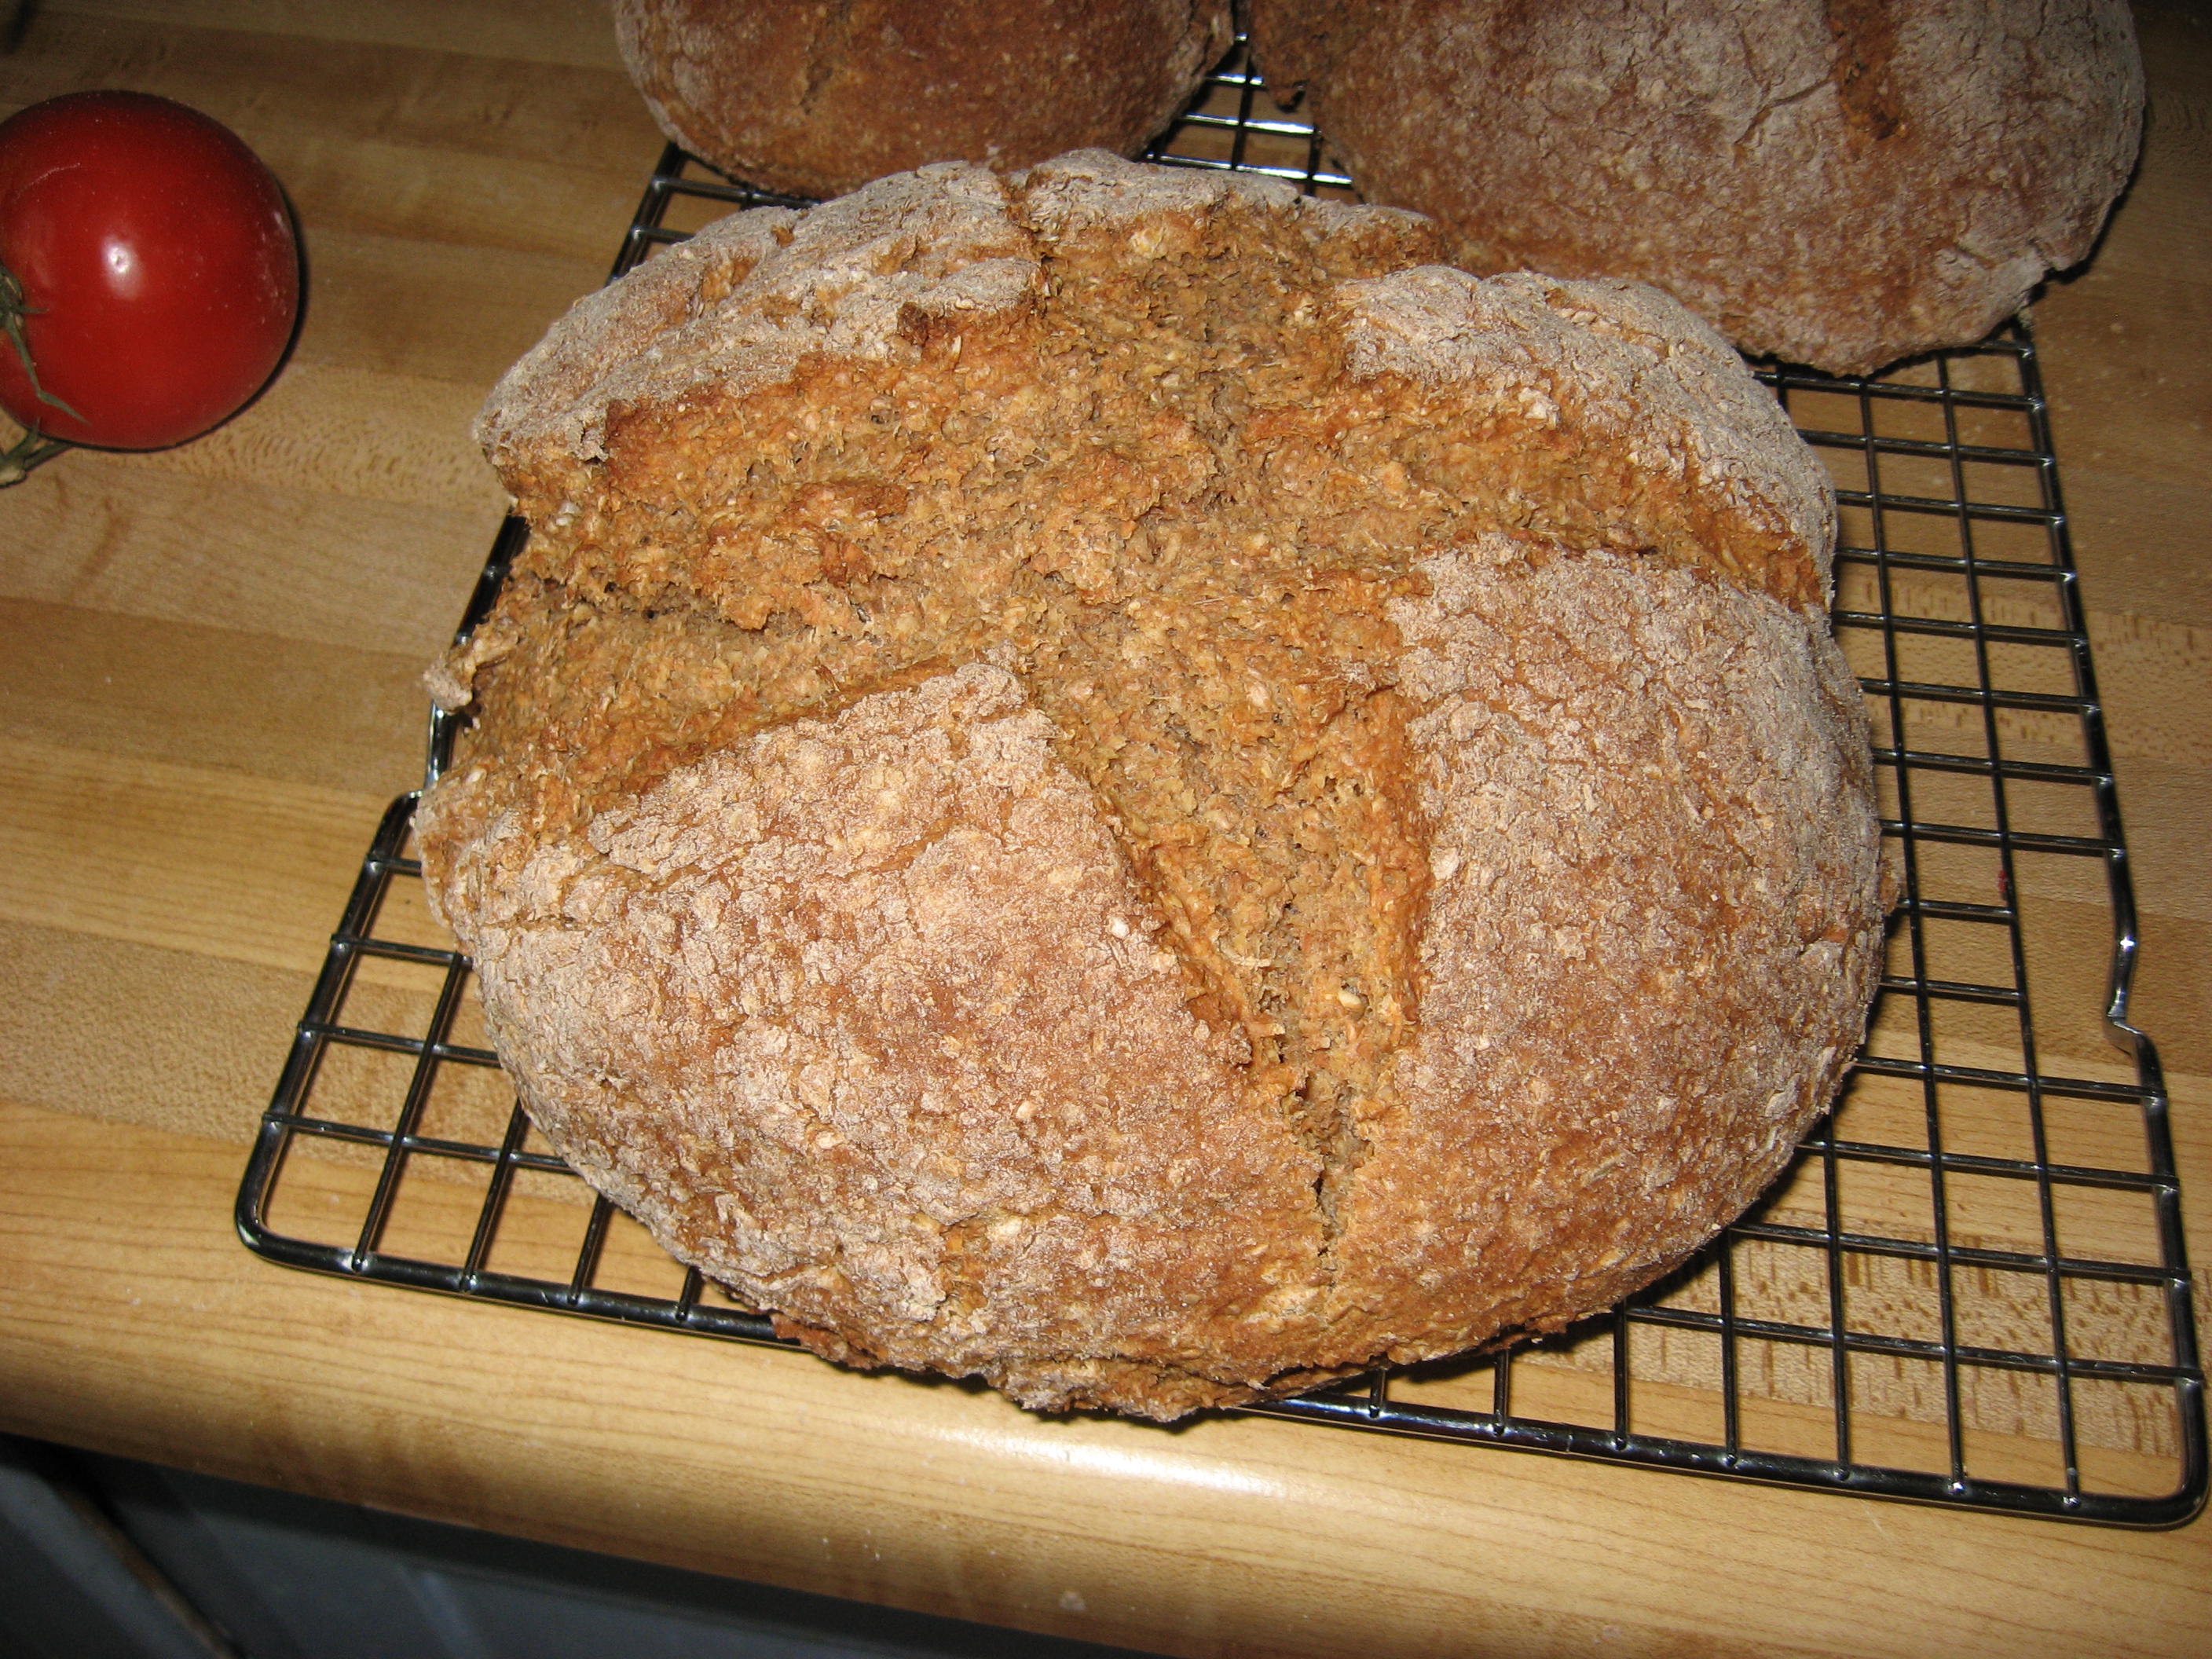
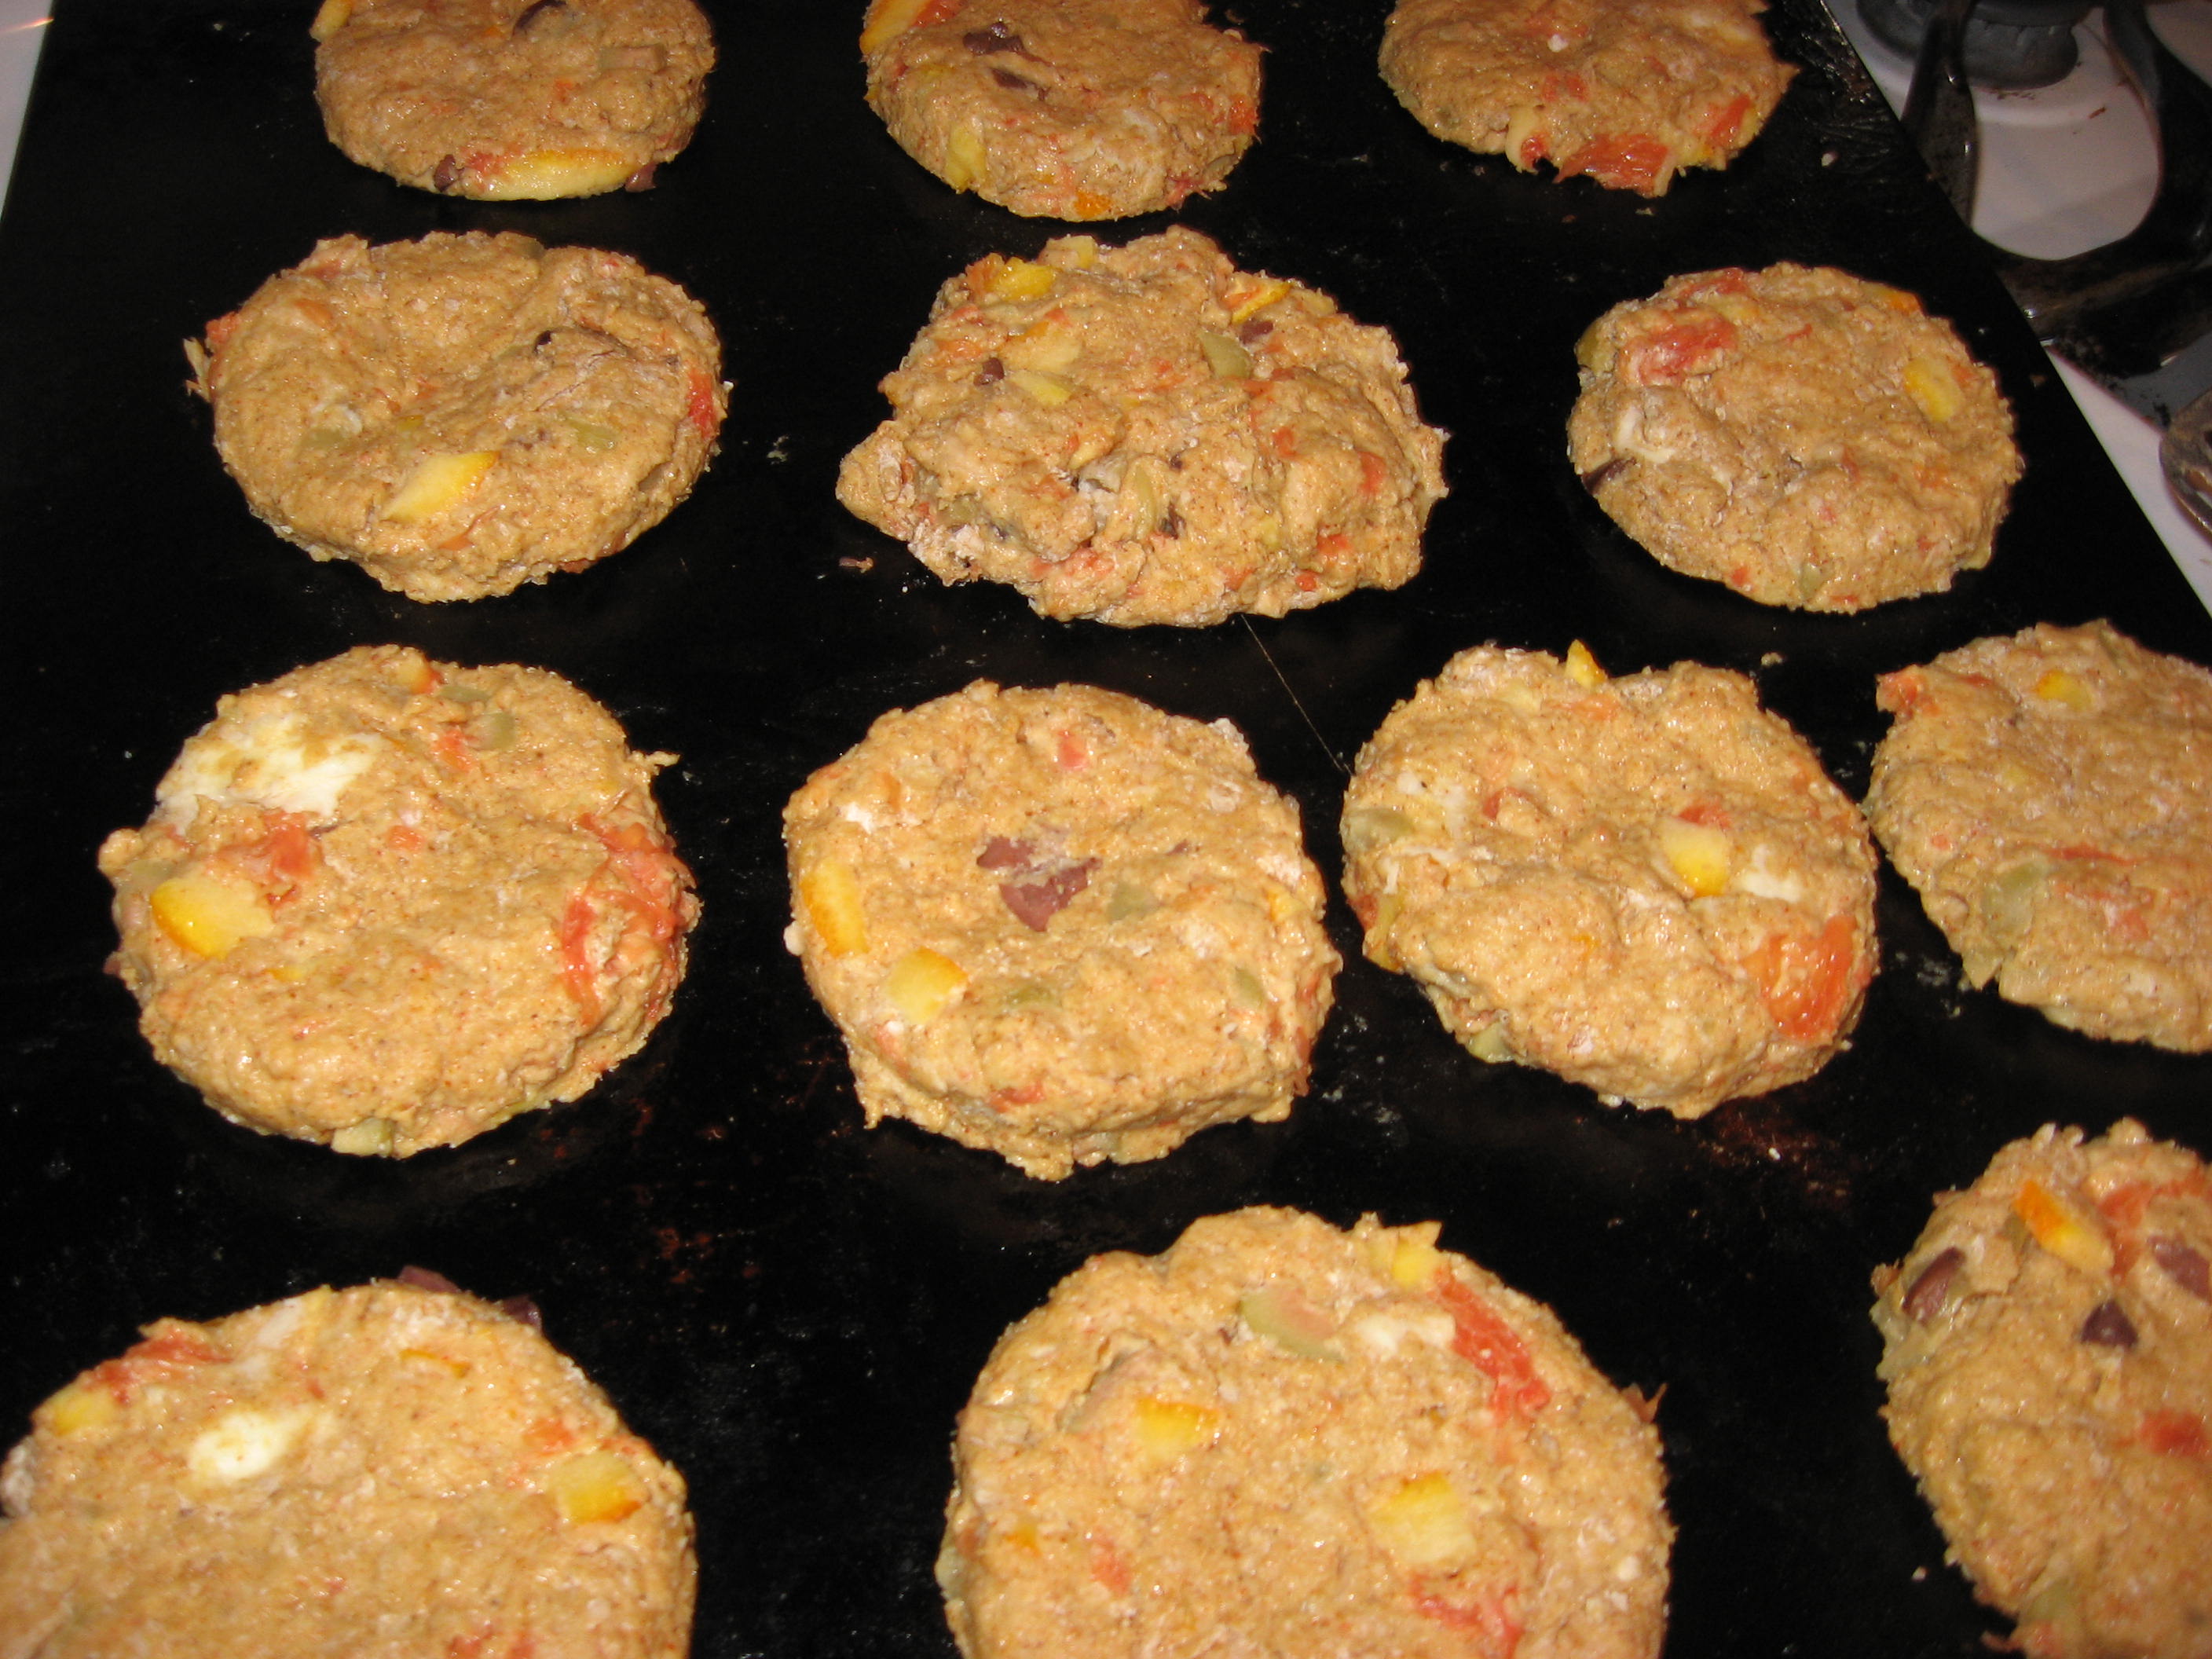
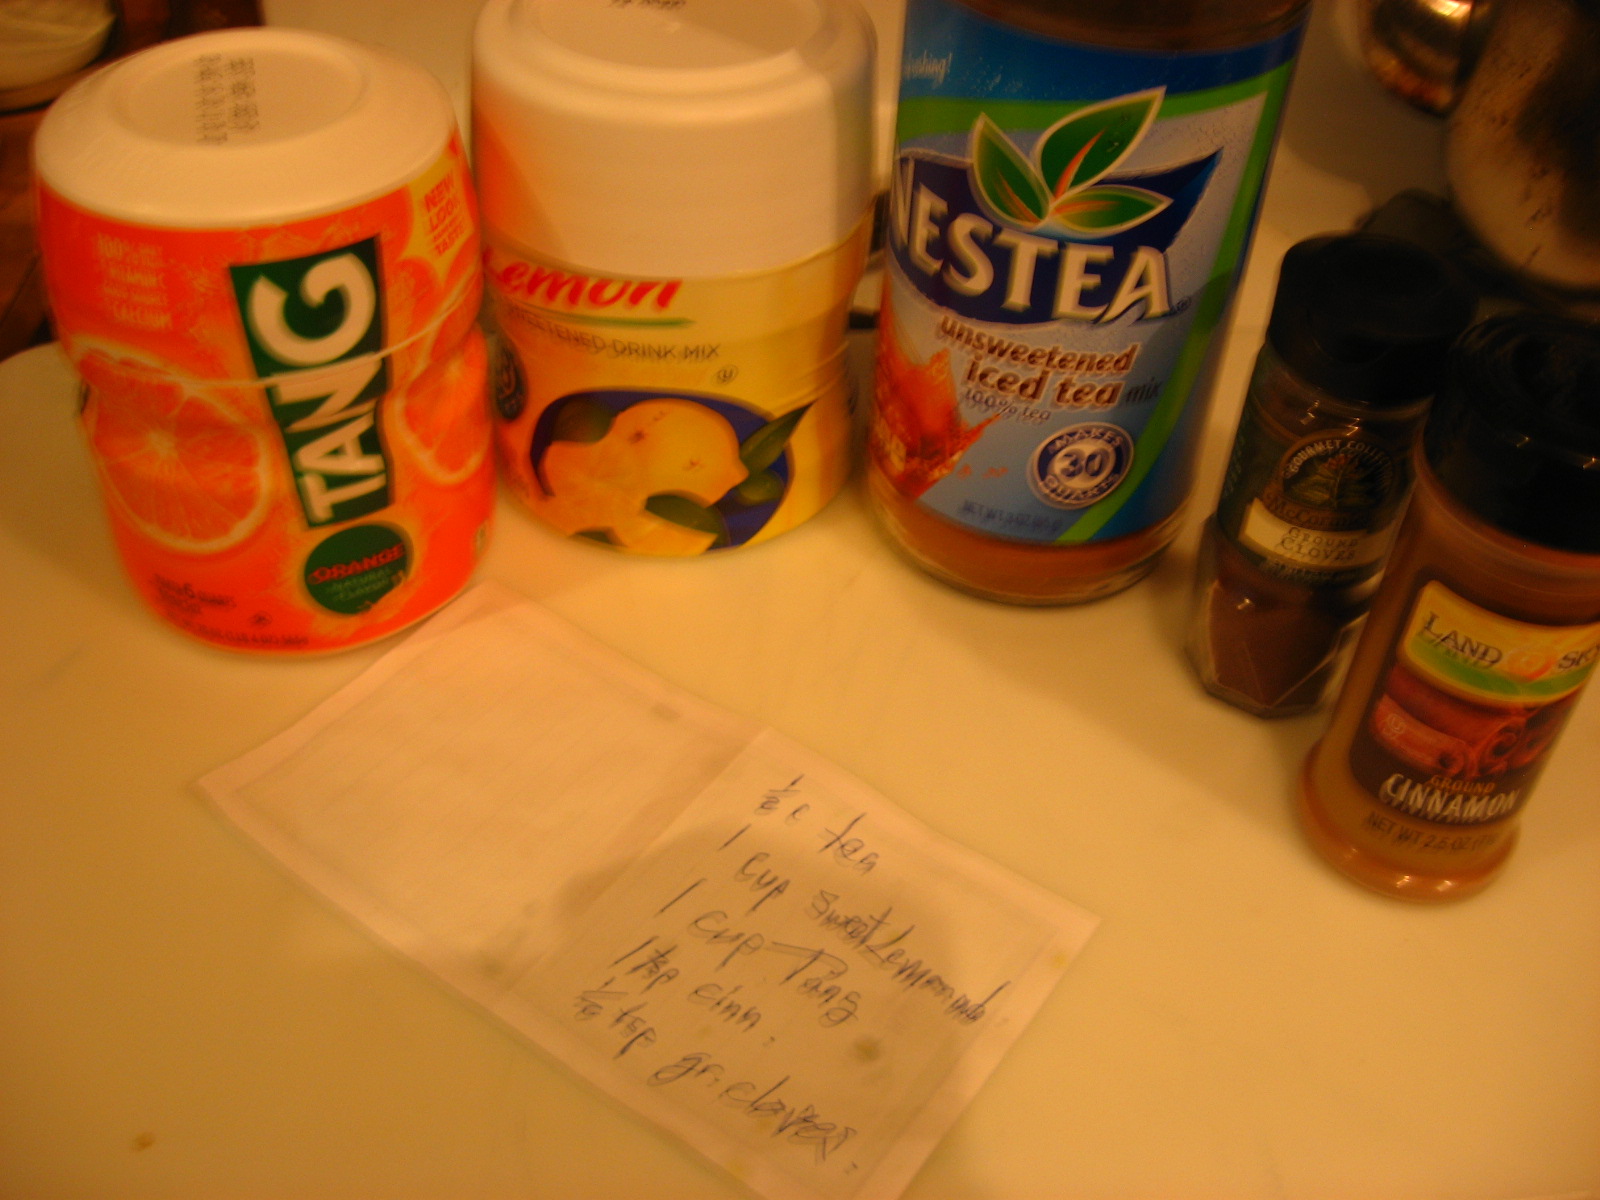
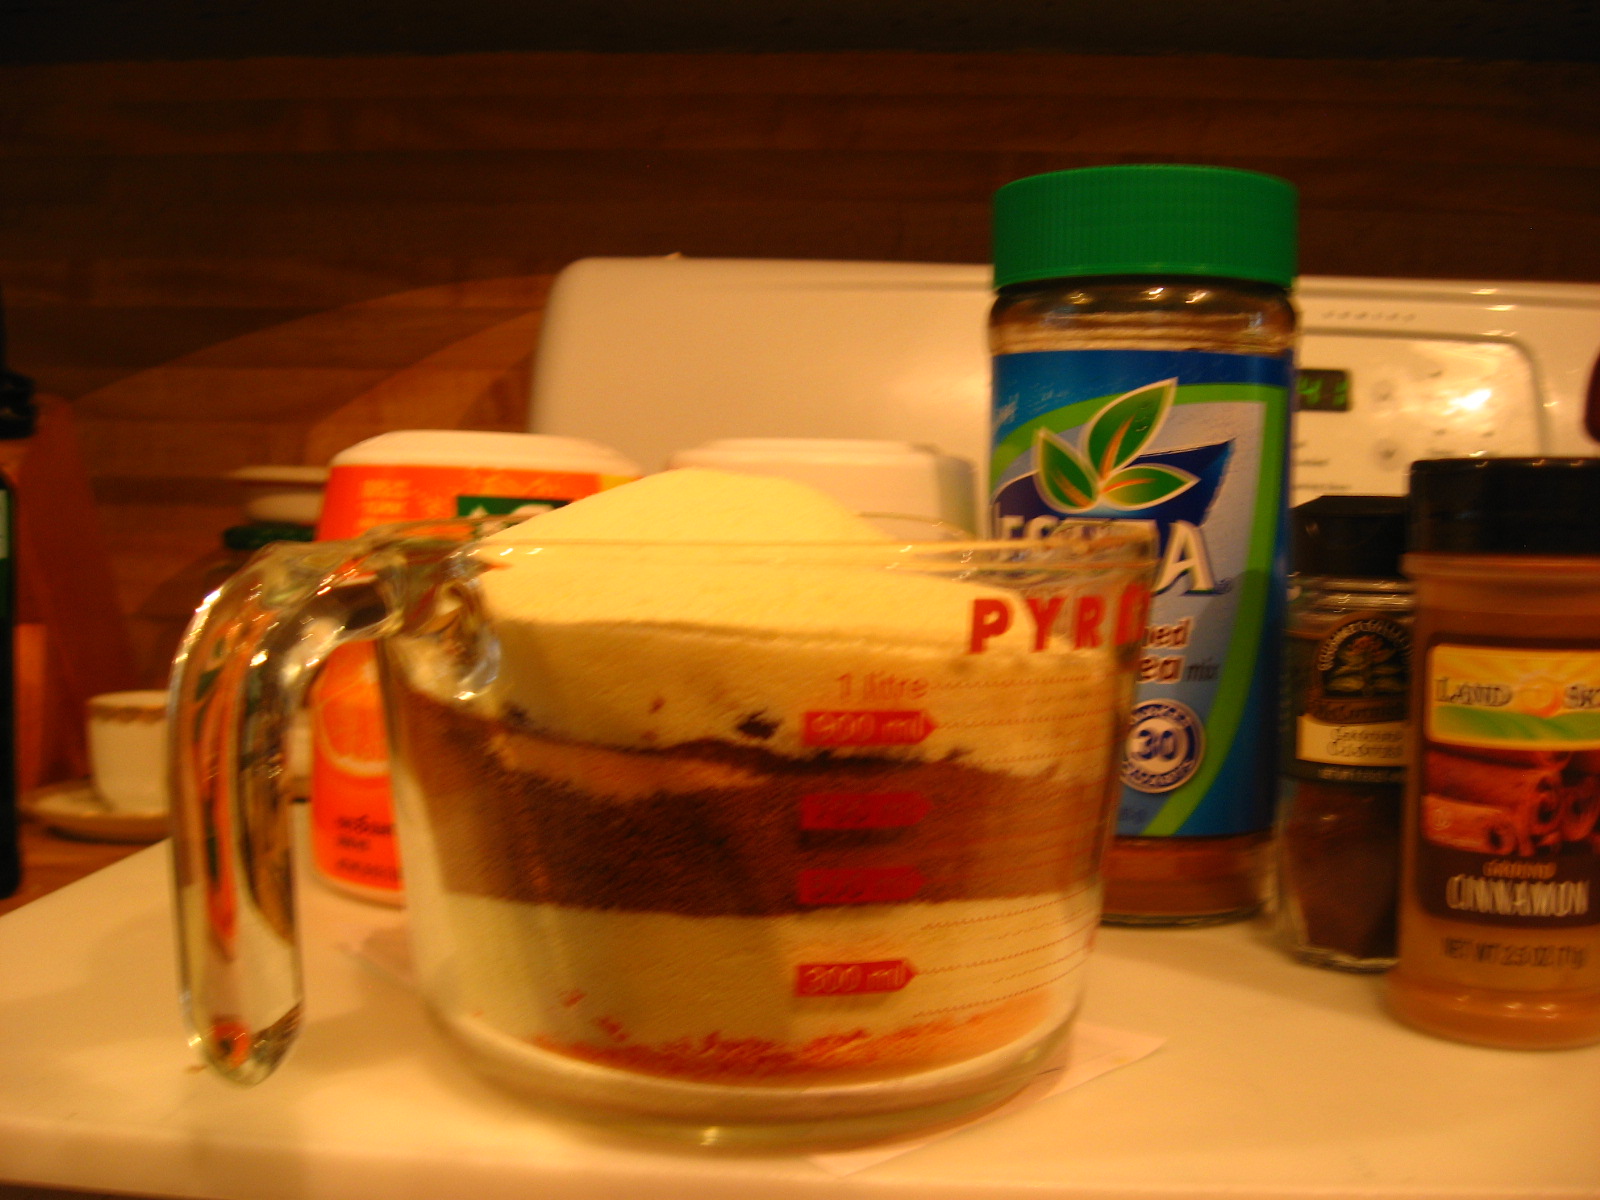
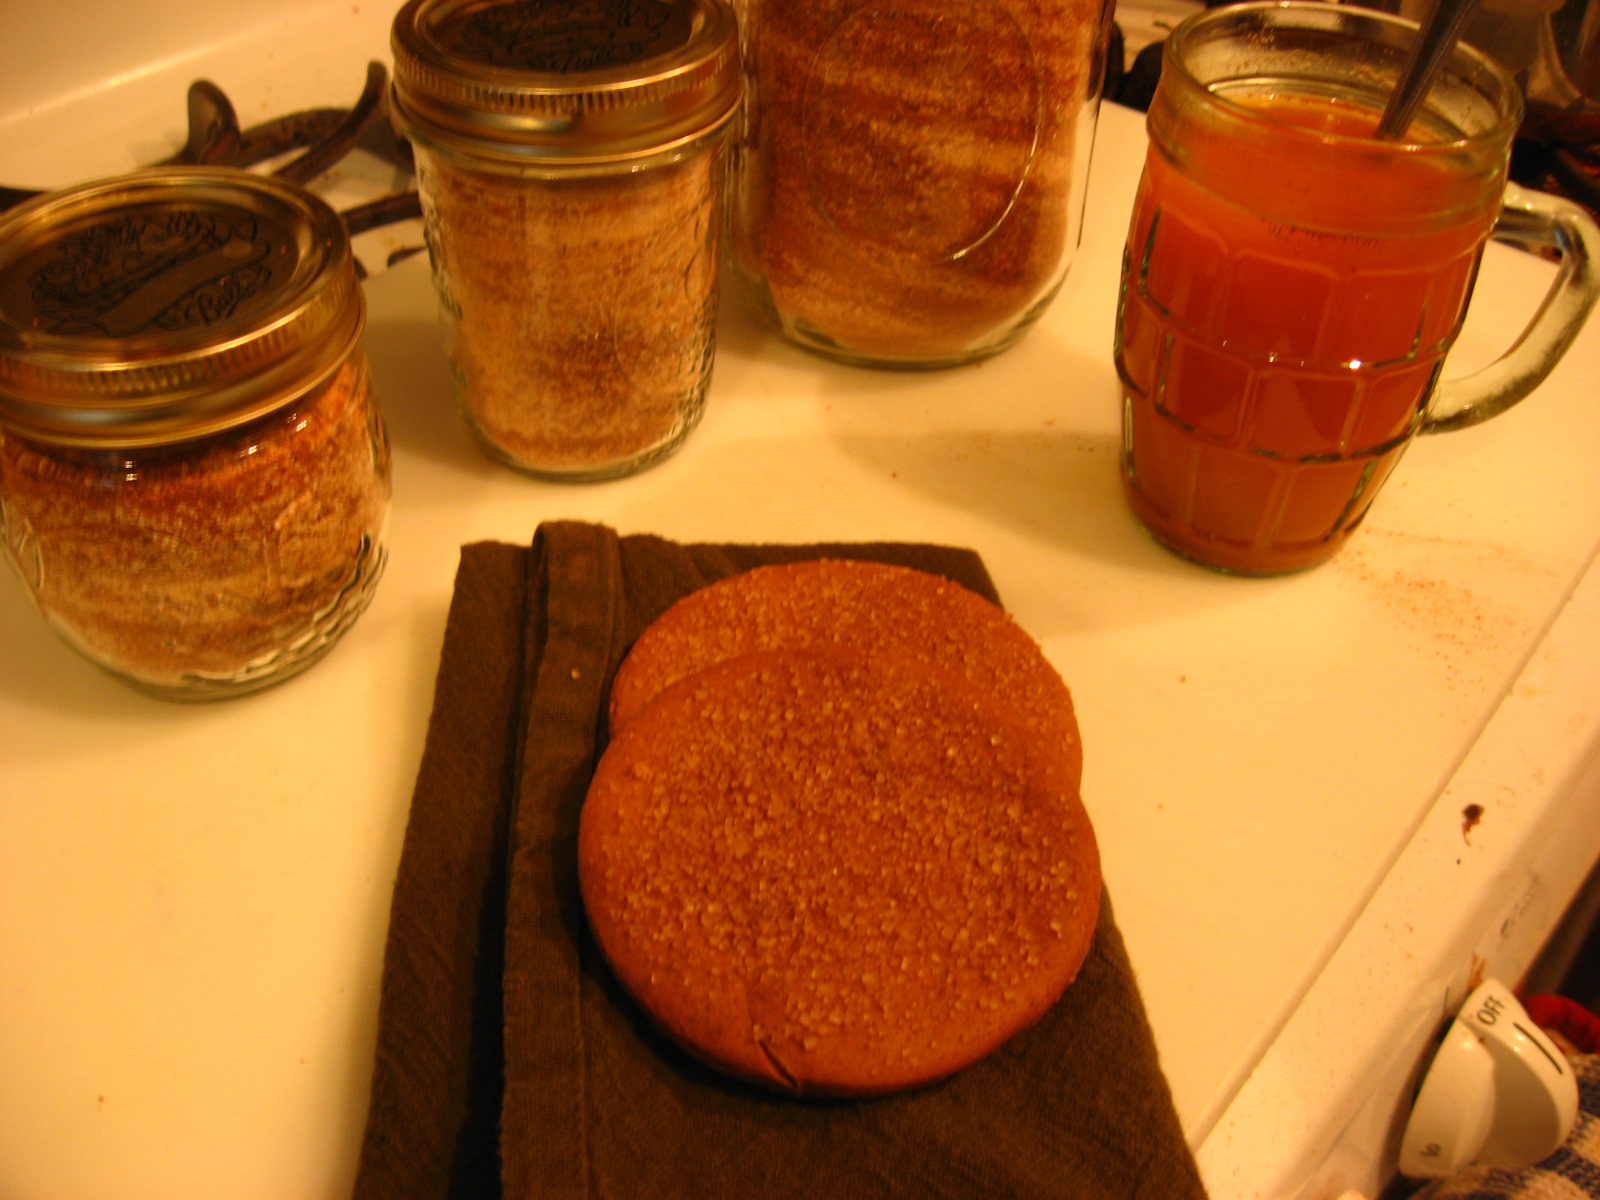
The differences in what we eat don’t seem like they would be that much of a big deal, but these differences can be challenging. I guess it’s easiest for those of us who are omnivores and just eat what we want to eat– what seems “normal” –and what the other’s eat can be mystifying, and even annoying. When planning a potluck, it really would be easiest if we just all ate in the same way, but we don’t. So I try to come up with vegan and gluten-free things to offer the folks I love. One example was today’s recipe.

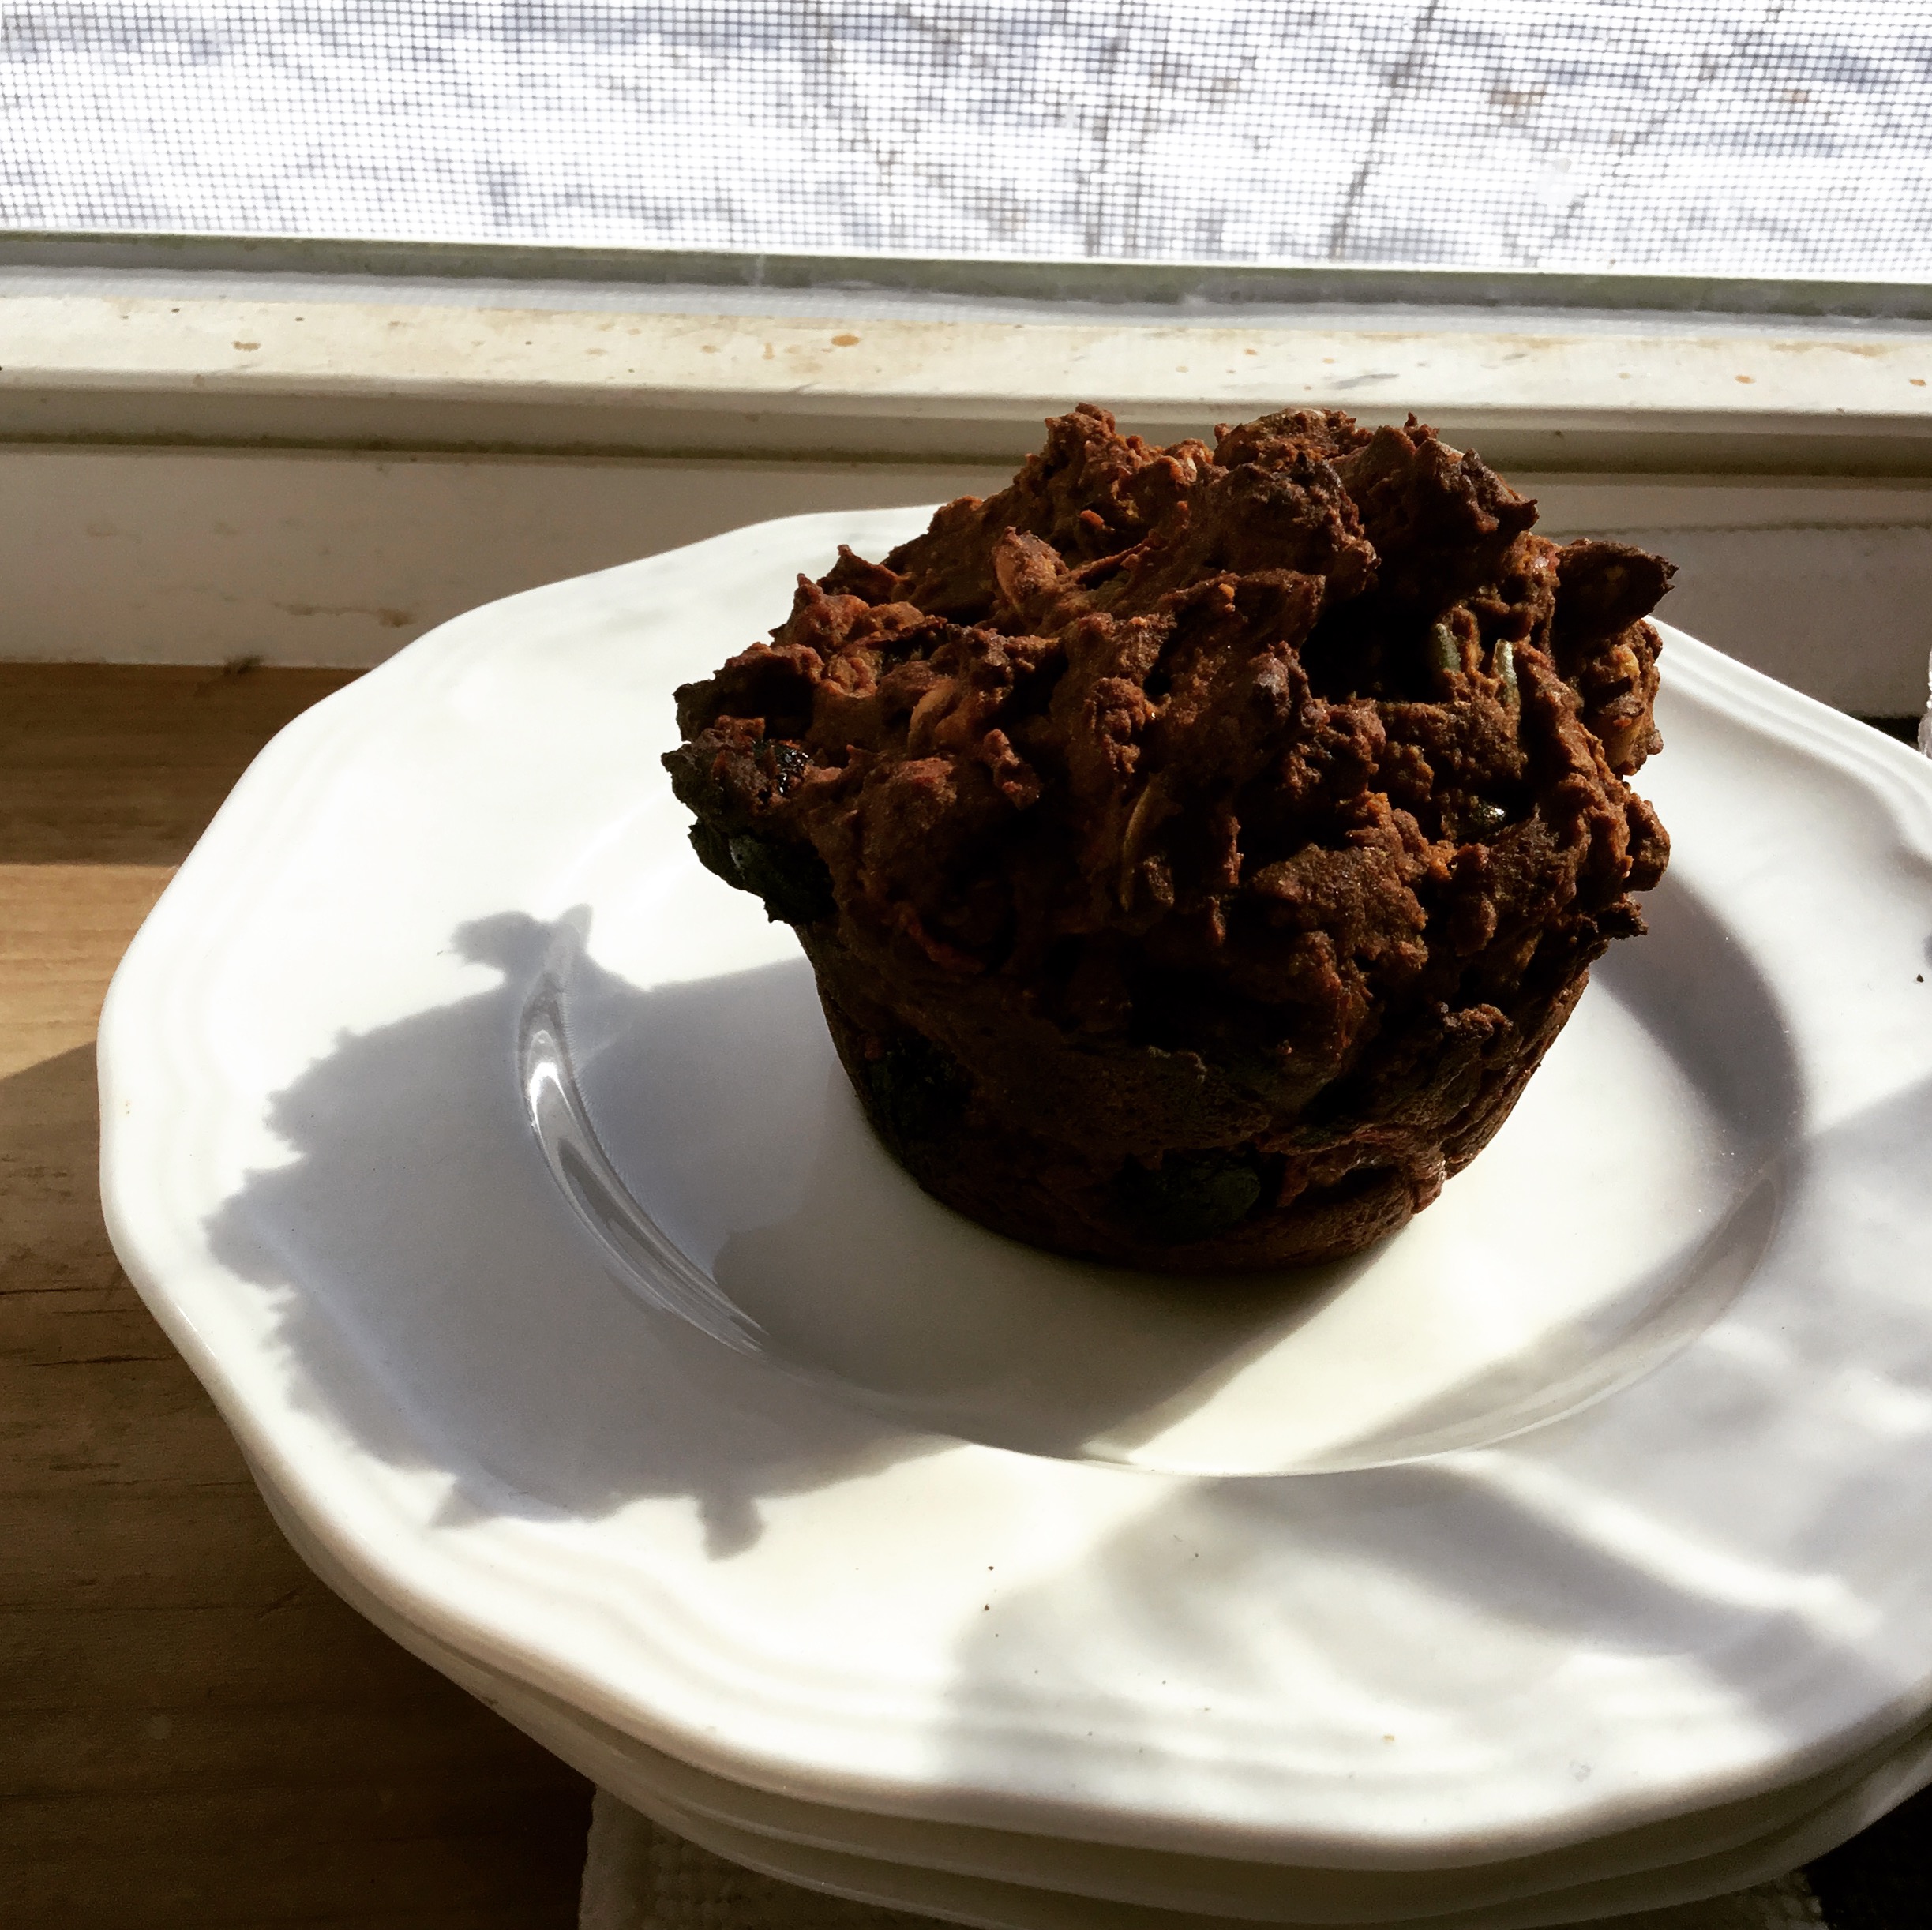
Although it was a very hard path for me to follow, I do have a deep respect for vegans. I am an ethicist, and it is an ethical choice. It is a higher standard that I admire, but which I am not capable of imitating. I can try, in my way, to lessen the harm I do to my fellow creatures, to care for my chickens even though I take their eggs, and to try to follow practices which reduce the gratuitous pain cause by the industrial meat industry, but I am a sinner. For health reasons, it is difficult for me to live on a reduced diet, but even more than that, because of my own weaknesses I cannot give up meat.

My vegan friends are incredibly open and accepting of me even though I do this. I can still share food around the table with my vegan friends, and wouldn’t ever want to give that up.

Although I don’t understand it, I love lots of people who cannot eat gluten. I love people who are so sensitive that they become very sick when they are around gluten or eat things that have been prepared near gluten. I love people who’s guts become uncomfortable when they eat gluten, and pretty rough if they eat a lot of it. Whatever diet or life style choices they have made before, the fact remains that I can not reasonably expect them to only eat what seems “normal” to me. How could I expect them to be in pain just to conform to what seems most comfortable to me?

Loving mean trying to understand what hurts other people and to try to avoid anything that might hurt them. How could I ever give up sharing food around the table with these friends?

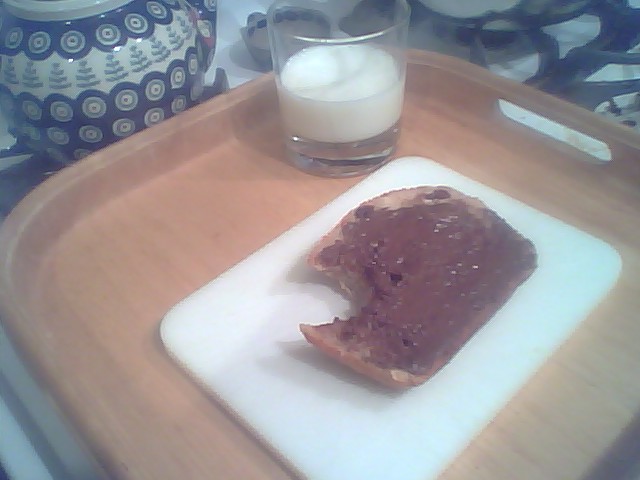
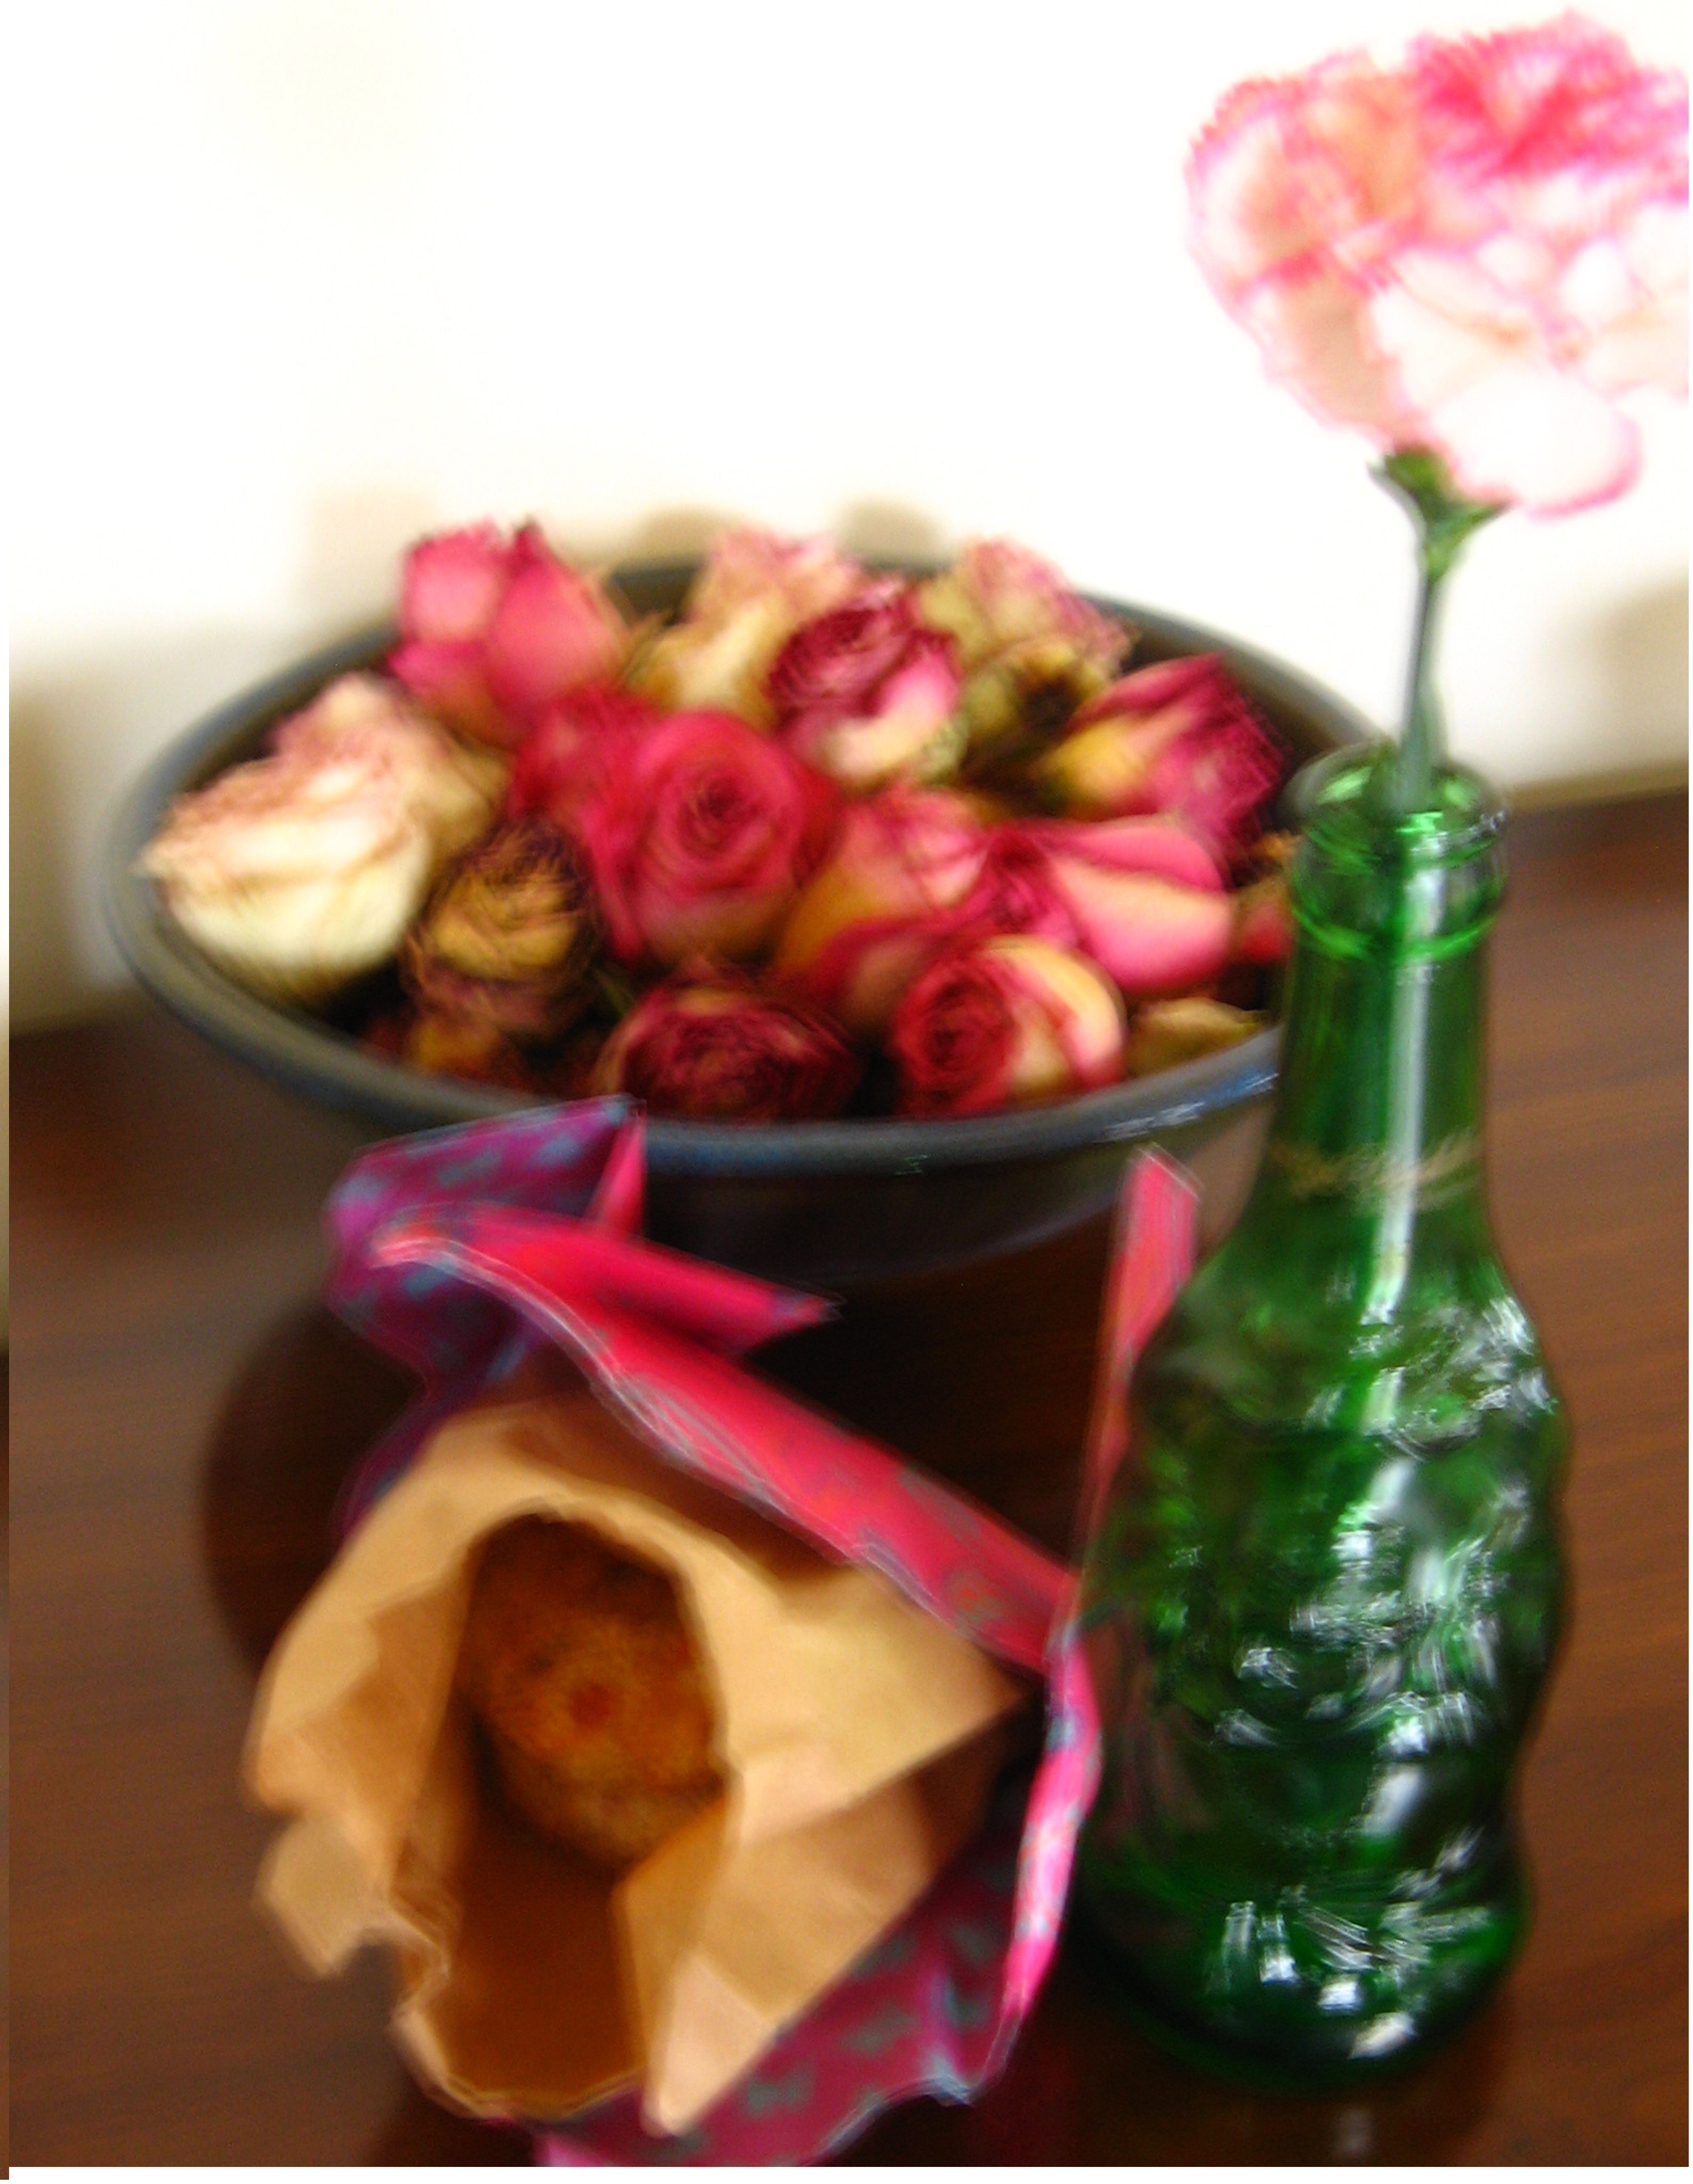
You see, for me, eating together is the perfect symbol of love. Eating together nourishes and encourages communication. It equalizes. It is shared. My parents taught us love in many ways, but one of these was supper. To prepare food with your hands and share it around the table was an act of love; it was what made a home a home. To share food in your home was about allowing your family and friends and even strangers to become part of your home. To come into somebody else’s house and share their food was to become part of their home.

I don’t understand love completely, except that I know that I have been loved. When I was a young stranger just moved to Nashville, with the scars of my kidney surgery still fresh, I was taken in and fed by friends. Several of them that stand out to me were lesbians who seemed much wiser and older than I was, but who fed me and took care of me even 
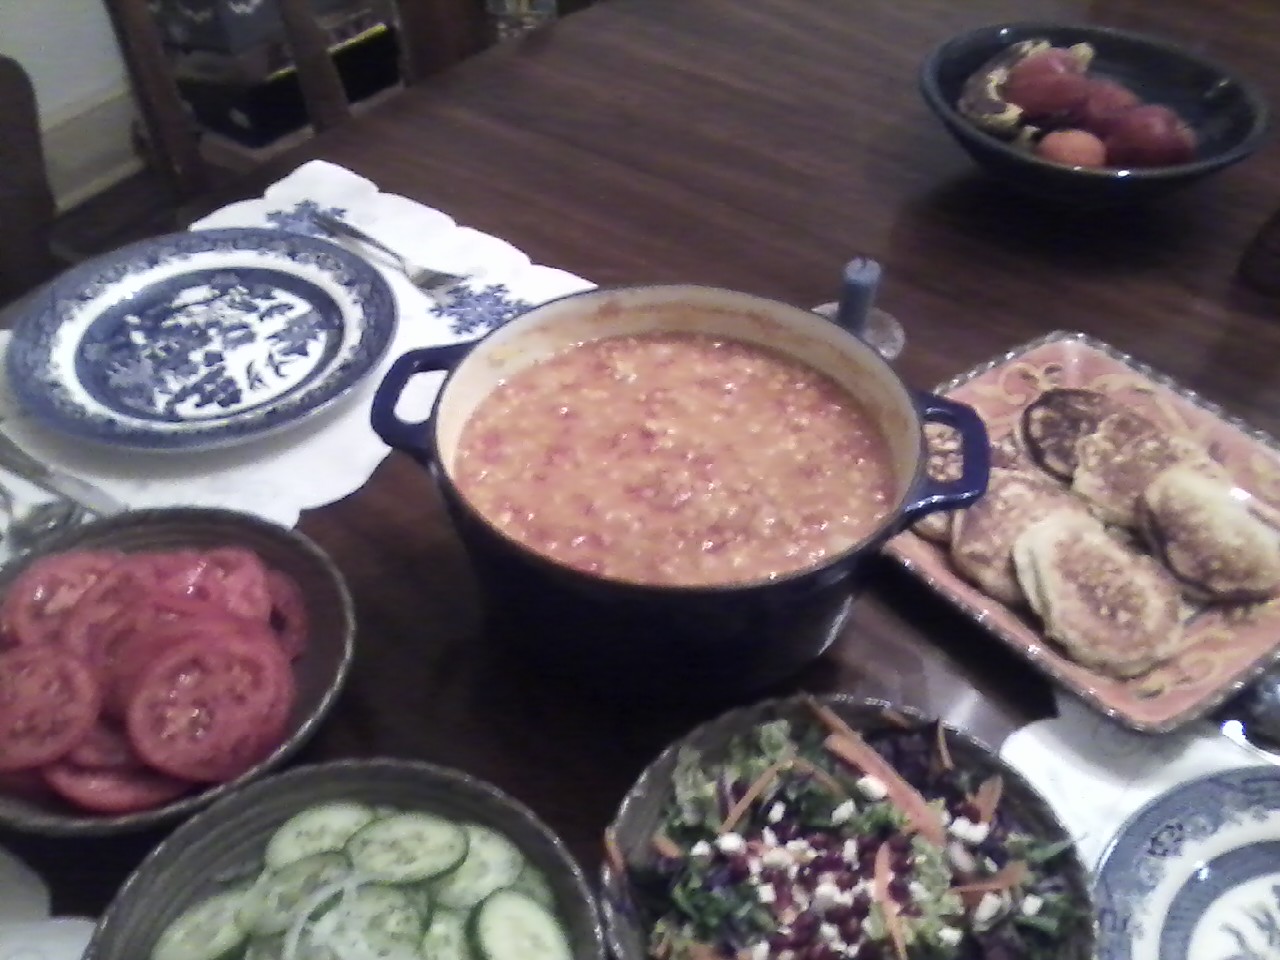
though they had no obvious reason to care about a white cis straight boy. I really did not understand what made them love, but I accepted the love they gave to me. In the years since then, hundreds of doors have opened to me and hundreds of tables have welcomed me, and at the same time I have shared my cooking with hundreds of people, even people I have never met. When I taught philosophy, I shared my food and my home with my students, because so much of what I wanted to teach them could be shown around a table of food. That is how my parents taught me to love and to be loved. I was loved unconditionally by my parents, and in turn love my daughter unconditionally. When she was growing up, I tried to teach her as much as I could about love and food. We often had guests and were guests. I taught her how to cook and how to welcome folks to her table.

I can’t expect them all to love just in the way that seems “normal” to me. I can’t expect to give up what seems right to them, or what is obviously healthy for them, or expect them to love or to give up love in ways that would hurt them. I can’t expect people I love to pretend to be someone or something they aren’t just to make my life less awkward. How could I give up sharing food or tables or homes or work or beds with these friends?

Peace & Muffins

It’s been a while.

I’m still living and working on a beautiful apple farm in the Finger Lakes of New York, still cooking and still trying to become wiser.

Our tribe here includes omnivores, but also a lot of vegans and paleo. In addition to this, we also have a lot of friends who have gluten allergies, a disturbing trend of this decade which I don’t understand, but which I know is real. Cooking for all of these people I love very dearly can be a challenge, but since food is something that can bring us together, I have to try.

This is an adaptation of an old recipe (http://www.philosophybistro.com/pumpkin-carrot-beet-muffins/)to make it vegan and gluten-free. I field-tested it at an amazing house party and with our barn crew, so I’m pretty confident.

Ingredients:

  • ½ pound shredded beets (or carrots & beets mixed) I have a scale, but you can also sort of figure out half of a 1 lb. bag of carrots
  • ½ cup almond flour
  • 2 cups gluten free flour (if you are using straight up gluten free, you might need to add some xanthan gum)
  • 1/3 cup of sugar or a paleo sugar substitute
  • 1 Tbsp baking soda
  • 2 tsp. cinnamon
  • ½ tsp mace (this gives it a little bite, but can be left out or replaced with ginger)
  • ½ tsp salt
  • ½ cup brown sugar or dark substitute
  • ½ cup raisins (Golden raisins are better)
  • 1 cup walnuts
  • ½ cup pumpkin seeds
  • 2 cup pumpkin
  • ½ cup oil (it might work without this, I liked making it with coconut oil.)
  • 2 tsp. vanilla
  • ½ cup orange or tart cherry juice
  • 3 Tbsp ground flax-seed
  • ½ cup liquid
  • Note: Fleggs if Paleo (flax eggs made with 1 Tbs finely ground flax-seed to 3 Tbs hot water) or super-fleggs (flax eggs made with 1 Tbs finely ground flax-seed to 3 Tbs hot aqua faba or chickpeas brine)

Step 1, Prepare Ye the way: Preheat the oven to 350°. Either grease the muffin tins or put in the cupcake liners (I usually spray a little canola oil in the bottom of these to make things come out easier). I get 2 dozen medium sized muffins out of this mix.

Step 2, sifting the dry ingredients: In one bowl crumble up the brown sugar, then sift (mix if you don’t have a sifter) in 2 cups flour, the other sugar, baking soda, cinnamon, mace, and salt. Mix thoroughly.

Step 3, making the “fleggs”: in a small bowl or cup, mix the flax seed with the liquid– aqua faba or water– and allow it to soak. after about 5 minutes, it should have a similar slimy consistency to eggs. I would whisk it before adding it to the mixture.

Step 4, shred the veggies & mix: Shred or grate the beets and/or carrots, and add the ½ cup almond flour to keep them from sticking together. Mix the shredded root vegetables, raisins, walnuts, pumpkin, juice (this needs some acidity for the baking soda), oil, vanilla, and fleggs.

Step 5, combining the wet and the dry: Add the dry ingredients to the wet ones and mix well.  The consistency should be much firmer than batter, but a little more liquid than cookie dough. You can bake down a fresh pumpkin, but canned pumpkin is easier.

Step 6, baking: Fill two dozen or so muffin tins. Bake at 350 degrees for 30 or more minutes. See how they look. Stick a toothpick in one and see if it comes out battery.

Enjoy! These are perfect breakfast, for late-night munchies, for bringing to pass at house parties, for supporting apple tree grafters, for taking along in your pockets as you go couch surfing, for sneaking vegetables into people’s diets, however you choose.

Almond Apple Torte

Dr. Bear - tinyeditor’s note: The staff of the Bistro has moved to an orchard and nursery in the Finger Lakes of New York. I first made this recipe for a wonderful Easter dinner, but because of how our little farm is, I had to try to come up with something that could be eaten by Vegans or folks on a Paleo diet, and which would still be good enough to steal.
This recipe is animal free, gluten-free, low sugar, alcohol free.

Almond Apple Torte

AlmondAppleTorte_165107Ingredients:

1 pound almond flour (3 1/2? 4ish cups?)
1/2 cup sliced almond
3 medium sized apples
2 cups water
3 Tbs coconut oil
3 Tbs and a little more maple syrup
2 Tbs rose-water
1  tsp.  baking powder
dash lemon
dash ground cinnamon
Berries or some other fresh fruit (or more apples)

Step 1, mixing the frangipany-ish filling: in a medium saucepanAlmondAppleTorte_132044 (leave room for whisking or fluffiness), heat the water. Add the syrup and the rosewater and dissolve, then gradually add the almond flour, whisking constantly so that it doesn’t clump. Cover the mixture and let it sit for a while so that the almond absorbs the moisture.

AlmondAppleTorte_132038Step 2, Prepare ye the pan: pre-heat the oven to 350, grease the pan & flour it with almond flour; I used a 9 by 3 springform pan, which makes the cake easiest to remove.  Also sprinkle the bottom of the pan generously with thin almond slices.


AlmondAppleTorte_132028Step 3, a golden lining:
peel and slice the apples into thin slices. Toss them iAlmondAppleTorte_133811n a little bit of maple syrup, cinnamon and lemon juice, and layer the slices on the bottom and sides of the cake pan. Strangely enough, this is a pie where the apples are the crust, and the dough is the filling. Go figure.

Step 4, whip it up: either with the whisk, or with a mixer, add the coconut oil, some lemon juice, and the baking soda to the almond AlmondAppleTorte_134430filling mixture and whip it a bit to get some air in it.

Step 5, putting it in the pan/pans: gently fill the pan with the almond mixture and smooth it down. An option at this point would also be having more apple slices and arranging them on the top of the torte.

Step 6, pop it in the oven for baby & me: bake the pans at 350 for AlmondAppleTorte_14271135 minutes or so, until it doesn’t behave like a liquid. It should be a light brown. It will puff up, and then settle. Take it out and set a wire rack to cool.

Step 7, decorating and serving: it is tasty by itself. I put berries on the top, partly for the variety of color, partly for the variety of flavor. a whipped topping, a glaze, or a compote of some sort would be possible, as would some sort of frozen desert.
AlmondAppleTorte_184736Enjoy!

Cherry Almond Bread

Cherry Bread with PB“Some look at the world as it is, 
and they ask: ‘Why?’
I look at the world,
and I ask: ‘Wouldn’t it be great to have a dark chocolate and peanut butter sandwich on cherry bread?
I wonder how you make cherry bread?'”

(This is a variation of my Cherry Pistachio Bread)

Ingredients:

  • 1 1/2 cups warm water
  • 1 cup warm milk
  • 1/2 cup Almond Meal (optional)
  • 6-7 cups, give or take, of whole wheat (3 cups) and bread flour (4+ cups)
  • 1 Tbsp. Jam (preferably cherry, but today I used apricot)
  • 1 1/2 Tbsp. Yeast (maybe 3 envelopes?)
  • 1 Tbsp. Salt
  • 1 Tbsp. Almond flavour
  • 3/4 cup Dried Cherries
  • 1 cup Chopped Almonds
  • 1 Egg (you need the white)

Step 1, Wet Stuff: In a large bowl (or the mixer bowl if you plan on letting the bread hook to the heavy lifting); whisk the Jam into the warm Milk and the first half cup of warm Water. Add the dried Cherries, and set to the side.

Step 2, meanwhile, back at the yeast: in a smaller container, whisk together the remaining cup of warm Water, the Yeast, and just a smidge of the Jam. Let this sit for a few minutes (listen to a pop-song, gather the flour, begin to chop the almonds whatever you fancy), and let it start to bubble.

Step 3, mixing and proofing: Whisk the yeast micherrypistachio 001xture into the milk mixture. Next, add in the first 2 cups of flour a little bit at a time, whisking until it is smooth–I usually move from the coarsest flour to the smoothest, so the wheat flour here. Now leave this in a warm place for 5 minutes and walk away. Fold laundry, try to figure out where you put the bread flour, dance, just leave the yeast alone.

Step 4, kneading: Come back, Little Sheba. If it is bigger, and a little poofy, the yeast is doing great. If not, either you have bad yeast or a cold spot. Whisk down this living thing in the bowl, and add 1 Tbsp of Salt & 1 Tbsp Almond Flavor. Add in the Bread Flour 1/4 of a cup at a time, and thoroughly mix it in; when the whisk becomes impractical, use a big wooden spoon, when this is too hard, use a mixer with a bread hook or turn it our onto a floured surface.
It is important to knead the flour in 1/4 of a cup at a time, and after each bit of flour, hook or knead the bread until it becomes one thing again–not a mixture of flour and dough, but one unit. When the dough is a single round thing holding on to itself and not sticking to other things, behaving about like a deflated volley ball, it is ready. The amount of the flour doesn’t matter–getting it to this proper consistency is what matters. Roll it around on the counter for good measure.cherrypistachio 006

Step 5, let it rise: Grease a smooth bowl 3 times as big as the dough. Roll the dough ball in the oil, and then cover with plastic wrap or a wet towel or something that will let it work without drying out. Let this sit in a warm place–in the oven with a heating pad on a different shelf, on the sunny side of the house, just a safe and warm place–until the dough has doubled in size. Usually, this will be about an hour.

Step 6, making loaves: Turn the dough out onto a clean cherrypistachio 007surface, and punch it down (forcefully knead it), which should reduce it to close to its original size. Separate this into 2 portions (or 3 or 4 or… you figure it out). Flatten each of these, and sprinkle with the first 3/4 cup of Almonds. Fold the dough back into itself, knead it slightly and shape each into loaves; make sure that there are not seams or spots the loaf might separate, maybe pinching loose edges and rolling it about a bit–each should be smooth and coherent–it’s own little self.

Step 7, second rising: Grease some baking sheets and sprinkle with corn meal, or grease 3 bread pans, or 2 bread pans and 2 little pans, or some such combinations. Put each loaf into a pan, slit along the top with a sharp knife (this lets bubbles out) and set these into a warm place until they have grown–usually less that the first rise. About half way through this rise (20? 25 minutes?) pre-heat the oven to 400 degrees.

Step 8, prepping and baking: Beat together an Egg White and a little cold water. Paint the tops of the loaves with the egg white mixture, and then sprinkle with the remaining Almonds. Put the bread in the oven for 30 or 35 minutes, until the top crust is a nice dark brown. Figure out your oven, and see if you need to turn them orcherrypistachio 020 rotate them to get them to cook evenly.

Step 9, cool it, boy: When they are done, get them out, take them off the sheets or out of the pans, and put them on a cooling rack.

Last Step, sharing: You may have noticed I made several loaves. You can, of course, use division and figure out how to make a smaller batch, but I suggest you make more, and then figure out why you needed more. The bread might be so good that one loaf is eaten before it even cools. Break out the Brown Betty; it is perfect with some butter and a cup of tea.
Most importantly, if you have extra bread, you will have to give it away. Make a present of it and Brie to an aspiring writer and cabaret star on his 30th birthday. cherrypistachio 023Give it to friends for Christmas, a House Warming or just because. As always, give it to a wandering through-hiker, a musician or a college student–all of these are good karma. You might give some to somebody you love, or whom you wish to love, or who needs to feel loved.
My mom says it is just as easy to pray for somebody while kneading bread as it is just to pray for somebody; I don’t understand prayer, but I know everybody needs to feel loved and everybody loves good bread.

Bonus Step, left-overs: It makes brilliant toast, of course. It also makes excellent French toast, bien sûr, if you like that sort of thing.

Seitanic Majesty

This has been a long term experiment that started back sometime in June. Although the Seitan StewSauerbraten in June was good, it wasn’t great, and I went back to the drawing board. Several of the attempts were positively awful, but at last, this week, I had a batch I was fairly happy with and I ran it past my quality control friends (thanks, Meg & Rachel), who also seemed to approve.
The earliest ve3rsions of this recipe were appropriated from the Post-Punk Kitchen (http://www.theppk.com/2009/11/homemade-seitan/), which also has a new cookbook out. It took some tweaking to make it my own.

Ingredients:

  • 1 cup wheat gluten (available in boxes, but try to get it bulk; it’s cheaper)
  • 3 Tbsps. nutritional (brewers) yeast
  • 1/2 cup cold vegetable broth (or fake chicken broth or fake beef broth)
  • 1/4 cup soy sauce
  • 2 tablespoons fresh lemon juice
  • 1 tablespoon olive oil
  • 2 cloves garlic

For the simmering broth: 
4 cups vegetable broth
4 cups water
1/4 cup soy sauce

Fill a stock pot with the water, broth and soy sauce, cover and bring to a boil.

In the mean time, in a large bowl mix together gluten and yeast.  In a smaller bowl mix together broth, soy sauce, lemon juice, olive oil and garlic. Pour the wet into the dry and combine with a wooden spoon until most of the moisture has absorbed and partially clumped up with the dry ingredients. Use your hands and knead for about 3 minutes, until it’s an elastic dough. Divide into 3 equal pieces with a knife and then knead those pieces in your hand just to stretch them out a bit. Let rest until the broth has come to a full boil.

Once boiling, lower the heat to a simmer. Add the gluten pieces and partially cover pot so that steam can escape. Let simmer for 45 minutes, turning occasionally. Turn the heat off and take the lid off, let sit for 15 minutes.

Remove from broth and place in a strainer until it is cool enough to handle. Wrap it in a clean cloth (it will get stained)  and wring out as much of the excess moisture as you can.

Store in refrigerator until needed.

Slice and use as desired.


That’s all folks

Swedish Rusk

Dr. Bear - tinyeditor’s note: This was a recipe from my good friend Sandy, who was quite proud of her Swedish heritage. Rusk can, in general, refer to any hard, twice-baked bread, but this is no zwieback or melba toast. This is an amazing almond rusk, or mandel skorper. Similar cookies/biscuits are found in other countries, such as the Italian biscotti or the Yiddische mandelbrodt, but I am partial to this one.
It keeps forever, travels well, and is perfectly suited to afternoon coffee or tea.

Ingredients:

  • 3 cups all-purpose flour
  • 1 tsp baking soda
  • 2 large eggs
  • 1/2 cup butter, softened
  • 1 cup sugar
  • 1/2 cup sour cream
  • 1 tsp almond extract
  • 1 cup chopped almonds
  • (optional 1 tsp cardamom)

Step n a bowl, cream butter and sugar. Add eggs, one at a time, beating well after each addition. Combine the flour, salt and baking soda; add to the creamed mixture alternately with buttermilk. Stir in almonds.

  1. On a greased baking sheet, shape the dough into two 11-in. x 3-1/2-in. rectangles. Bake at 325° for 40 minutes or until lightly browned. Carefully remove to wire racks; cool for 20 minutes.
  2. Transfer to a cutting board; cut with a serrated knife into 3/4-in. slices. Place cut side down on greased baking sheets.
  3. Bake at 325° for 10-12 minutes; turn slices over. Bake 10-12 minutes longer or until golden brown. Remove to a wire racks to cool. Drizzle with melted chocolate if desired. Store in an airtight container. Yield: 2-1/2 dozen.

Wheaten Bread (Irish Brown Bread)

Irish Wheaten Bread 007On our first day in Ireland, for our very first meal in Europe, we had breakfast at the Railway Hotel. Besides some marvelous tea and incredible service, we also had some toast, which included a brown bread. My foodie daughter was in love. “Wouldn’t it be ironic,” she asked, “if after going through Germany and France, my favorite bread ended up being Irish Brown Bread, and my favorite cheese really was a sharp Irish Cheddar?”

Ne Gustibus Disputatem Est.

Ingredients:

  • 3 cups extra-course whole wheat flour
  • ½ cup bread flour
  • 1 tsp baking powder
  • 1 tsp baking soda
  • 1 tsp salt
  • 1 cup oat bran
  • 1 cup wheat germ
  • ¼ cup brewer’s yeast (optional)
  • ¼ cup melted butter (I might consider more)
  • 2 cups buttermilk or milk
  • 1 Tbsp dark corn syrup or honey
  • 1 egg

Step 1, Prepare Ye the way: Preheat the oven to 400°, assemble all the ingredients, run to the store because you are out of butter, and grease & flour a baking sheet or cake pan.

Step 2, sifting the dry ingredients: In one bowl sift (mix if you don’t have a sifter) the flours, baking powder, baking soda, and salt. Add in the oat bran, wheat germ, and brewer’s yeast.  Mix thoroughly.

Step 3, pastry cutting: Mix in the butter, much as you would cut in cold butter or shortening.

Step 4, mixing the wet ingredients: In another bowl, beat the egg, then mix in the buttermilk and the corn syrup.

Step 4, combining the big mess: Add the wet ingredients to the dry ones and mix well. The results might be a bit gloppy. No, I take that back: they result will be very gloppy. Flour your hands and try to fashion this into a ball, and if you cannot, add a bit more flour until this is manageable. Irish Wheaten Bread 001

Step 5, baking: Set the round loaf (or round loaves, if you are making little ones) onto the pan. Score the top with a cross. Bake at 400 degrees for 30 minutes. Rotate them to make sure they brown evenly, reduce the oven temperature to 375, and bake for 30 minutes more. The result should be a crumbly brown loaf.

Final Step, share and enjoy Irish Wheaten Bread 009They break along the score, so you can each munch a quarter. You can have them with a mug of strong Irish tea, and some cold butter, and some current jam. They are perfect as a toast for breakfast, or to accompany a hearty plowman’s lunch.

As always, they are perfect for giving to somebody you love, either in person, or by post.

R. H. Scone

 Spicy Scones (4)Have I really not published a scone recipe other than Shoe Fly Pie Scones & the Gluten-free Scones? Kaum zu glauben. I had avoided savory scones for a long time–Unnatural!–but this idea came to me and I couldn’t say no. 


Ingredients:

  • 2 cups flour (Whole wheat, white, both, as you wish)
  • Optional: add ¼ cup of gluten and ¼ cup of brewers yeast for extra protein, and to make the scones firmer.
  • 1/8 cup of sugar
  • 1 tsp baking powder
  • ½ tsp baking soda
  • ½ tsp salt
  • 1 Tbs Ras El Hanout
  • 3 Tbsp cold butter
  • ½ cup chopped orange (including peel) I prefer cara cara or blood.
  • ½ cup chopped green olives
  • ¾ cup plain yoghurt or sour cream
  • 1 egg

Step 1, Prepare Ye the way: Preheat the oven to 400°, assemble all the ingredients, run to the store because you are out of something, and then grease a baking sheet.

Step 2, sifting the dry ingredients: In one bowl sift (mix if you don’t have a sifter) the flour, sugar, baking powder, baking soda, spice, and salt. Mix thoroughly.

Step 3, pastry cutting: Cut in the ice cold sliced butter, using either a pastry cutter or rubbing it between your hands. I suppose some processer thingy can do this, too, but I don’t own one. The result should be crumbly.Spicy Scones (1)

Step 4: chopping the fruit: Chop the olives and the oranges. For me, it was a half an orange and 12-16 olives, but it depends upon the sizes.

Step 5, mixing the wet ingredients: In another bowl, mix the yoghurt and the egg. Sometime, you can also mix the spice here, to let it moisten, or add the baking soda here, to start a foamy sponge.

Spicy Scones (3)Step 6, combining the big mess: Add the wet ingredients to the dry ones and fold together. Try not to overwork the dough. You might think of it as wetting the ingredients more than mixing brownie or muffin dough. The results might be a bit gloppy.

Step 7, baking: Gently pat the mixture out on a counter to about ¾ inch thick. Cut (I used a juice glass and got 12), and ease them on the greased baking sheet.  Bake at 400 degrees for 15 to 20 minutes. See how they look. Stick a toothpick in one and see if it comes out battery.Spicy Scones (5c)

Final Step, share and enjoy They are perfect for sharing over breakfast, or in the afternoon over tea, or for dropping by and giving to friends ( I think I gave away 22 and a bite today, all to very wonderful people).

They can be eaten like a sweet scone, or as an addition to a main dish. Or maybe as sandwiches with a little feta and cucumber slices.

Instant Spiced Tea

Dr. Bear - tiny

I recognize that there are tea snobs out there to whom this would be anathema. To those who whip matcha into green tea, or try to find new “more authentic” teas, anything that begins with “1 cup of Tang” this may be cringe-worthy. Sometimes, however, you just need that warm comfort thing to get you through the winter. I have heard this called Russian Tea (I have no idea why) and Friendship Tea (because it is good to mix up large quantities and share it with friends–maybe even in a sweet little mason jar).
I got this recipe from my Mother.

Ingredients:Instant Spiced Tea (4)

  • 1 cup Tang
  • 1 cup instant sweetened lemonade
  • ½  cup instant unsweetened iced tea
  • 1 tsp cinnamon
  • 1 tsp cloves
  • ½ tsp nutmeg

Step 1, Roll Call! assemble all the ingredients, as well as a big bowl. Make sure you have a clean or several clean containers to store the mix in when you are done.

Instant Spiced Tea (6)Step 2, mixing it up: combine all the ingredients in the big bowl. Double it if you want to make more. Mix it very well. Put the mixture in your “container for the thing contained.

Step 3, instant gratification: when you want some, add some to a cup. I usually add 2 teaspoons to a mug, kraken_flashlight11 tablespoon to a big mug. As with all cups of tea, it’s not too bad with a shot of rum.

(Kraken: I’m willing to talk about product placement!)

Instant Spiced Tea (7)Step 4 deferred gratification: give away the jars to people whom you would like to warm up a bit. Maybe they have cookies, and you can have a grand old time. Maybe they will stare at you funny. In which case, go home, go to Step 3, wrap yourself in a quilt, and read a good book.

…..Or come to the bistro.